

带有 DSM501A 传感器的 Arduino 空气质量监测器
组件和用品
 |
| × | 1 | |||
| × | 1 | ||||
 |
| × | 1 | |||
| × | 1 | ||||
 |
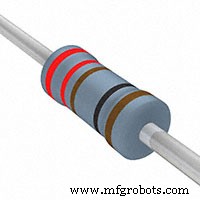
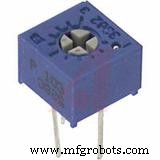
| × | 5 | |||
 |
| × | 1 | |||
 |
| × | 1 |
必要的工具和机器
 |
|
应用和在线服务
 |
|
关于这个项目
空气质量监测是众所周知的成熟科学,始于 80 年代。当时,技术相当有限,用于量化空气污染的解决方案复杂、繁琐且非常昂贵。
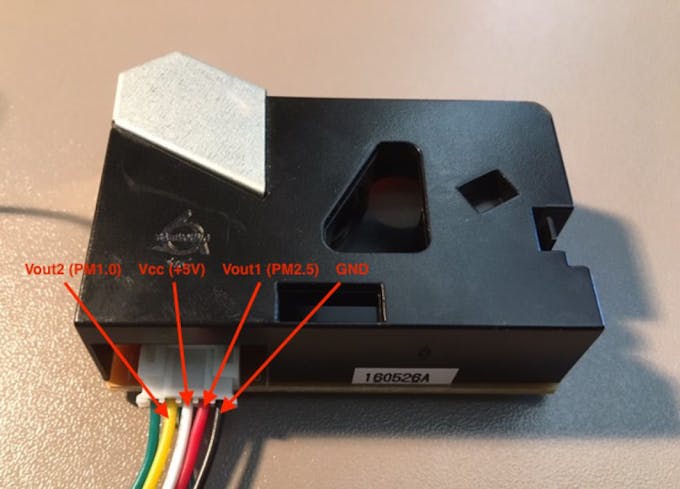
幸运的是,如今,借助最新的现代技术,用于空气质量监测的解决方案不仅变得更加精确,而且测量速度也变得更快。设备变得越来越小,而且成本比以往任何时候都低得多。所展示的设备使用 Samyoung “DSM501A” 灰尘传感器,它是市场上最便宜的传感器之一,可以在速卖通上以几美元的价格购买。该传感器能够检测 PM2.5 和 PM10 颗粒。
在下图中,您可以看到引脚的布局,但不要注意电线的颜色,因为它们可能会有所不同。
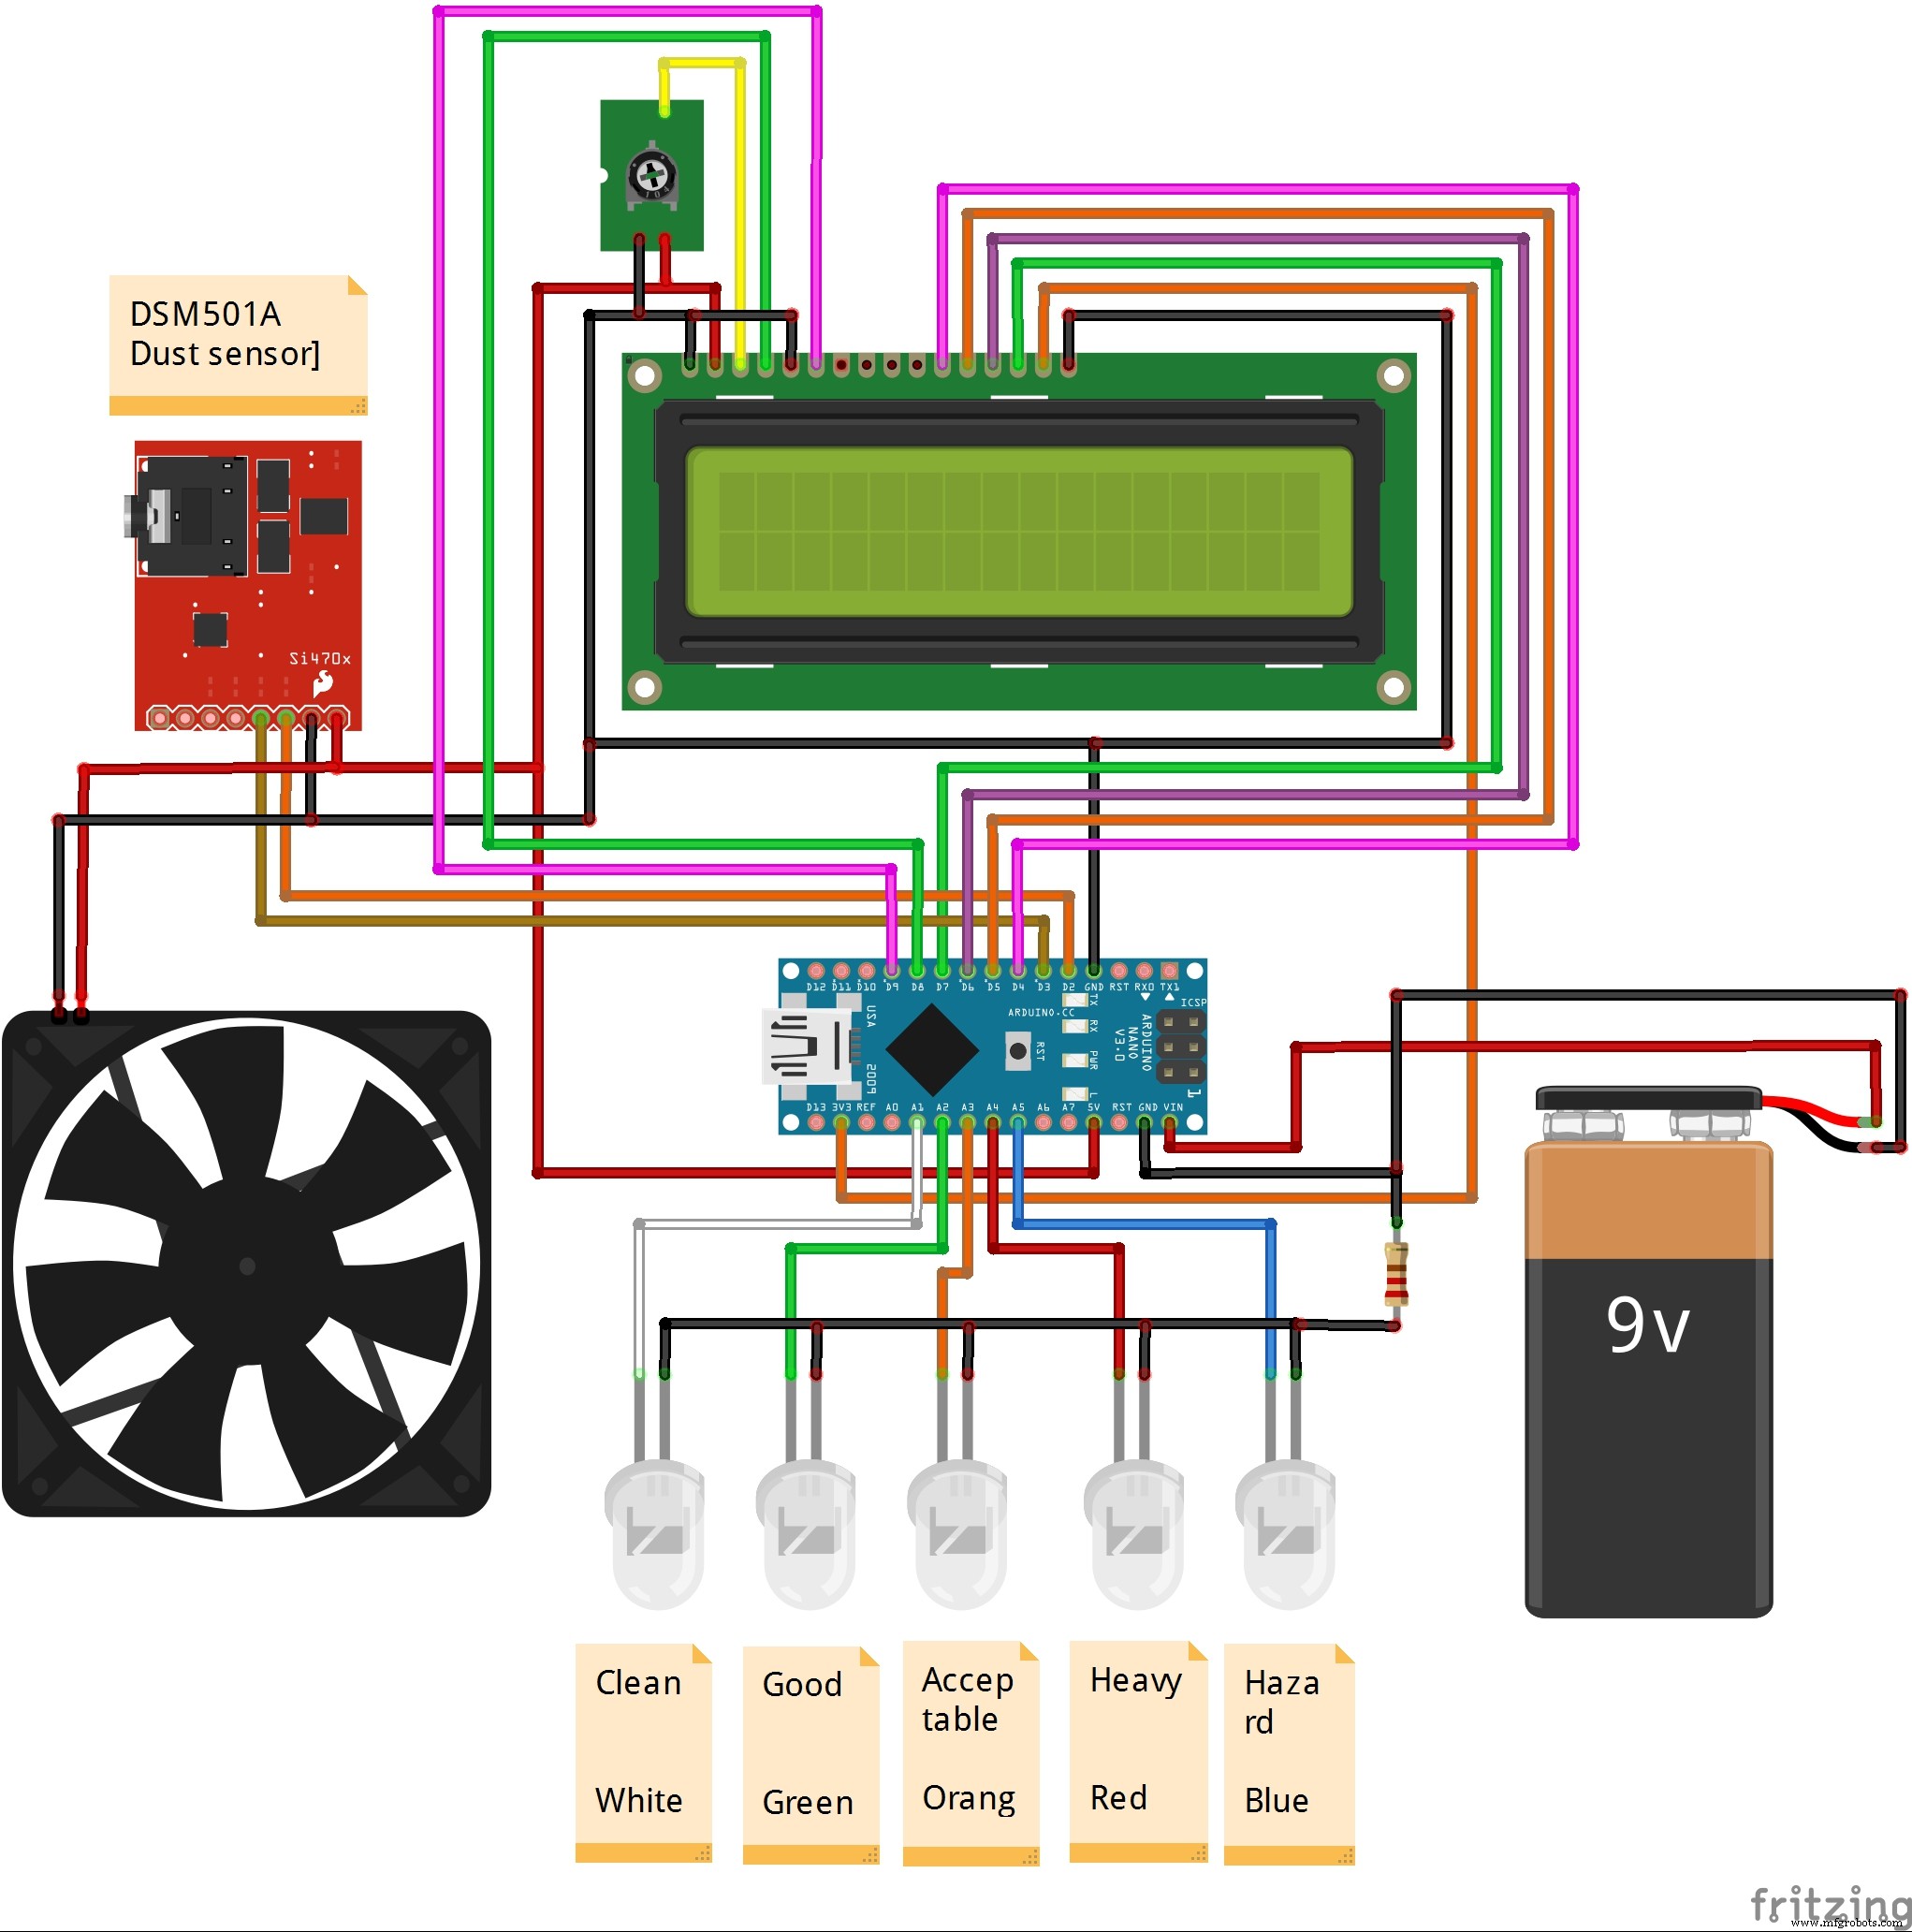
电路很简单:
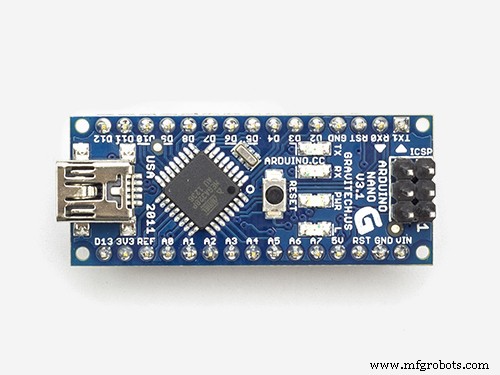
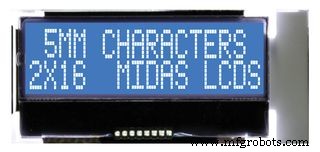
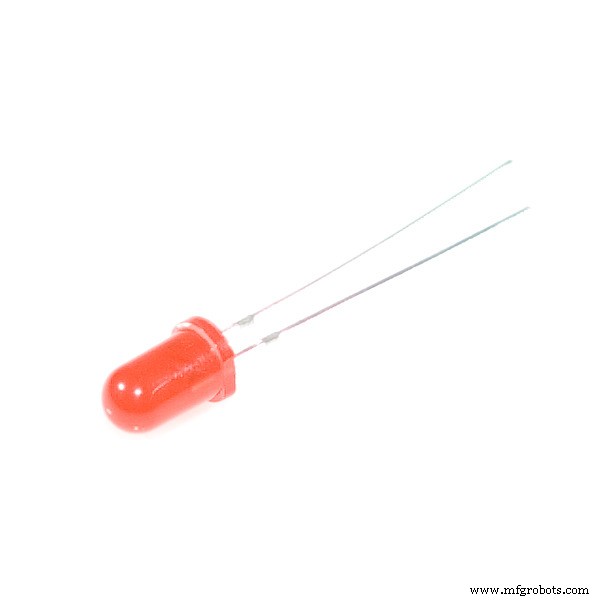
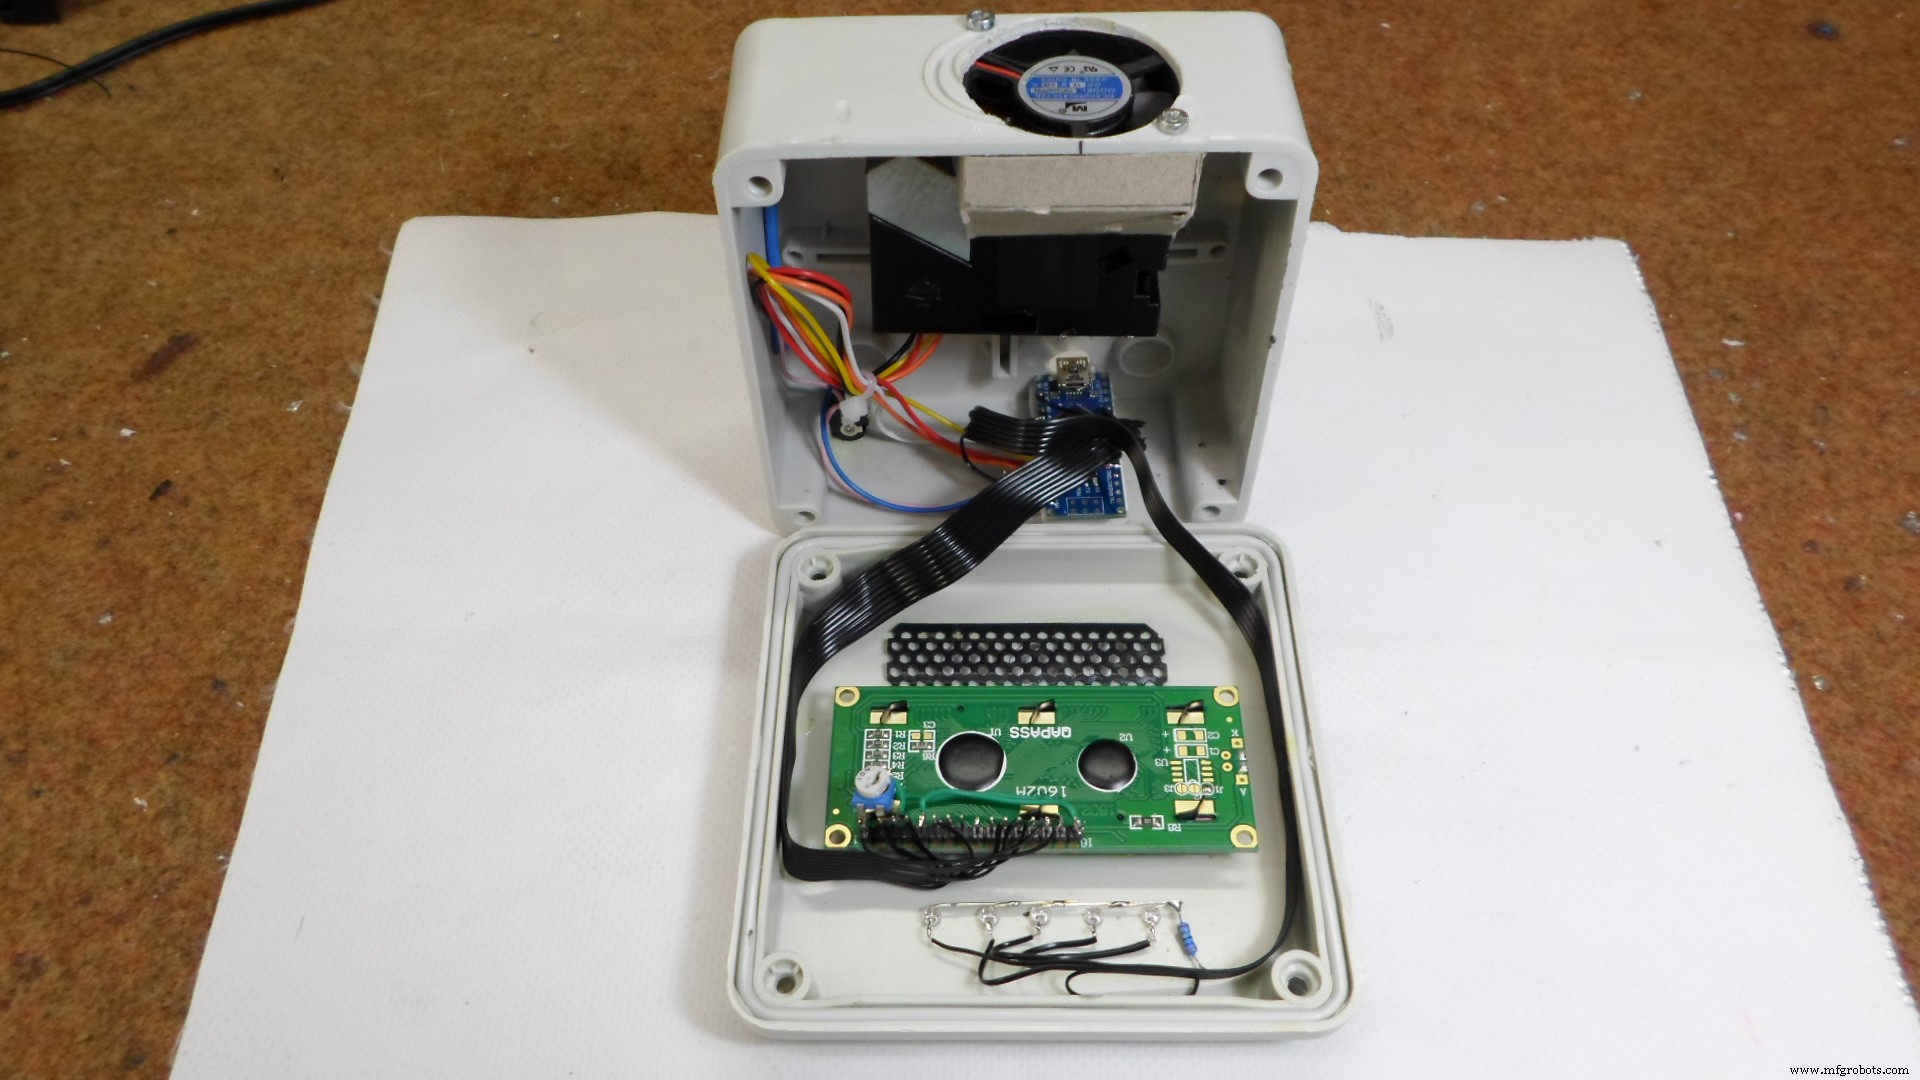
传感器的 Vout1 (PM2.5) 连接到 Arduino 的 D2,Vout2 (PM10) 连接到 D3,Vcc 连接到 Arduino +5V,GND 连接到 Arduino Gnd 引脚。 LED 二极管连接到 Arduino 的模拟引脚 A1 到 A5,这些引脚在代码中定义为输出。61x2 字符的 LCD 显示屏与 Hitachi HD44780 兼容。显示PM10颗粒浓度pcs/0.01cf,空气质量5种状态:
- 清洁
- 好
- 可以接受
- 重
- 危险
PM10 和 PM2.5 的浓度都可以在 arduino 串行监视器上进行监控。根据污染程度 (PM10),特定颜色的适当 LED 将点亮,以便快速轻松地读取结果。我没有太多写代码的经验,所以也许代码可以改进。需要强调的是,通过安装将空气从传感器出口抽走的风扇,可以显着改善不需要的峰值区域的特性,这一点非常重要。整个装置组装在一个塑料盒中,用于电气安装。
将来,我计划测试更多便宜的灰尘传感器,以便您可以在我的下一个项目中找到结果。
代码
- 代码
代码Arduino
#includeLiquidCrystal lcd(8, 9, 4, 5, 6, 7);int pin2 =3;int pin1 =2;unsigned long duration1;unsigned long duration2;unsigned long starttime;unsigned long sampletime_ms =3000;//sampe 1s;unsigned long lowpulseoccupancy1 =0;unsigned long lowpulseoccupancy2 =0;float ratio1 =0;float ratio2 =0;float浓度1 =0;float浓度2 =0;int wLed =A1;int gLed =A2;int yLed =A3;int rLed =A4;int bLed =A5;void setup() { Serial.begin(9600); pinMode(2,输入);引脚模式(3,输入); pinMode(wLed,OUTPUT); pinMode(gLed,OUTPUT); pinMode(yLed,OUTPUT); pinMode(rLed,OUTPUT); pinMode(bLed,OUTPUT); starttime =millis();//获取当前时间; lcd.begin(16, 2);}void loop() { duration1 =pulseIn(pin1, LOW);持续时间 2 =脉冲输入(引脚 2,低); lowpulseoccupancy1 =lowpulseoccupancy1+duration1; lowpulseoccupancy2 =lowpulseoccupancy2+duration2; if ((millis()-starttime)> sampletime_ms)//如果采样时间==30s { ratio1 =lowpulseoccupancy1/(sampletime_ms*10.0); // 整数百分比 0=>100 浓度1 =1.1*pow(ratio1,3)-3.8*pow(ratio1,2)+520*ratio1+0.62; // 使用规格表曲线 ratio2 =lowpulseoccupancy2/(sampletime_ms*10.0); // 整数百分比 0=>100 浓度2 =1.1*pow(ratio2,3)-3.8*pow(ratio2,2)+520*ratio2+0.62; // lcd.setCursor(0, 0); lcd.print("PM10"); lcd.setCursor(6, 0);液晶打印(浓度1,3); Serial.print("浓度1 ="); Serial.print(concentration1); Serial.print(" pcs/0.01cf - "); Serial.print("浓度2 ="); Serial.print(concentration2); Serial.print(" pcs/0.01cf - "); if (concentration1 <1000) { lcd.setCursor (0, 1); for (int i =0; i <16; ++i) { lcd.write(' '); } lcd.setCursor(4, 1);液晶打印(“清洁”);数字写入(wLed,高);数字写入(gLed,低);数字写入(yLed,低);数字写入(rLed,低);数字写入(bLed,低); } 如果(浓度 1> 1000 &&浓度 1 <10000){ lcd.setCursor (0, 1); for (int i =0; i <16; ++i) { lcd.write(' '); } lcd.setCursor(4, 1);液晶打印(“好”);数字写入(wLed,低);数字写入(gLed,高);数字写入(yLed,低);数字写入(rLed,低);数字写入(bLed,低); } 如果(浓度 1> 10000 &&浓度 1 <20000){ lcd.setCursor (0, 1); for (int i =0; i <16; ++i) { lcd.write(' '); } lcd.setCursor(4, 1); lcd.print("可接受");数字写入(wLed,低);数字写入(gLed,低);数字写入(yLed,高);数字写入(rLed,低);数字写入(bLed,低); } 如果(浓度 1> 20000 &&浓度 1 <50000){ lcd.setCursor (0, 1); for (int i =0; i <16; ++i) { lcd.write(' '); } lcd.setCursor(4, 1); lcd.print("重");数字写入(wLed,低);数字写入(gLed,低);数字写入(yLed,低);数字写入(rLed,高);数字写入(bLed,低); } if (concentration1> 50000) {lcd.setCursor (0, 1);for (int i =0; i <16; ++i){ lcd.write(' ');} lcd.setCursor(4, 1);液晶打印(“危险”);数字写入(wLed,低);数字写入(gLed,低);数字写入(yLed,低);数字写入(rLed,低);数字写入(bLed,高); } lowpulseoccupancy1 =0; lowpulseoccupancy2 =0;开始时间 =毫秒(); }}
示意图
制造工艺