

DIY 植物水分传感器
组件和用品
 |
| × | 1 | |||
 |
| × | 3 | |||
 |
| × | 1 | |||
 |
| × | 1 | |||
| × | 2 | ||||
 |
| × | 1 | |||
| × | 8 |
应用和在线服务
 |
|
关于这个项目
DIY植物水分传感器
在我的网站上看到这个项目!
该项目将通过测量介电常数(土壤传输电力的能力)来计算植物周围土壤的含水量,并在植物需要更多水时用红色 LED 提醒您,当植物需要太多水时用蓝色 LED 提醒您。
为了构建这个项目,你需要收集这些东西:
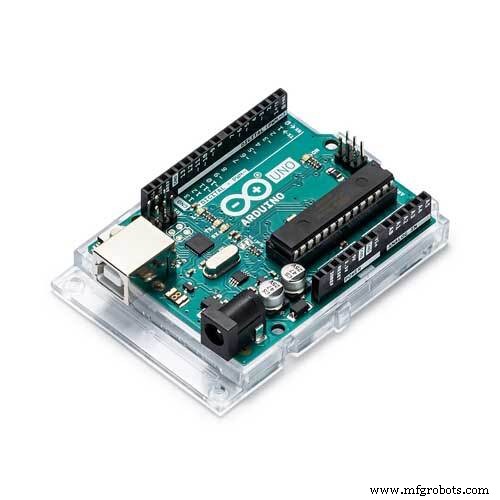
- Arduino UNO 或同等产品 (x1):https://amzn.to/2DLjxR2
- 220Ω* 电阻器(用于 LED)(x3):https://amzn.to/2S2sV5R
- 10kΩ 电阻 (x1) - 棕黑橙:https://amzn.to/2S2sV5R
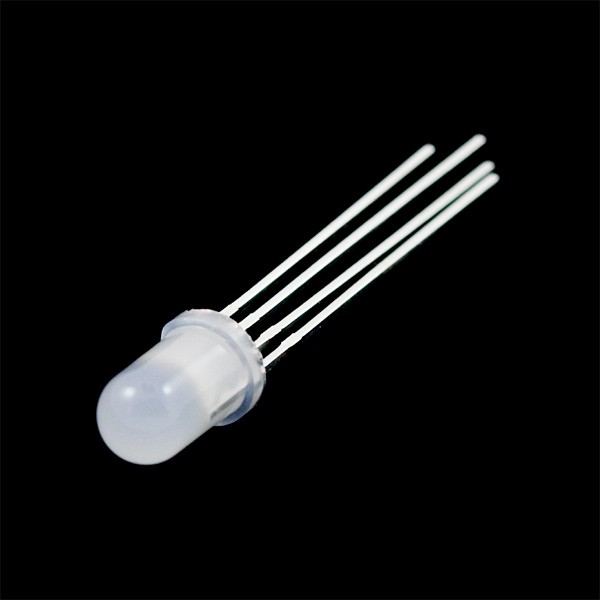
- RGB LED (x1) 或 3 个不同颜色的 LED:https://amzn.to/2Fzbusx
- 长跨接电缆 (x2):https://amzn.to/2Q7kiKc
- 跳线 (x6):https://amzn.to/2Q7kiKc
- 面包板 (x1):https://amzn.to/2RYqiSK
- 任何尺寸的螺栓 (x2):https://amzn.to/2qWLYTF
- 与上述螺栓直径相同的螺母 (x2):https://amzn.to/2qWLYTF
作为亚马逊合作伙伴,我通过符合条件的购买赚取收入。
第 1 步:创建传感器插脚
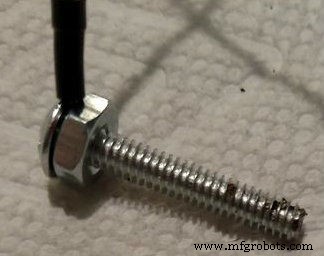
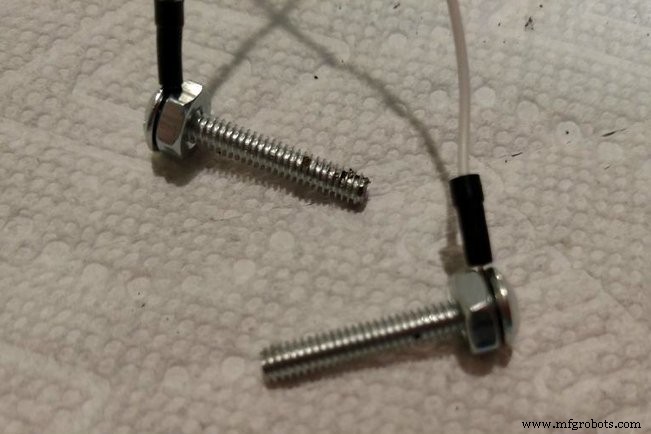
您需要重复此步骤两次(每个爪形一次):
- 开始拧紧螺栓周围的螺母
- 在螺母和螺栓头之间滑动长跨接电缆的末端。
- 一直拧紧螺母,直到无法拉出跳线
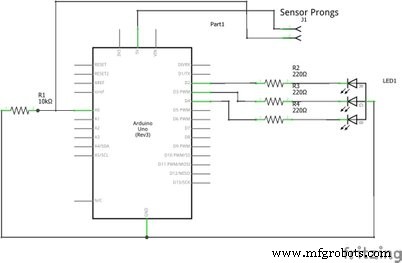
第 2 步:创建电路
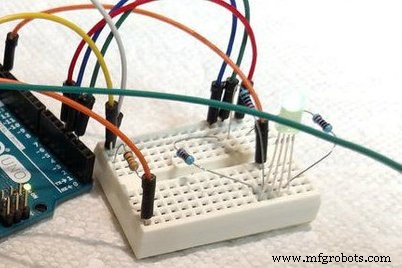


按照原理图或面包板图像 - 哪个更适合您。标有“out”的电线是您刚刚创建的两个插脚。
第 3 步:上传代码
将此代码复制并粘贴到 Arduino IDE 中:
int wetPin =0;int wetVal =0;int tooDry =150; //为plantint设置低参数tooWet =400; //为plantvoid setup()设置高参数{ Serial.begin(9600);}void loop(){ wetVal =analogRead(moistPin); Serial.println(moistVal);整数百分比 =2.718282 * 2.718282 * (.008985 * wetVal + 0.207762); //计算相距约 1 - 1.5 英寸的探针的百分比 Serial.print(percent); Serial.println("% 水分"); if (moistVal <=tooDry) { digitalWrite(4, HIGH); //红色LED digitalWrite(3, LOW);数字写入(2,低); } else if (moistVal>=tooWet) { digitalWrite(4, LOW);数字写入(3,高); //蓝色LED digitalWrite(2, LOW); } else { 数字写入(4,低);数字写入(3,低);数字写入(2,高); //绿色LED } delay(250);}
第 4 步:放置传感器插脚
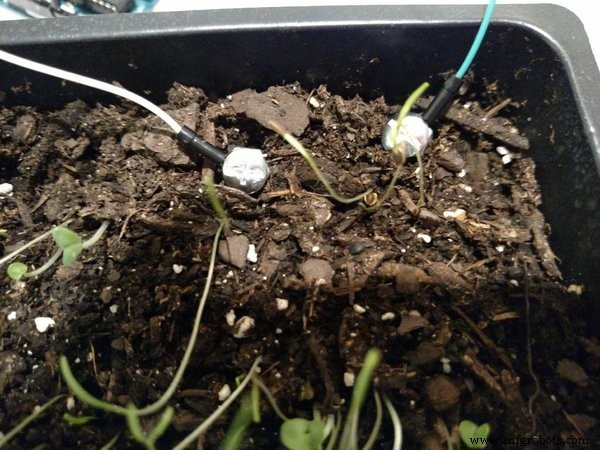
- 将您制作的插脚插入距离您想要监测的植物近 1 英寸到 1.5 英寸的土壤中。
- 给植物适量的水并打开串行监视器
- 如果你给它适量的水,它应该会给你大约 25 - 30% 的读数
- 如果没有,请尝试移动尖头以使其正确(或者您只是加了太多水)
补充说明:
如果这是在外面,您需要将电路放在特百惠或其他防水容器内,以保护它免受元素影响。然后为传感器线钻一些孔,并添加一个电池盒为其供电。不过我的不出去,没有容器也可以。
代码
- 代码片段 #1
代码片段 #1纯文本
int 湿销 =0;int 湿值 =0;int 太干 =150; //为plantint设置低参数tooWet =400; //为plantvoid setup()设置高参数{ Serial.begin(9600);}void loop(){ wetVal =analogRead(moistPin); Serial.println(moistVal);整数百分比 =2.718282 * 2.718282 * (.008985 * wetVal + 0.207762); //计算相距约 1 - 1.5 英寸的探针的百分比 Serial.print(percent); Serial.println("% 水分"); if (moistVal <=tooDry) { digitalWrite(4, HIGH); //红色LED digitalWrite(3, LOW);数字写入(2,低); } else if (moistVal>=tooWet) { digitalWrite(4, LOW);数字写入(3,高); //蓝色LED digitalWrite(2, LOW); } else { 数字写入(4,低);数字写入(3,低);数字写入(2,高); //绿色LED } delay(250);} 示意图

制造工艺