使用手部运动和 Arduino 的惊人控制计算机
组件和用品
 |
| × | 1 | |||
 |
| × | 2 | |||
 |
| × | 1 |
应用和在线服务
 |
| |||
| ||||
| ||||
|
关于这个项目
在这个项目中,我们将学习如何构建手势控制的笔记本电脑或计算机。它基于使用Arduino和Python的组合。
我们可以不使用键盘、鼠标或操纵杆,而是使用手势来控制计算机的某些功能,例如播放/暂停视频、在照片幻灯片中向左/向右移动、在网页中向上/向下滚动等等更多的。这就是为什么我决定将 VLC 媒体播放器作为一个手势项目来控制。
通过将两个超声波传感器 (HC-SR04) 与 Arduino 结合使用,该项目背后的想法非常简单。我们将两个传感器放在笔记本电脑屏幕的顶部,并计算手和传感器之间的距离。依靠Arduino通过串口发送到Python的信息,这些信息将被计算机上运行的Python读取以执行某些操作。
硬件组件:
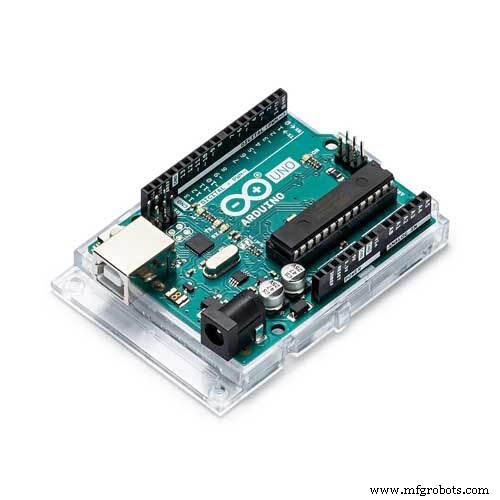
- 阿杜诺
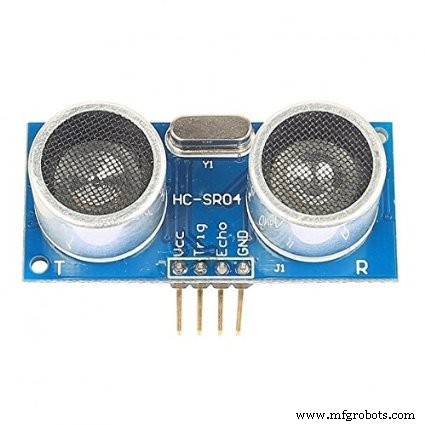
- 两个超声波传感器 (HC-SR04)
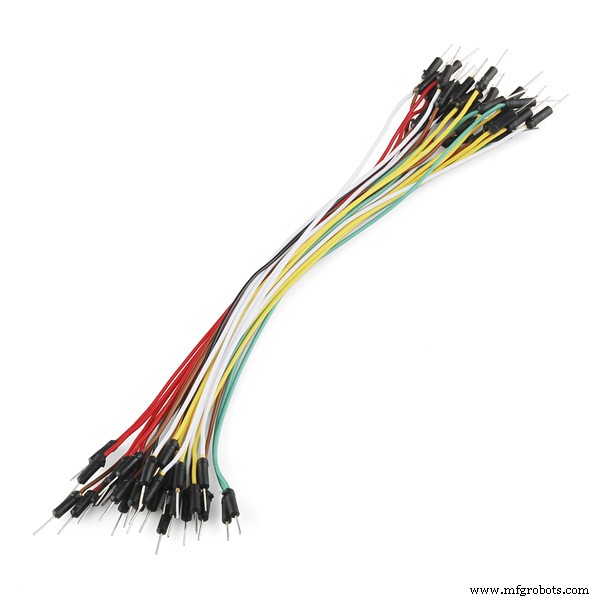
- 一些电线
软件应用:
- Arduino IDE
- Python 空闲
- PySerial 库(我们将用于与串行端口通信)。
- PyAutogui 库(我们将用于执行操作)。
所以我假设你已经安装了 Python 和 PySerial 库,并且已经成功地完成了一些基础项目。如果没有,别担心;我建议你按照我之前的教程(使用 Python 编程 Arduino)。另外,如果您想熟悉超声波传感器,可以查看(此处)。
第 1 步:观看视频了解更多详情
第 2 步:手势目的
以下是我为演示目的编写的 5 个命令手势。
- 第一手手势:它允许我们通过将两只手放在右/左超声波传感器前面特定远距离来“播放/暂停”VLC。
- 第二个手势:它允许我们通过将手放在左侧传感器前特定远距离的位置来“倒带”视频。
- 第三个手势:它允许我们通过将手放在右侧传感器前特定远距离处来“转发”视频。
- 第四个手势:它允许我们通过将手放在左侧传感器前特定远距离并远离传感器来“增加视频音量”。
- 第五个手势:它允许我们通过将一只手放在左侧传感器前特定远距离并靠近传感器来“降低视频音量”。
第 3 步:示意图
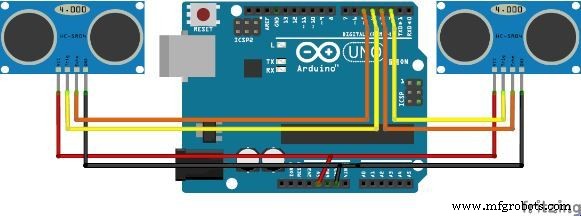
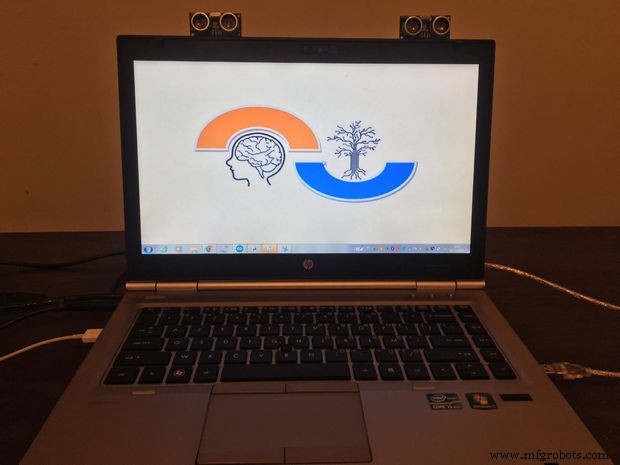
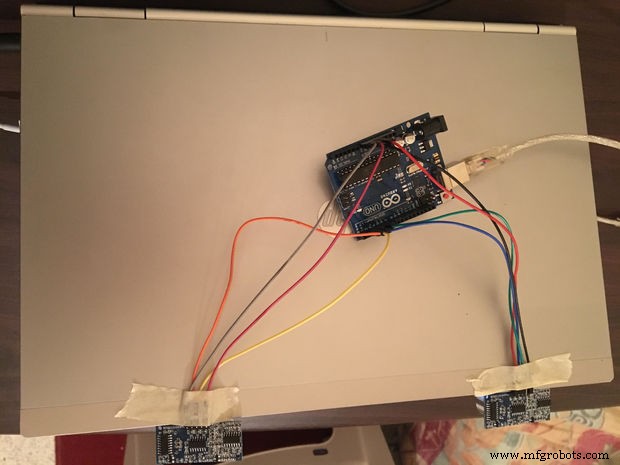
原理图非常简单,您只需按照以下说明操作即可。所以每个传感器有 4 个引脚:
- Vcc - 此引脚连接到 5V+。
- Trig - 您需要在程序中定义此引脚。
- Echo - 此引脚与 Trig 相同,您还需要定义它。
- GND - 此引脚接地。
第 4 步:编程 Python
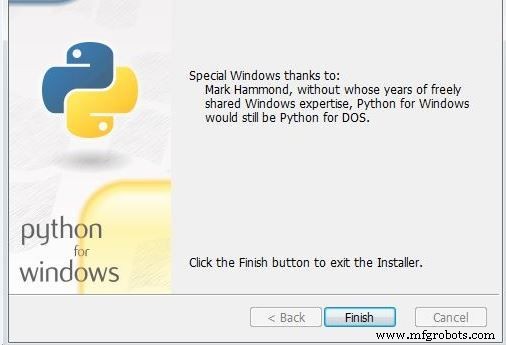
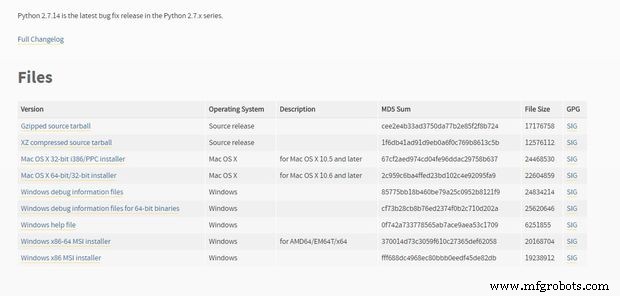
1.安装Python IDLE
如果您的计算机中已经安装了 Python IDLE,则可以跳过此步骤。如果是,则转到第 2 步,否则请查看以下说明。
- 转到 python 网站并下载它(在这里)。
- 完成后,通过保留默认安装 python 的目录继续安装。
注意:即使您的计算机在 64 位上运行,由于与 Arduino 库不兼容,您也可以使用 32 位 Python 本身。
2.安装PySerial库
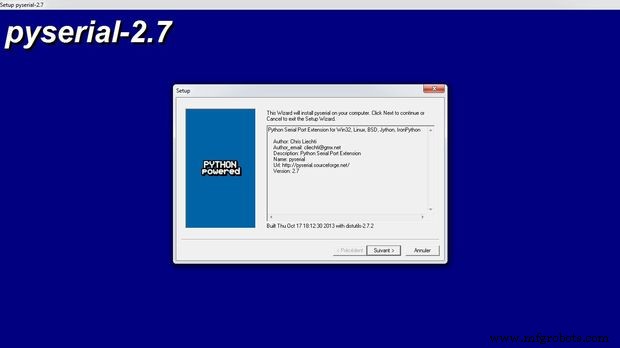
PySerial 是一个 Python API 模块,用于向 Arduino 或任何其他微控制器读取和写入串行数据。要在 Windows 上安装,只需访问 PySerial 的下载页面并按照以下步骤操作:
- 从上面的链接下载 PySerial。
- 通过将设置保持为默认值来安装它您应该确保 Pyserial 正常工作。去做这个;你输入:
导入串口 如果您没有遇到任何错误,那就很好了。否则我建议你检查你的安装和 Python IDLE 扩展。
3.安装PyAutogui库
PyAutoGUI 的目的是为人类的 GUI 自动化提供一个跨平台的 Python 模块。 API 设计得尽可能简单,并具有合理的默认值。按照以下步骤安装适用于 Windows 的 pyautogui。 (要执行这些步骤,您应该已经安装了 Python IDLE。)
如果您使用其他平台,我建议您看这里。
- 打开 Windows 命令
- 输入以下命令
cd C:\Python27 - 然后输入:
python –m pip install –upgrade pip - 最后一条命令是:
python –m pip install pyautogui 注意:要确保 pyautogui 正常工作,只需输入:
导入pyautogui 如果您没有遇到任何错误,那就很好。
第 5 步:Arduino 代码
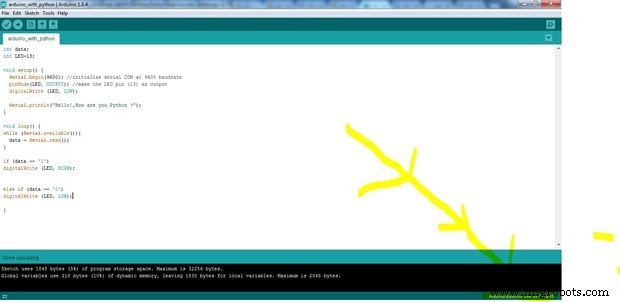
要从 Python 启动与 Arduino 的连接,我们首先必须弄清楚 Arduino 位于哪个 COM 端口。正如我在上图中所指出的,这个任务只是由 Arduio 编程环境完成的。
const int trigger1 =2; //第一个Sesnorconst的触发引脚 int echo1 =3; //第一个Sesnorconst int trigger2 =4的回声引脚; //第二个Sesnorconst的触发引脚 int echo2 =5;//第二个Sesnorconst的Echo pin time_taken;int dist,distL,distR;void setup() {Serial.begin(9600); pinMode(触发器1,输出); pinMode(echo1, INPUT); pinMode(触发器2,输出); pinMode(echo2, INPUT); }/*###计算距离的函数###*/void calculate_distance(int trigger, int echo){digitalWrite(trigger, LOW);delayMicroseconds(2);digitalWrite(trigger, HIGH);delayMicroseconds(10);digitalWrite (trigger, LOW);time_taken =pulseIn(echo, HIGH);dist=time_taken*0.034/2;if (dist>60)dist =60;}void loop() { //infinite loopycalculate_distance(trigger1,echo1);distL =距离; //获取左传感器的距离calculate_distance(trigger2,echo2);distR =dist; //获取右侧传感器的距离//Pause Modes -Holdif ((distL>40 &&distR>40) &&(distL <60 &&distR<60)) //检测双手{Serial.println("Play/Pause"); delay (500);}calculate_distance(trigger1,echo1);distL =dist;calculate_distance(trigger2,echo2);distR =dist;//Control Modes//Lock Left - Control Modeif (distL>=13 &&distL<=17) {延迟(100); //Hand Hold Time calculate_distance(trigger1,echo1); distL =dist; if (distL>=13 &&distL<=17) { Serial.println("左锁"); while(distL<=40) {calculate_distance(trigger1,echo1); distL =dist; if (distL<10) //手推入 {Serial.println ("音量增加"); delay (300);} if (distL>20) //手拉出来{Serial.println("Volume Decreased"); delay (300);} } }}//Lock Right - Control Modeif (distR>=13 &&distR<=17){ delay(100); //Hand Hold Time calculate_distance(trigger2,echo2); distR =分布; if (distR>=13 &&distR<=17) { Serial.println("Right Locked"); while(distR<=40) {calculate_distance(trigger2,echo2); distR =分布; if (distR<10) //右手推入 {Serial.println ("Rewind"); delay(300);} if(distR>20) //右手抽出{Serial.println("Forward");延迟(300);}}}}延迟(200);} 如果您阅读 Arduino 代码,您将观察到 5 个控制某些键盘功能以实现所需任务的命令。
arduino_pythogui.ino 下载
arduino_pythogui.ino
第 6 步:Python 代码
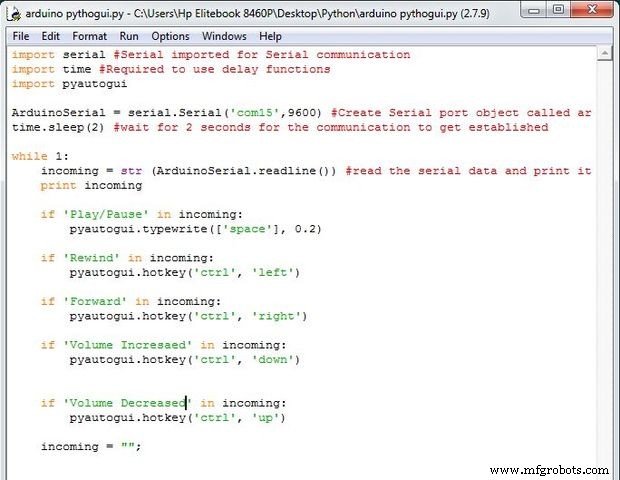
首先,我们需要一个简单的程序来让Python通过串口发送数据。
import serial #Serial import for Serial communicationimport time #Required to use delay functionsimport pyautogui #Required to perform actionsArduinoSerial =serial.Serial('com15',9600) #创建名为arduinoSerialDatatime.sleep(2)的串口对象) #wait for 2 seconds for the communication to getwhile 1:incoming =str (ArduinoSerial.readline()) #read the serial data and print it as line print Incoming if 'Play/Pause' incoming:pyautogui.typewrite([ 'space'], 0.2) 如果传入的 'Rewind': pyautogui.hotkey('ctrl', 'left') 如果传入的 'Forward': pyautogui.hotkey('ctrl', 'right') 如果 'Volume Incresaed'在传入:pyautogui.hotkey('ctrl', 'down') 如果传入的'Volume Decreased':pyautogui.hotkey('ctrl', 'up')incoming =""; 代码
- 代码片段 #5
- 代码片段 #6
代码片段 #5纯文本
const int trigger1 =2; //第一个Sesnorconst的触发引脚 int echo1 =3; //第一个Sesnorconst int trigger2 =4的回声引脚; //第二个Sesnorconst的触发引脚 int echo2 =5;//第二个Sesnorconst的Echo pin time_taken;int dist,distL,distR;void setup() {Serial.begin(9600); pinMode(触发器1,输出); pinMode(echo1, INPUT); pinMode(触发器2,输出); pinMode(echo2, INPUT); }/*###计算距离的函数###*/void calculate_distance(int trigger, int echo){digitalWrite(trigger, LOW);delayMicroseconds(2);digitalWrite(trigger, HIGH);delayMicroseconds(10);digitalWrite (trigger, LOW);time_taken =pulseIn(echo, HIGH);dist=time_taken*0.034/2;if (dist>60)dist =60;}void loop() { //infinite loopycalculate_distance(trigger1,echo1);distL =距离; //获取左传感器的距离calculate_distance(trigger2,echo2);distR =dist; //获取右侧传感器的距离//Pause Modes -Holdif ((distL>40 &&distR>40) &&(distL <60 &&distR<60)) //检测双手{Serial.println("Play/Pause"); delay (500);}calculate_distance(trigger1,echo1);distL =dist;calculate_distance(trigger2,echo2);distR =dist;//Control Modes//Lock Left - Control Modeif (distL>=13 &&distL<=17) {延迟(100); //Hand Hold Time calculate_distance(trigger1,echo1); distL =dist; if (distL>=13 &&distL<=17) { Serial.println("左锁"); while(distL<=40) {calculate_distance(trigger1,echo1); distL =dist; if (distL<10) //手推入 {Serial.println ("音量增加"); delay (300);} if (distL>20) //手拉出来{Serial.println("Volume Decreased"); delay (300);} } }}//Lock Right - Control Modeif (distR>=13 &&distR<=17){ delay(100); //Hand Hold Time calculate_distance(trigger2,echo2); distR =分布; if (distR>=13 &&distR<=17) { Serial.println("Right Locked"); while(distR<=40) {calculate_distance(trigger2,echo2); distR =分布; if (distR<10) //右手推入 {Serial.println ("Rewind"); delay(300);} if(distR>20) //右手抽出{Serial.println("Forward");延迟(300);}}}}延迟(200);} 代码片段 #6纯文本
import serial #Serial import for Serial communicationimport time #Required to use delay functionsimport pyautogui #Required to perform actionsArduinoSerial =serial.Serial('com15',9600) #Create Serial port object called arduinoSerialDatatime.sleep(2) #wait 2 秒以建立通信,而 1:incoming =str (ArduinoSerial.readline()) #读取串行数据并将其打印为行打印传入 if 'Play/Pause' incoming:pyautogui.typewrite(['space' ], 0.2) 如果传入的 'Rewind': pyautogui.hotkey('ctrl', 'left') 如果传入的 'Forward': pyautogui.hotkey('ctrl', 'right') 如果传入的 'Volume Incresaed': pyautogui.hotkey('ctrl', 'down') if 'Volume Decreased' incoming:pyautogui.hotkey('ctrl', 'up')coming =""; 制造工艺


