

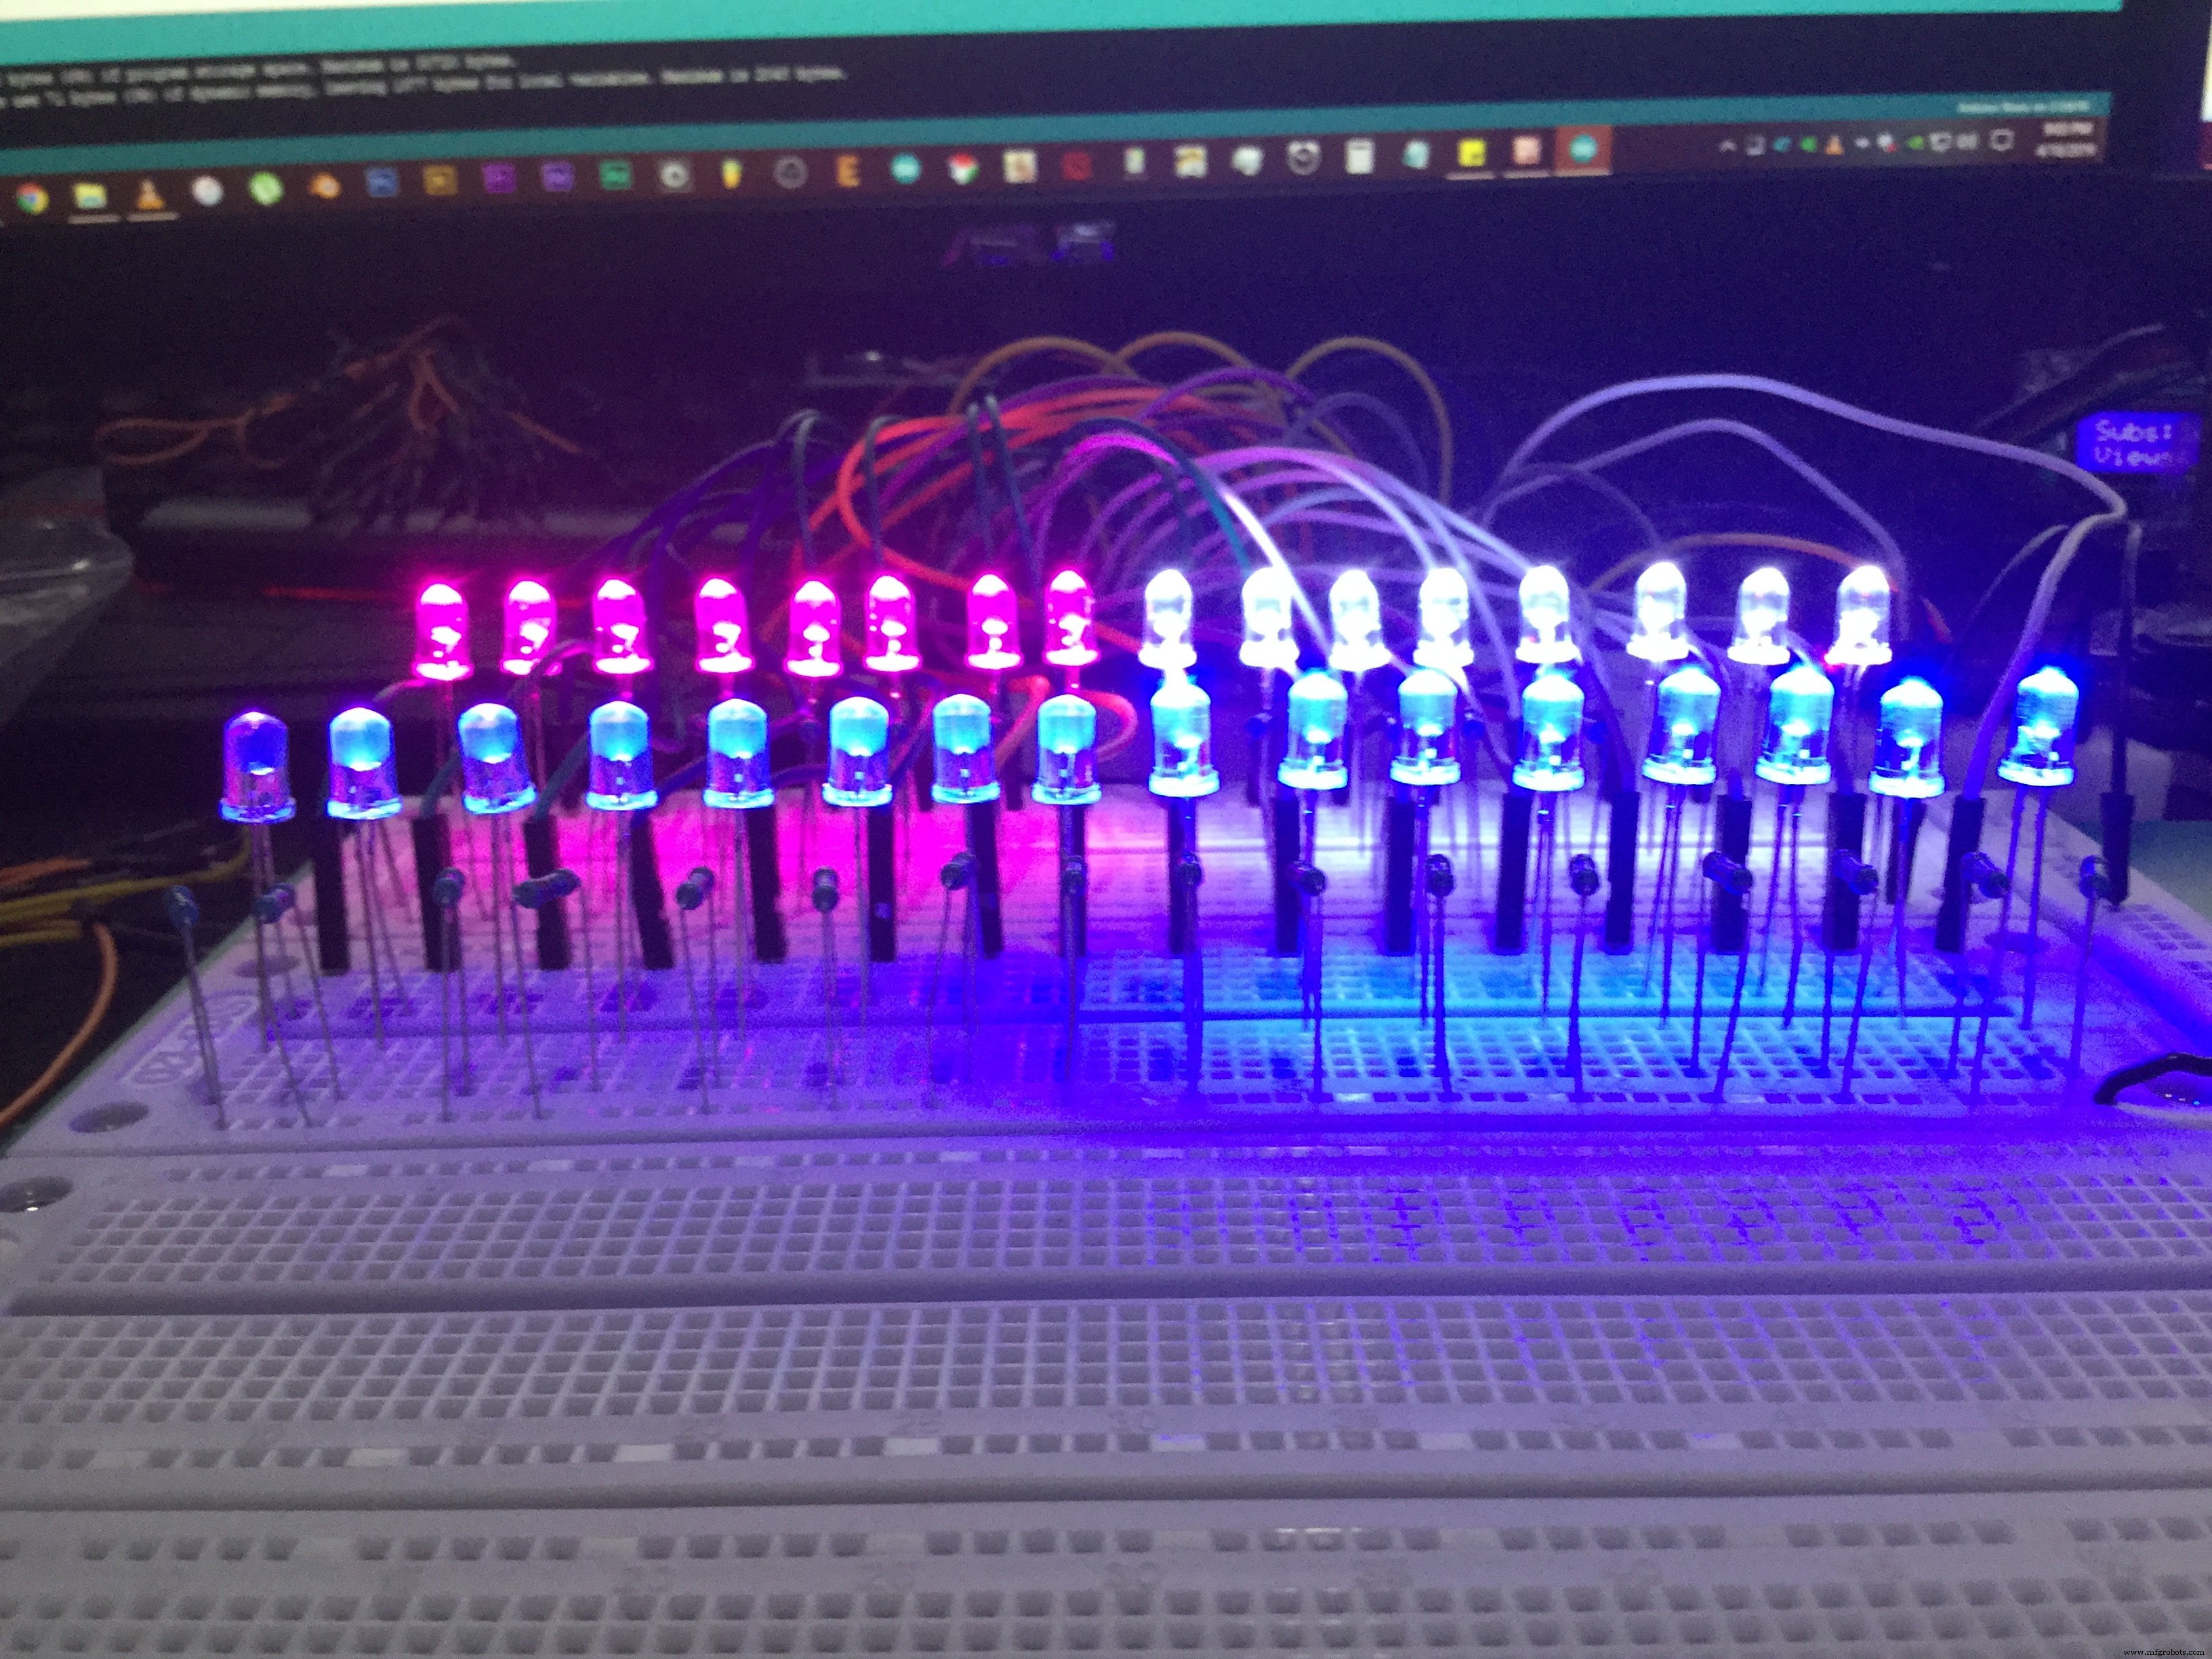
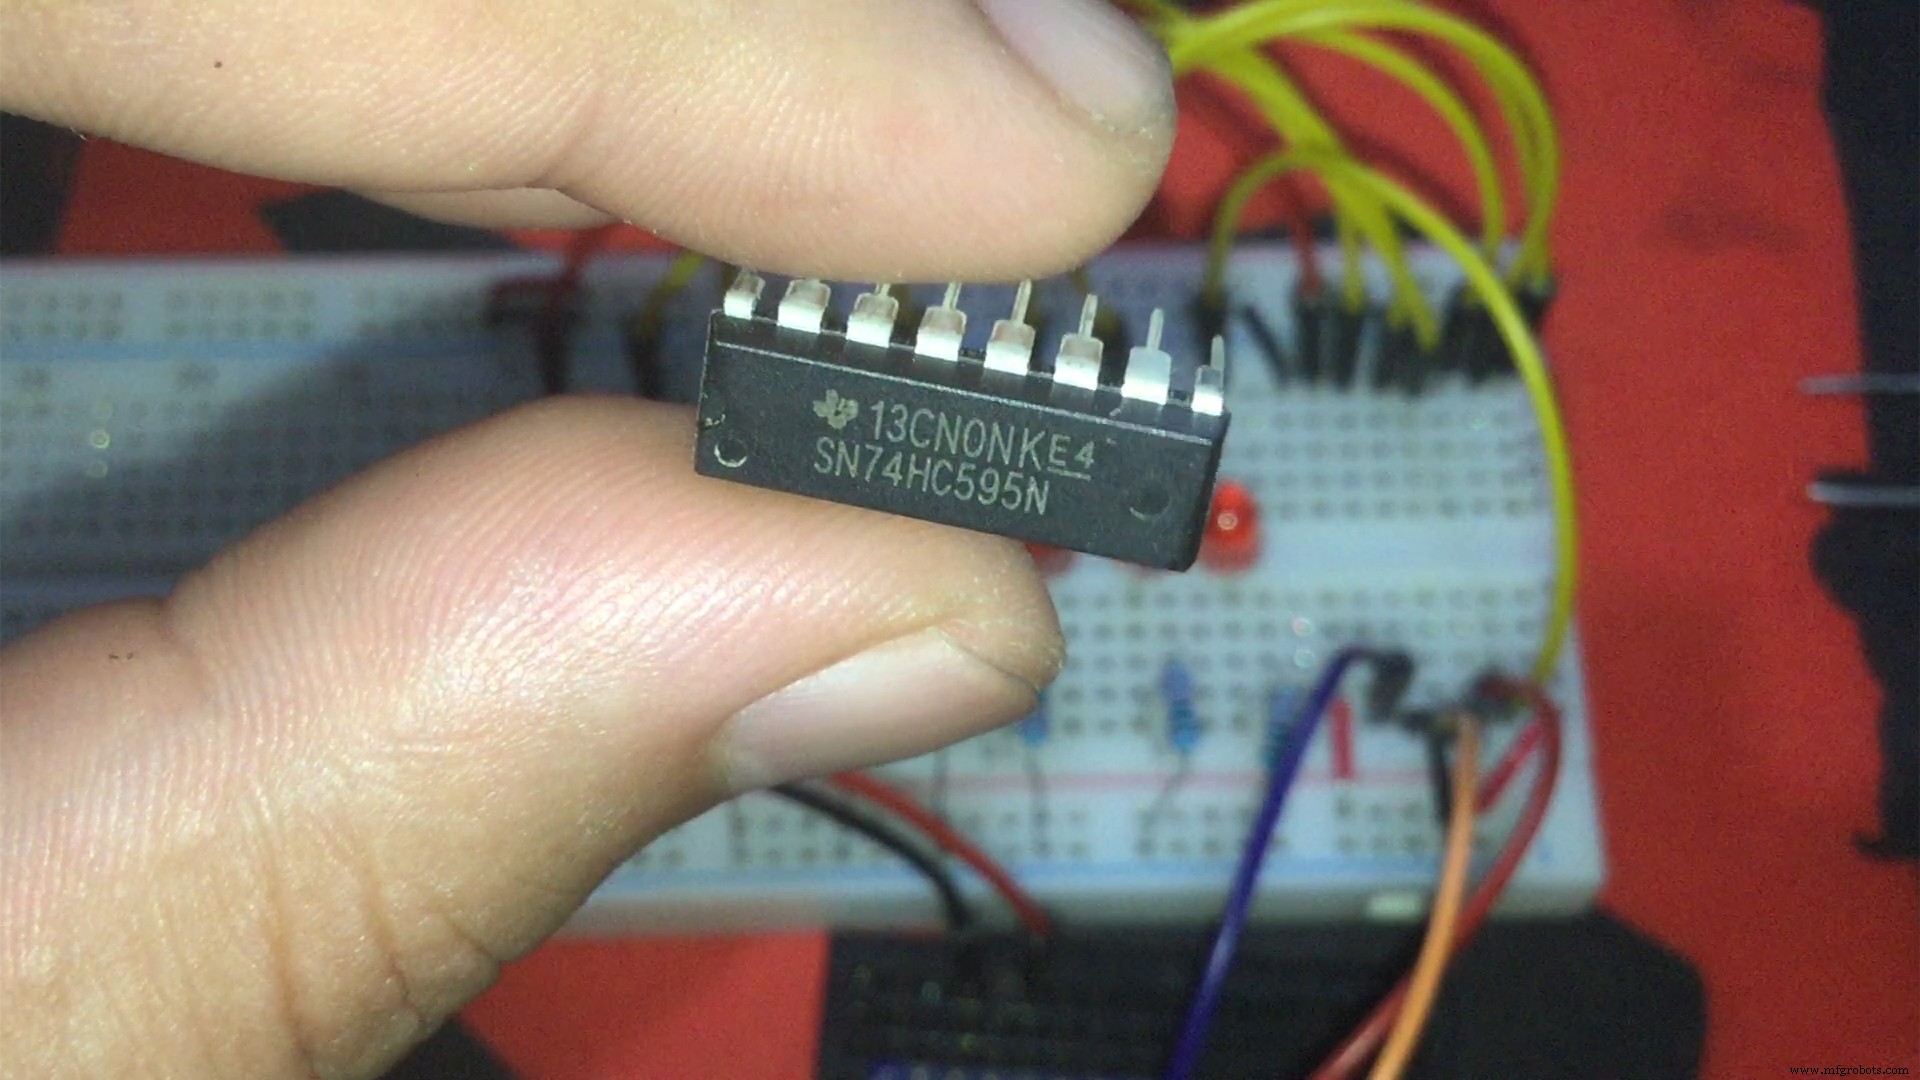
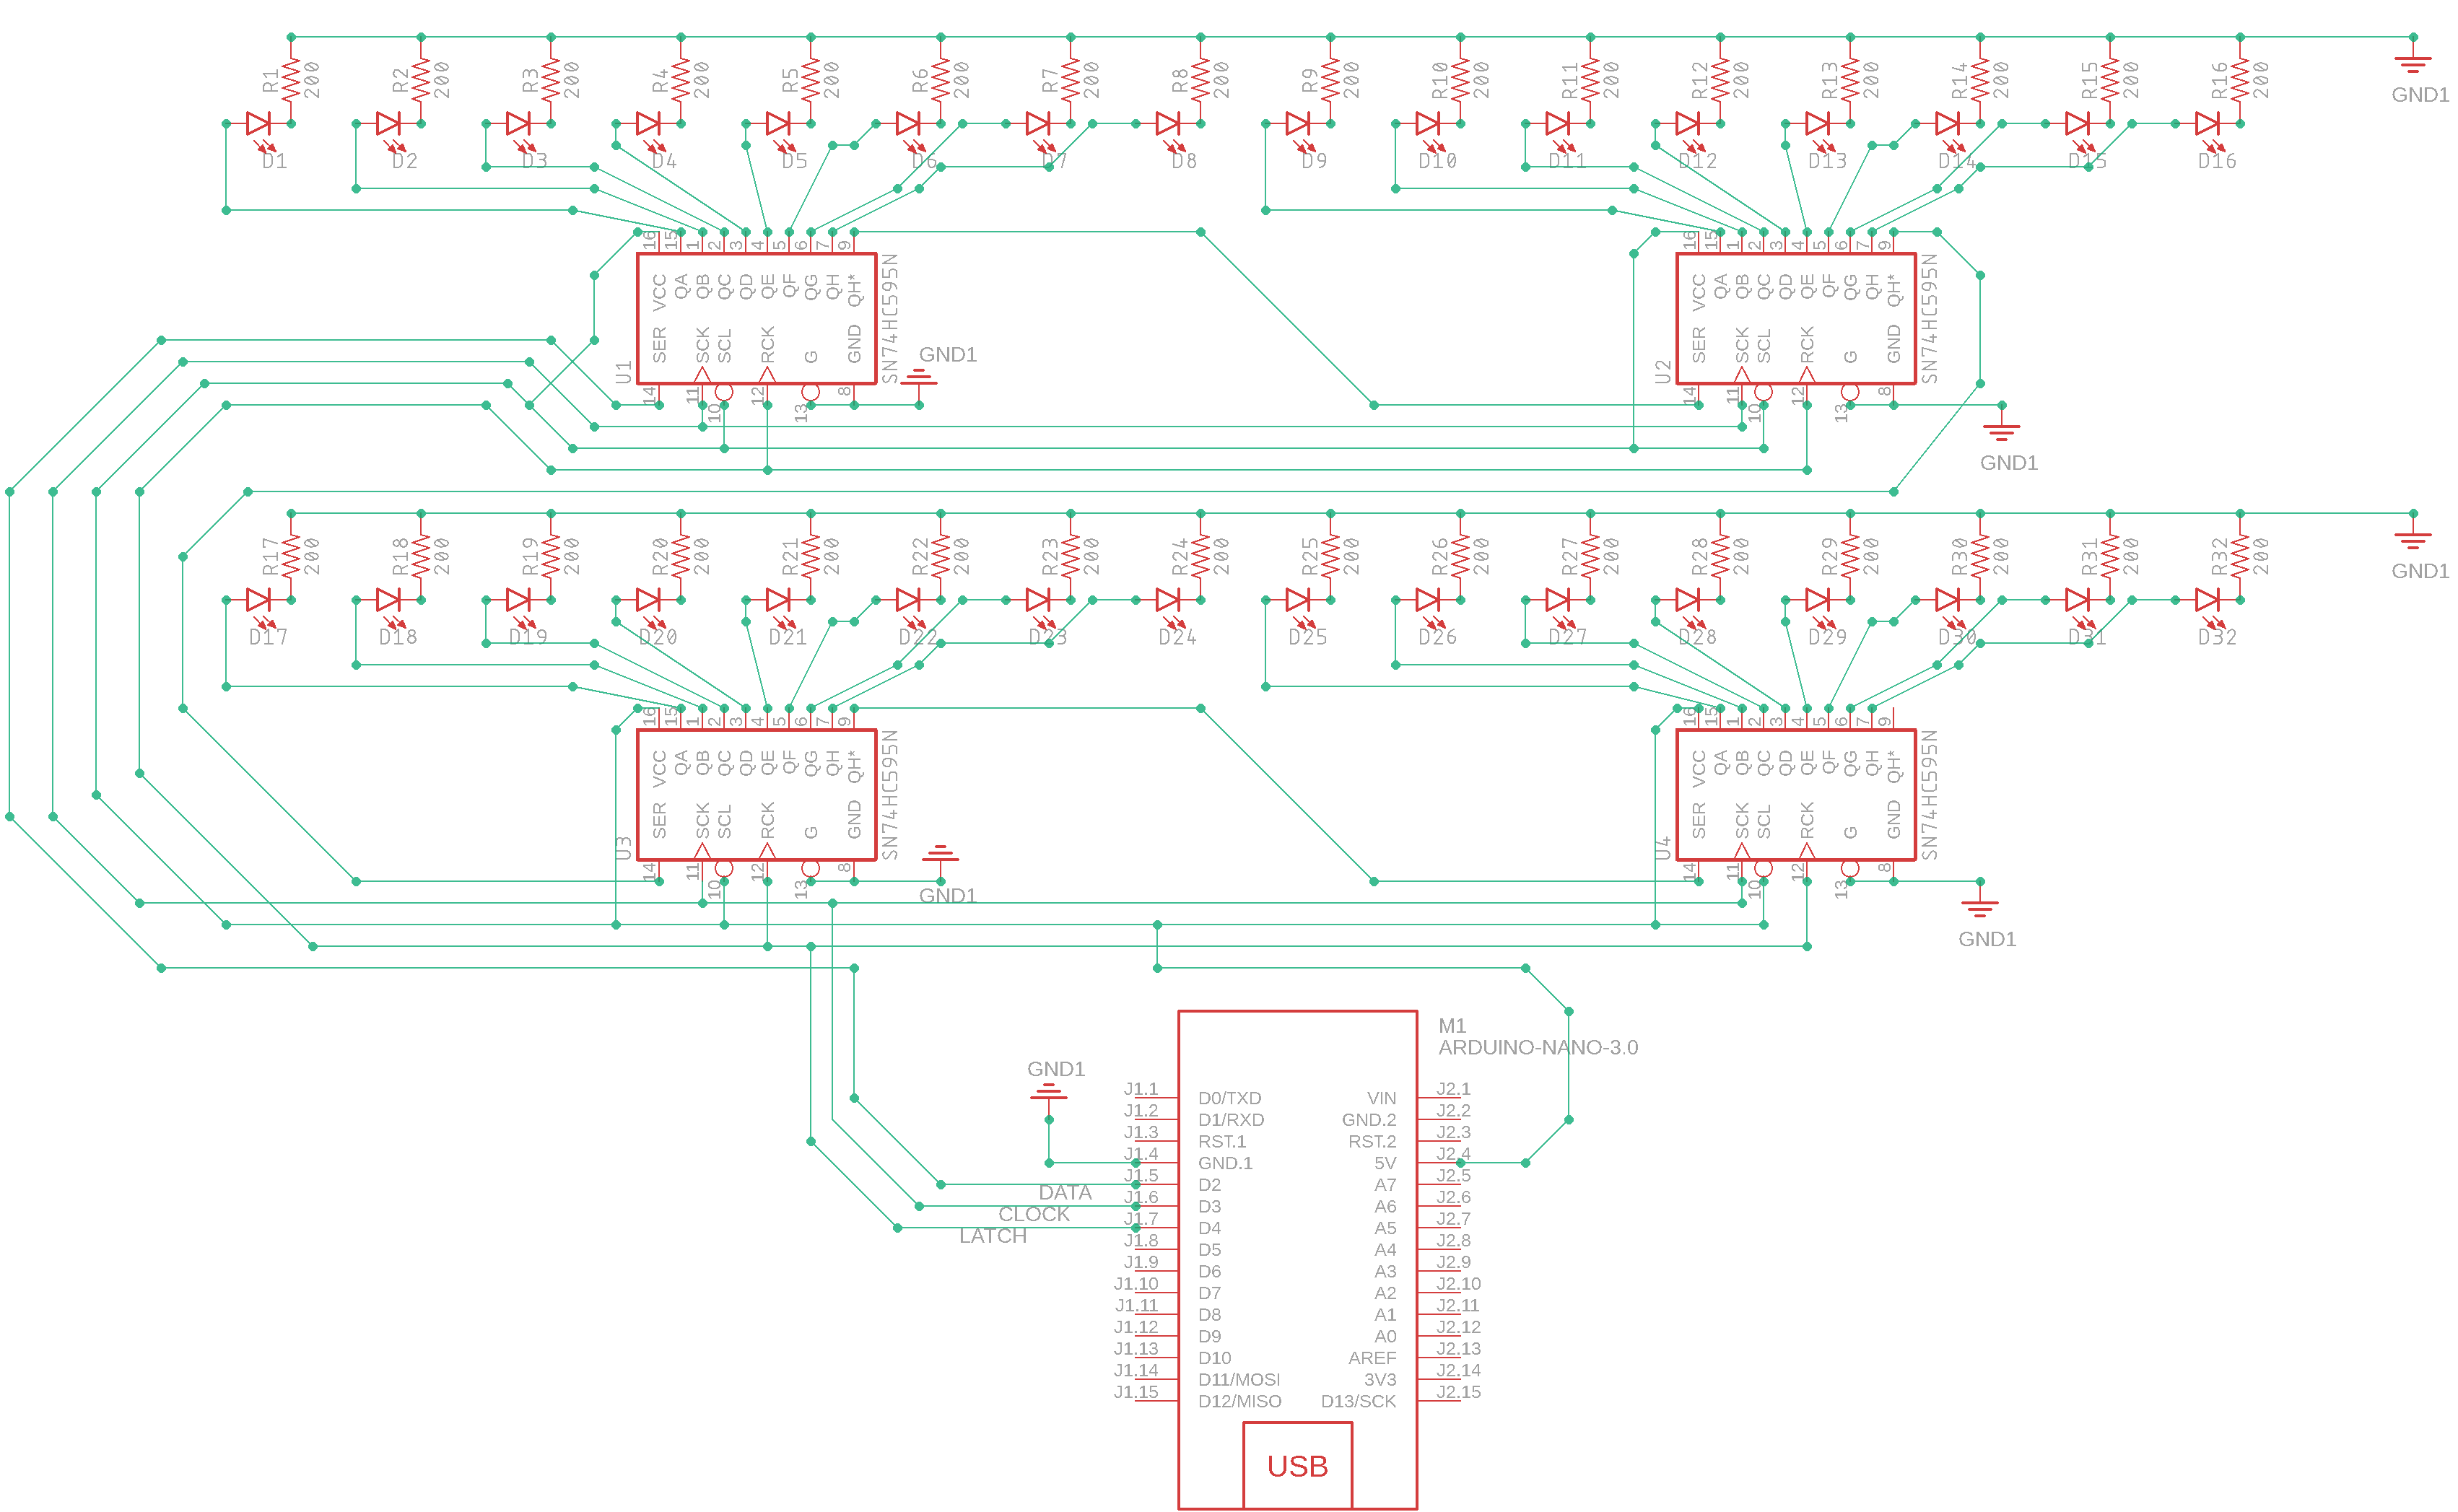
3 个引脚、32 个 LED、4 个移位寄存器 [74HC595]
组件和用品
 |
| × | 1 | |||
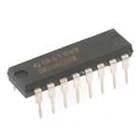 |
| × | 4 | |||
 |
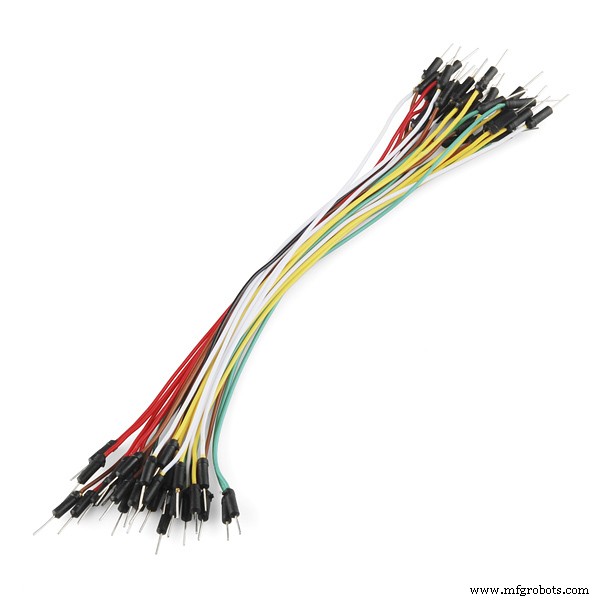
| × | 1 | |||
 |
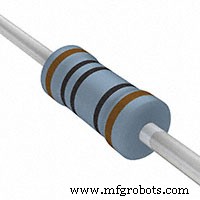
| × | 1 | |||
 |
| × | 1 | |||
| |
| × | 1 |
应用和在线服务
| |
|
关于这个项目
这是我为初学者和像我这样的 arduiNOOBS 创建的分步指南。
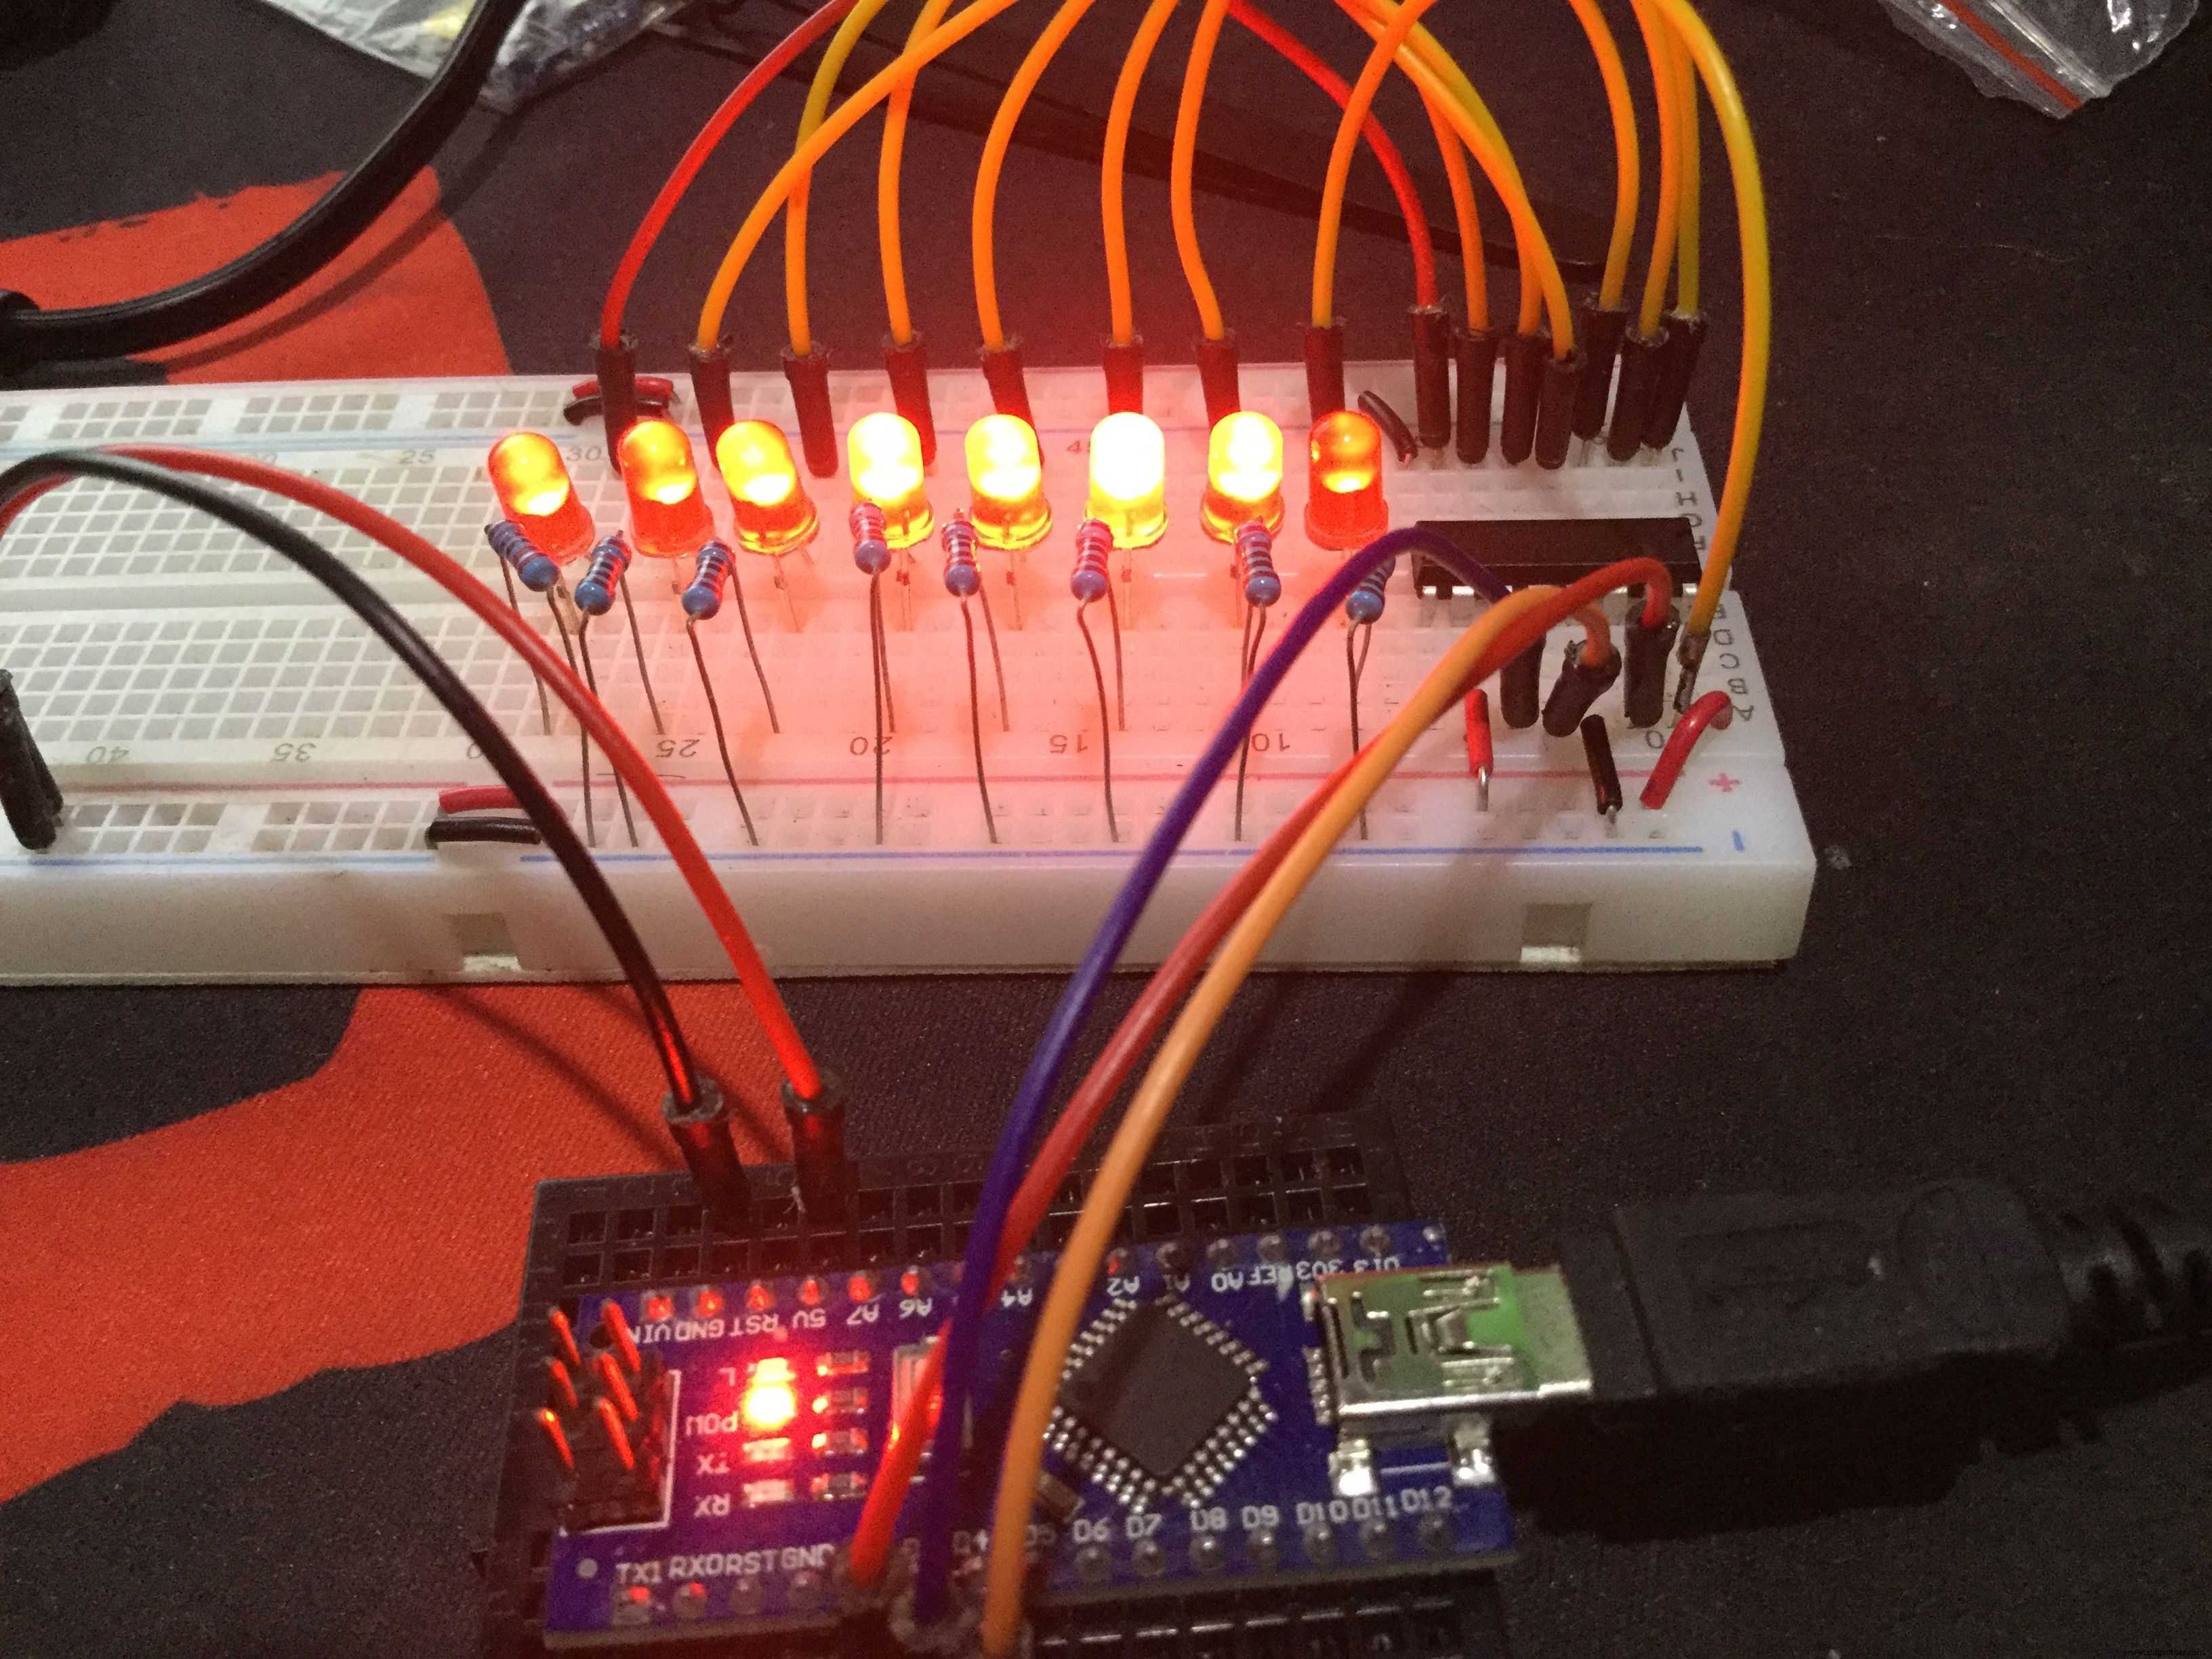
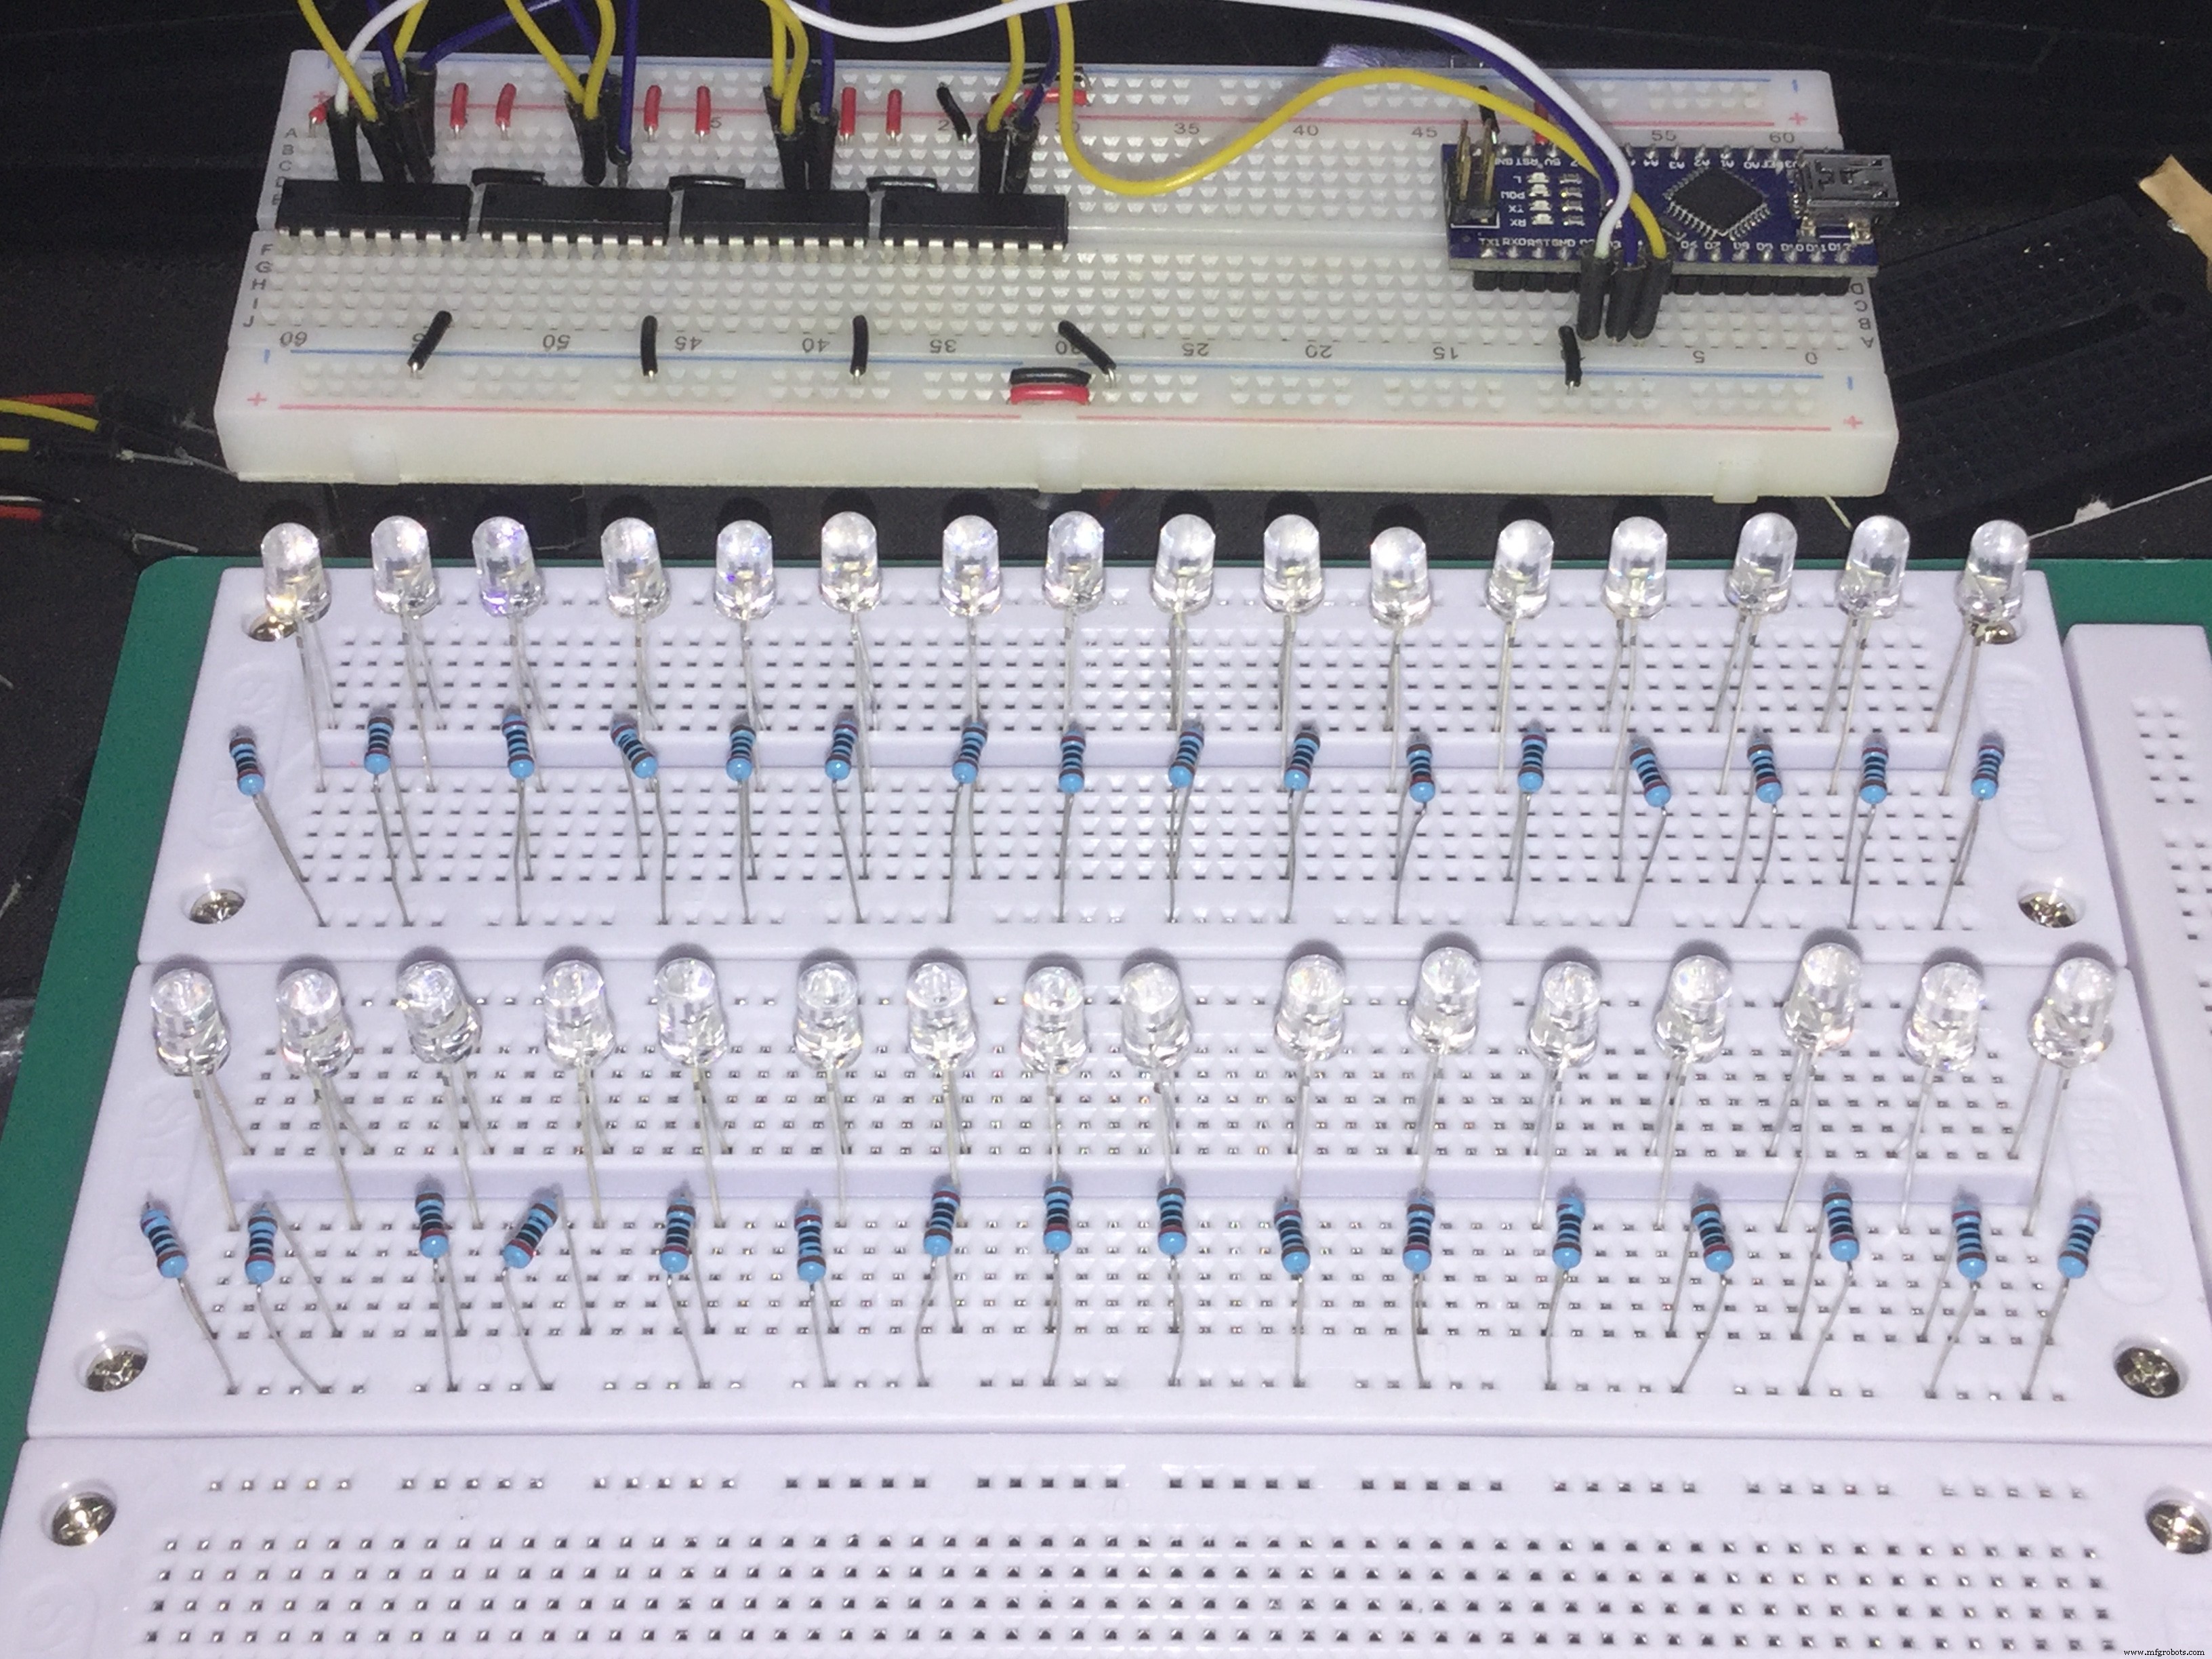
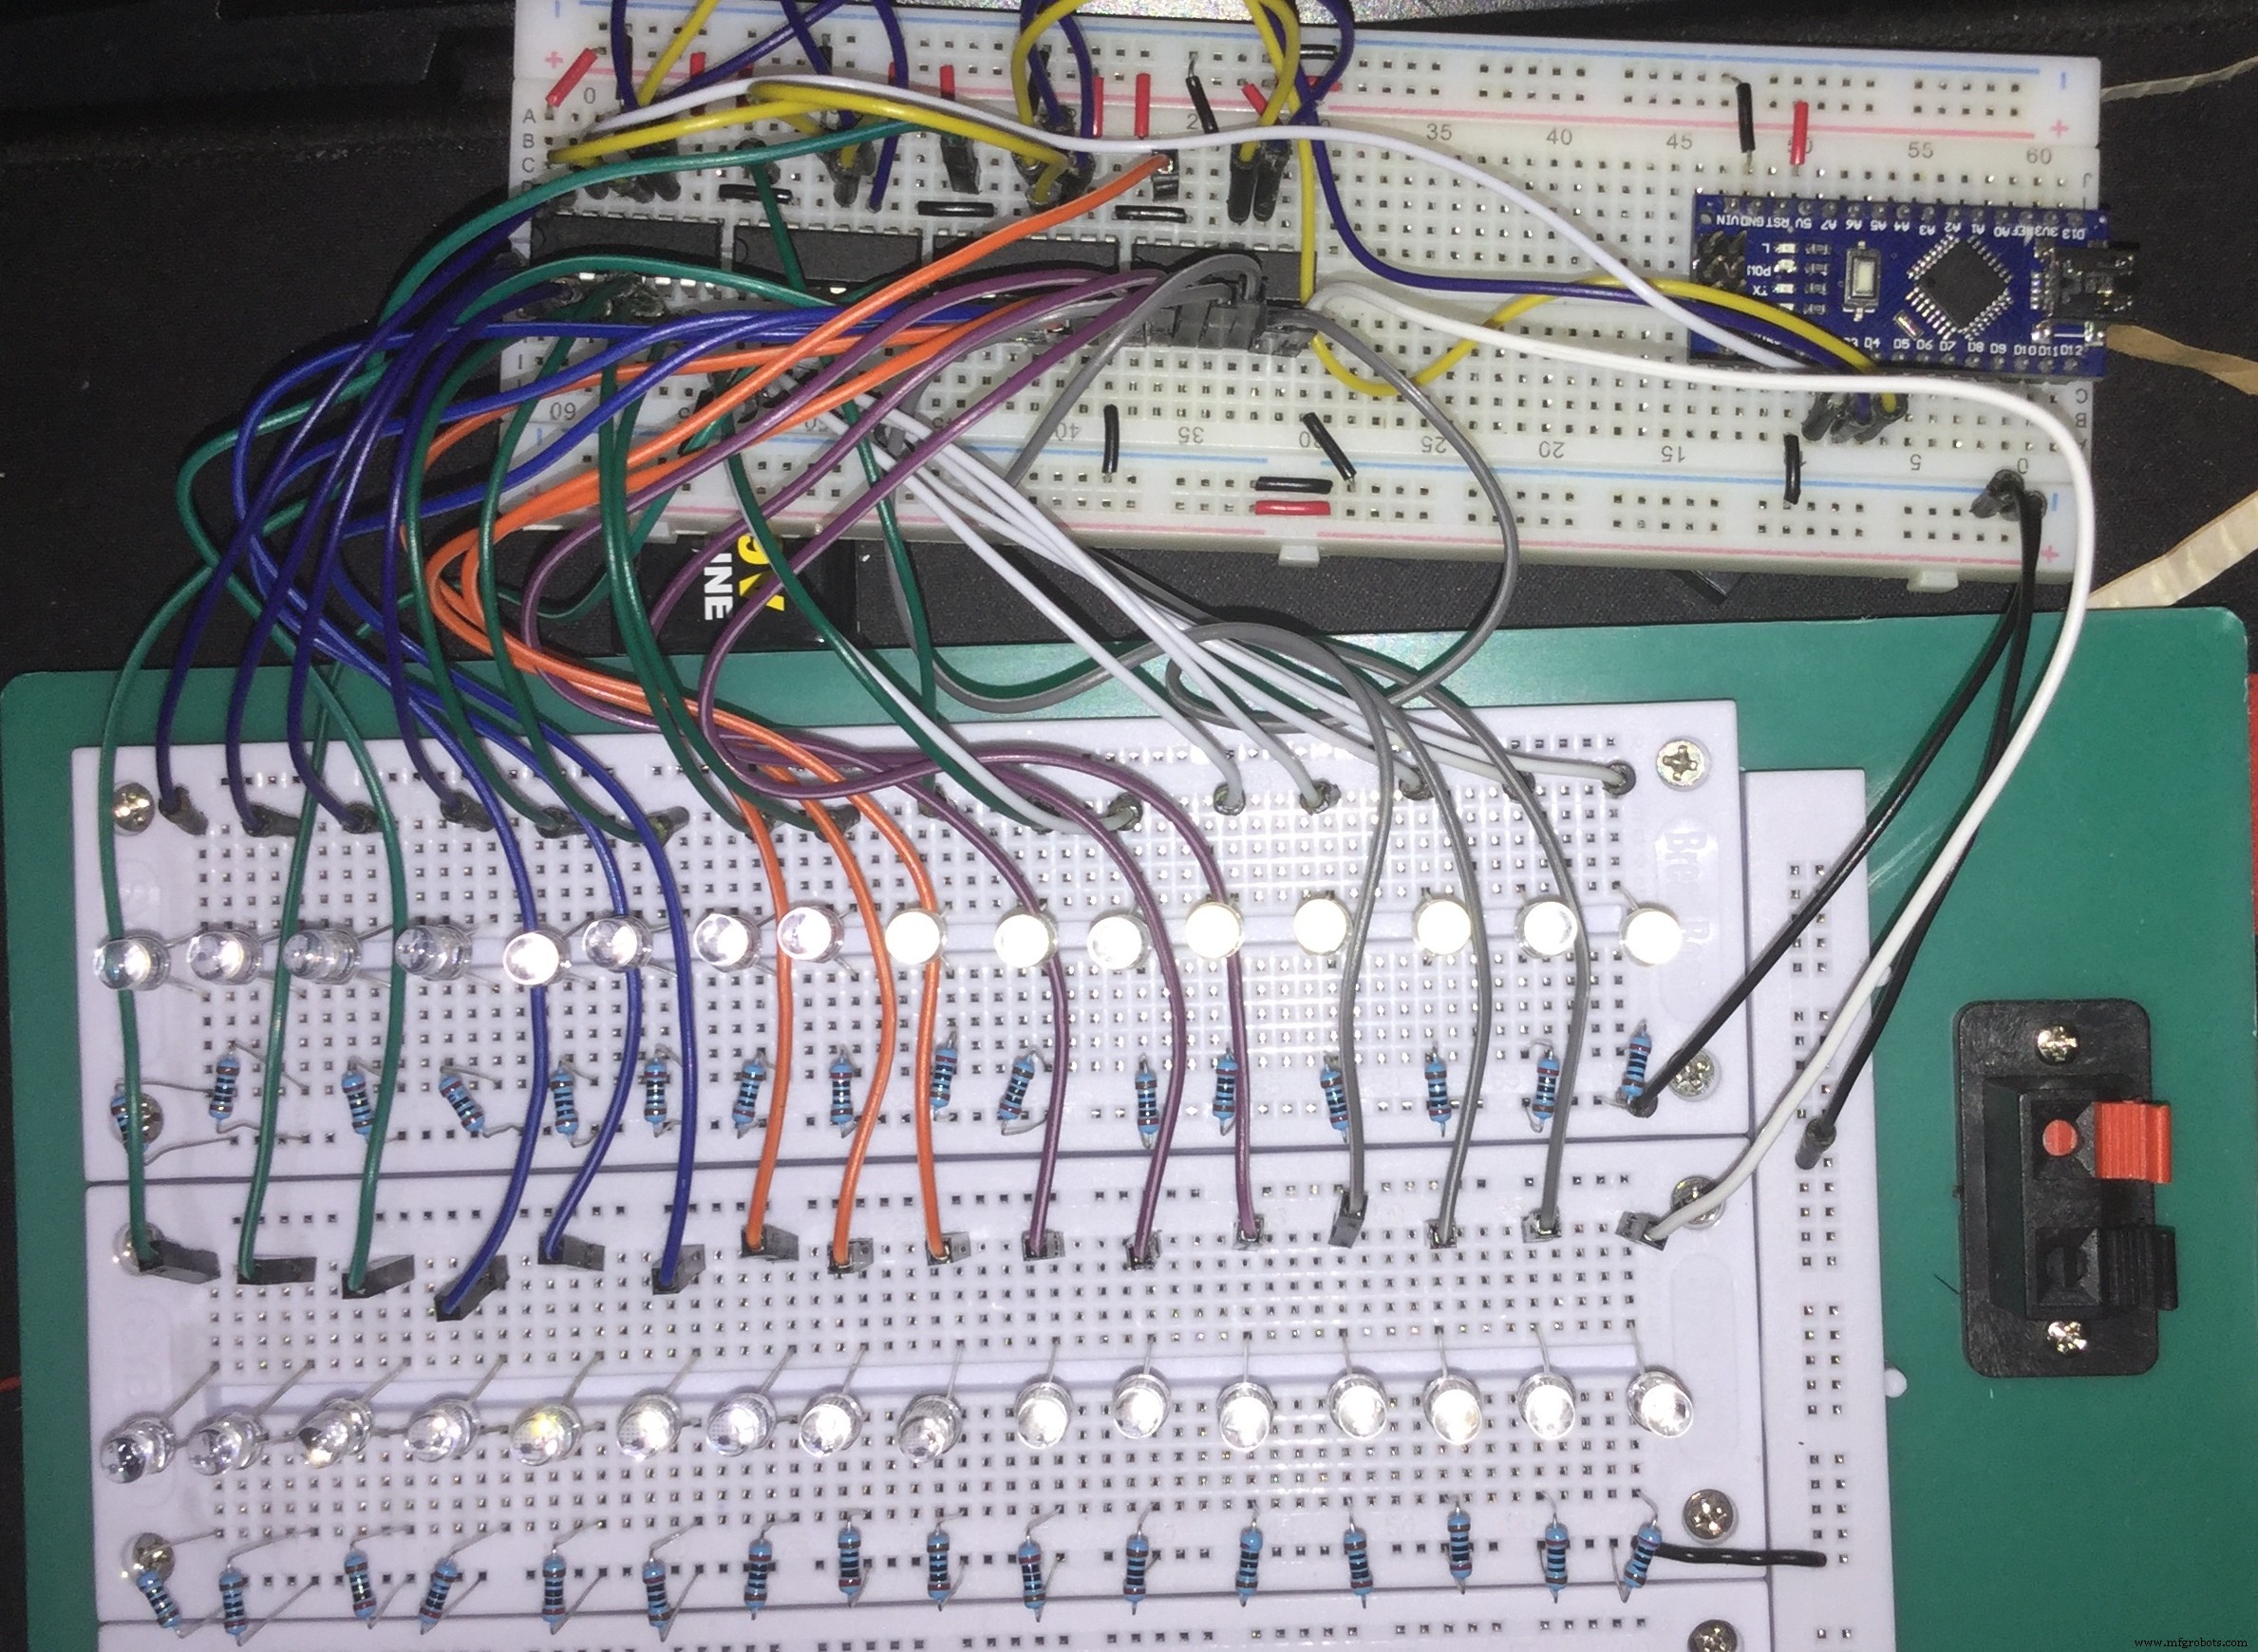
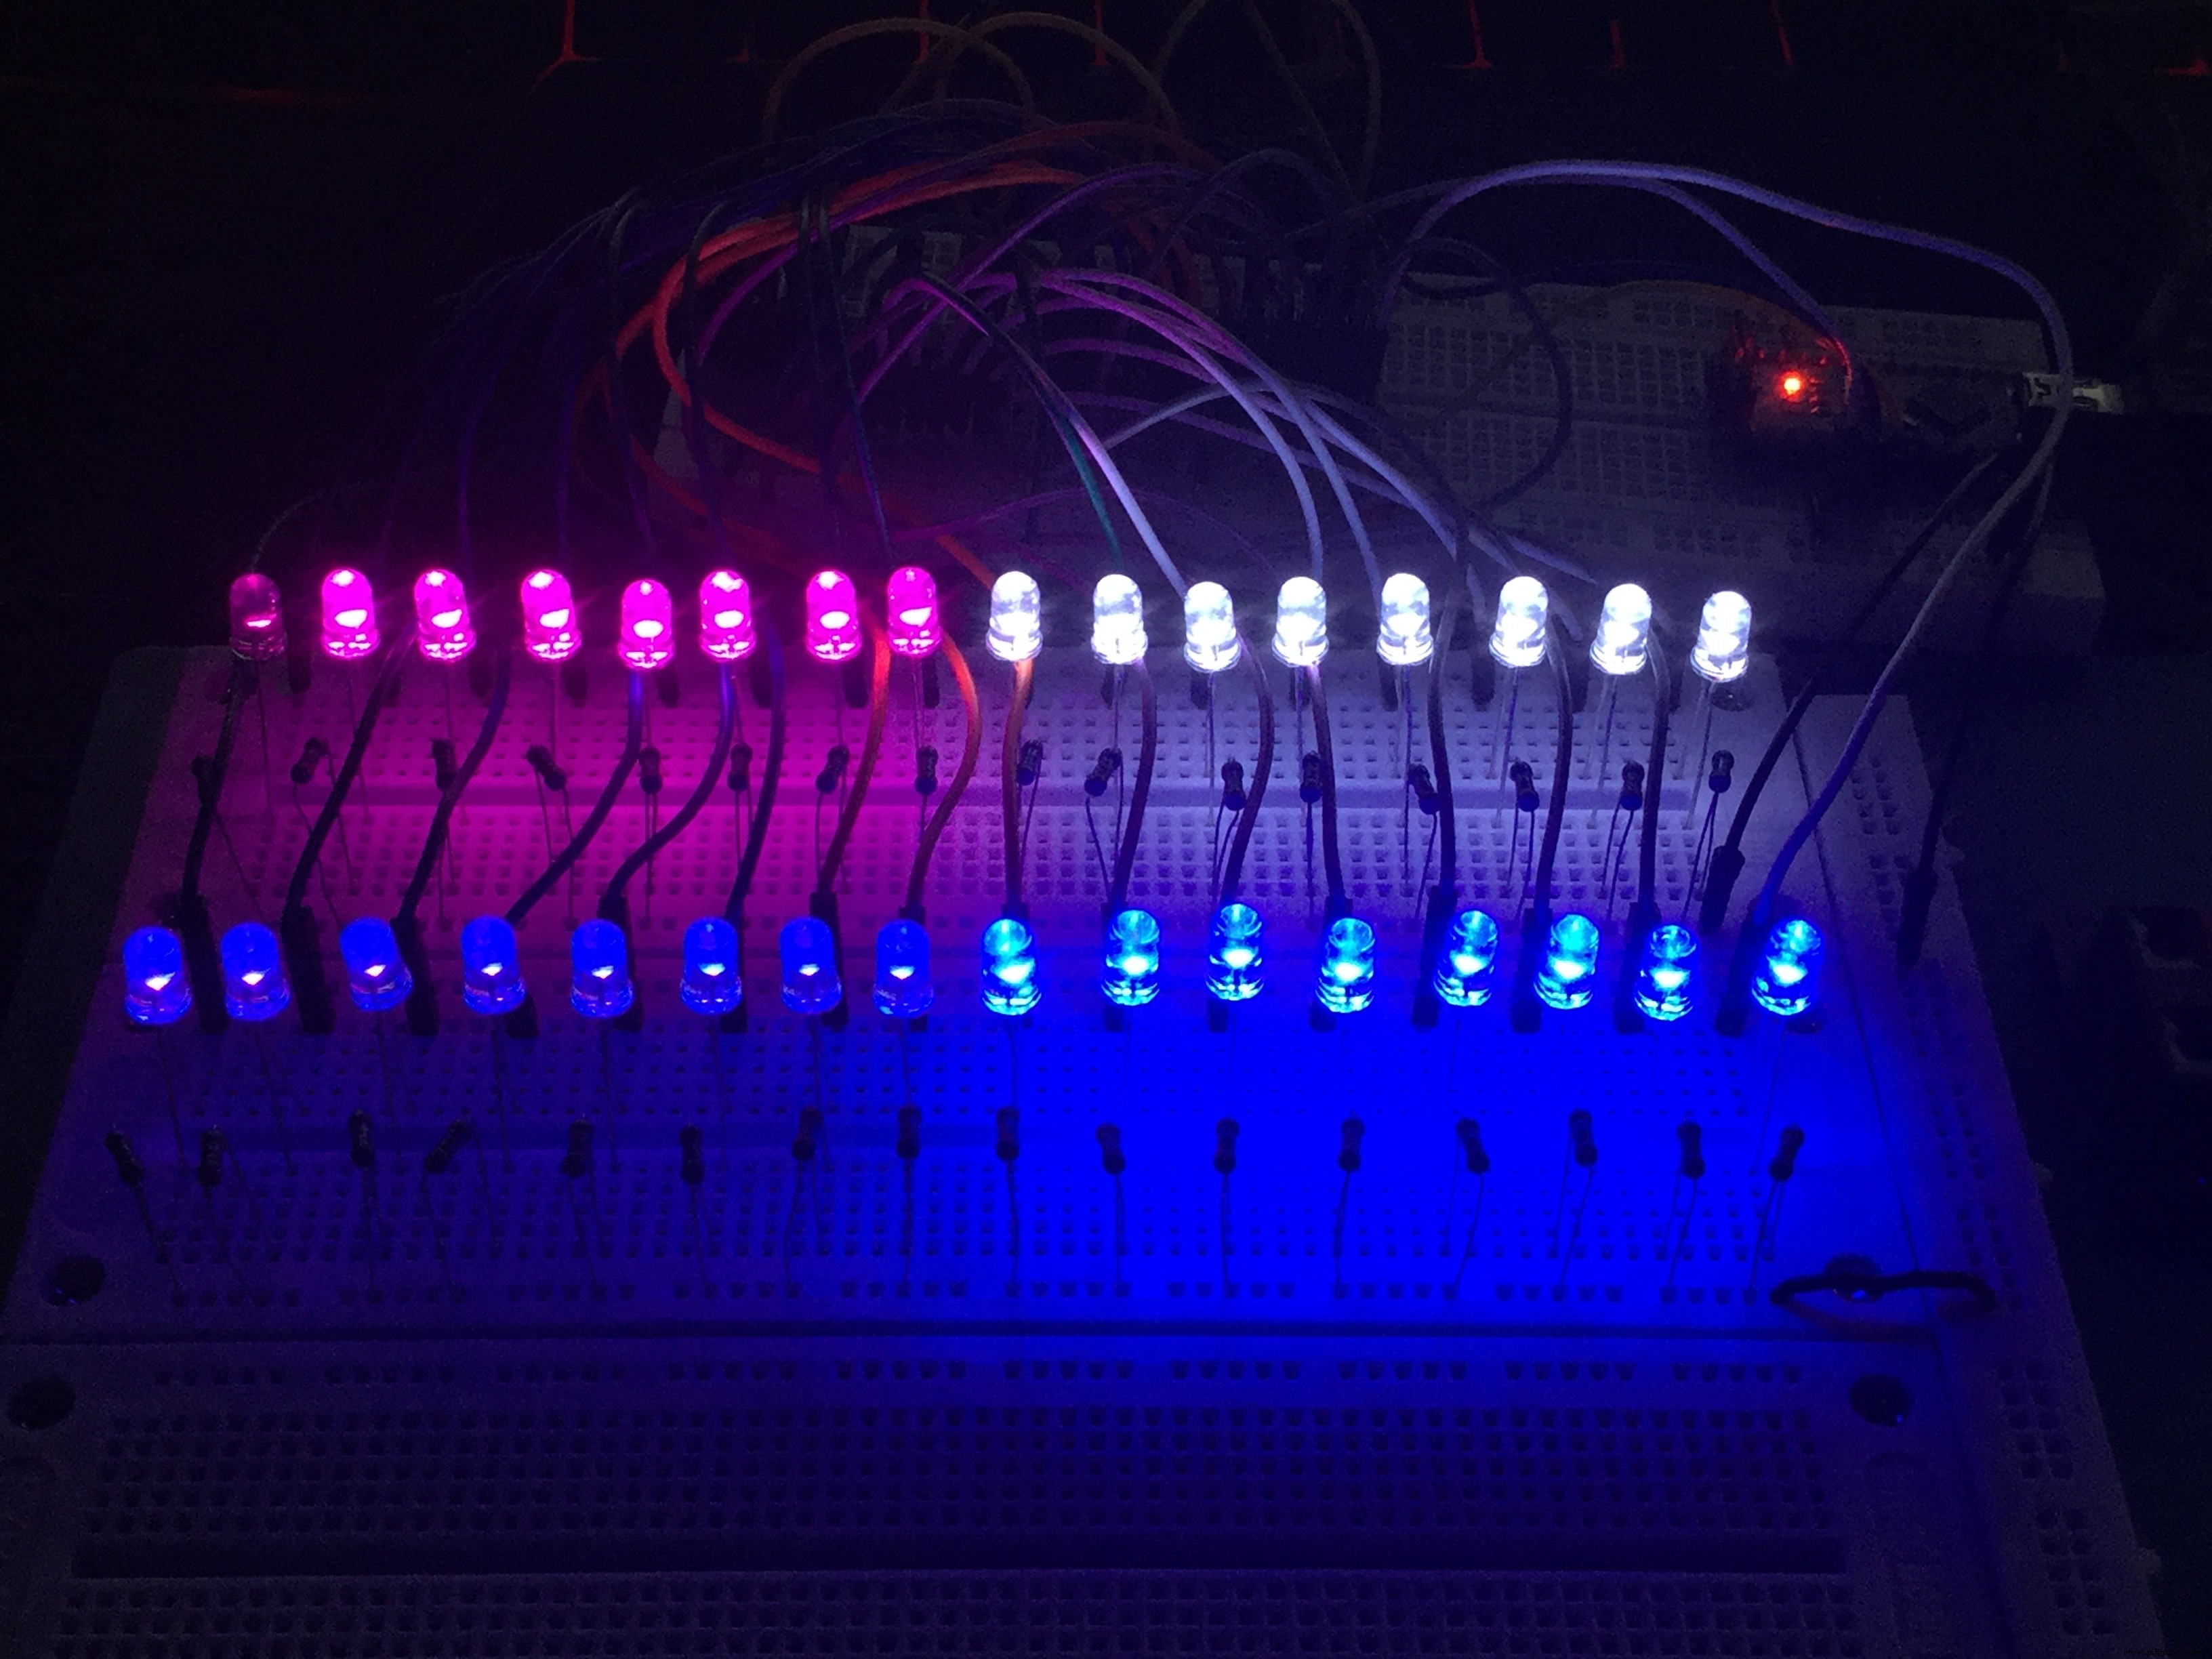
在本教程中,我们将讨论有关名为 74HC595 的 8 位移位寄存器的一些非常基本的知识。
了解如何将它们菊花链在一起并使用 HC595 库中的一些代码。
另外,我遇到了一些移位寄存器的问题。我不知道为什么。是不是因为实力不够?
****************************************************** ********************************
必要的链接:
HC595 库 - https://github.com/j-bellavance/HC595
数据表 - http://www.ti.com/document-viewer/SN74HC595/datasheet/specifications#SCLS0419845
更多信息:https://rastating.github.io/using-a-74hc595-shift-register-with-an-arduino-uno/
For 循环迭代:https://www.arduino.cc/en/Tutorial/ForLoopIteration
****************************************************** ********************************
要关注的社交媒体链接(我的意思是,如果您愿意):
脸书 - https://fb.me/HeathenHacks
推特 - https://twitter.com/HeathenHacks
Instagram - https://instagr.am/HeathenHacks
****************************************************** ********************************


代码
- 编辑了来自 HC595 库的示例代码。
编辑来自 HC595 库的示例代码。Arduino
#includeconst intchipCount =2; // 74HC595 串接数(最多 8 个)const int latchPin =4; // 74HC595const 的引脚 ST_CP (12) int clockPin =3; // 74HC595const的引脚SH_CP(11) int dataPin =2; // 74HC595的引脚DS(14)//ConstructorHC595 ledArray(chipCount,latchPin,clockPin,dataPin);int delayMs =30;int lastPin =ledArray.lastPin();void setup() { ledArray.reset();} void loop() { for (int i =0; i <=lastPin; i++) { ledArray.setPin(i, ON);延迟(延迟Ms); } for (int i =lastPin; i>=0; i--) { ledArray.setPin(i, OFF);延迟(延迟Ms); } for (int i =lastPin; i>=0; i--) { ledArray.setPin(i, TOGGLE);延迟(延迟Ms); } for (int i =0; i <=lastPin; i++) { ledArray.setPin(i, TOGGLE);延迟(延迟Ms); }}
J. Bellavance 先生的 HC595 图书馆
https://github.com/j-bellavance/HC595示意图
制造工艺