

10 个按钮使用 1 个中断
组件和用品
 |
| × | 1 | |||
 |
| × | 1 | |||
 |
| × | 21 | |||
 |
| × | 10 |
应用和在线服务
 |
|
关于这个项目
简介
中断很方便。除了有时使代码更简单之外,它们还可用于精确计时或将 Arduino 从睡眠模式唤醒。
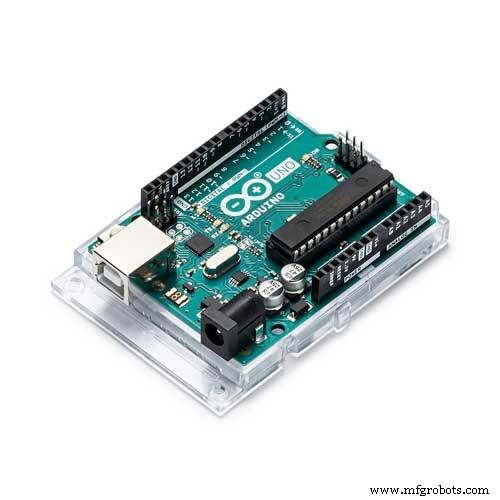
假设您有一个用户界面,例如一个使用电池供电的遥控器。您可能希望将 Arduino(或独立的 ATmega)置于断电模式以节省电量。当 Arduino 进入掉电模式时,它只能被外部中断唤醒。 Arduino Uno 中使用的 ATmega328P 芯片只有两个外部引脚中断。 (INT0 和 INT1 在引脚 2 和 3 上)由于用户界面可能有两个以上的按钮,这是一个问题。
标准的解决方法
这将正常连接所有按钮,但也将它们连接到带有二极管的中断引脚。然而,这确实使电路显着复杂化。
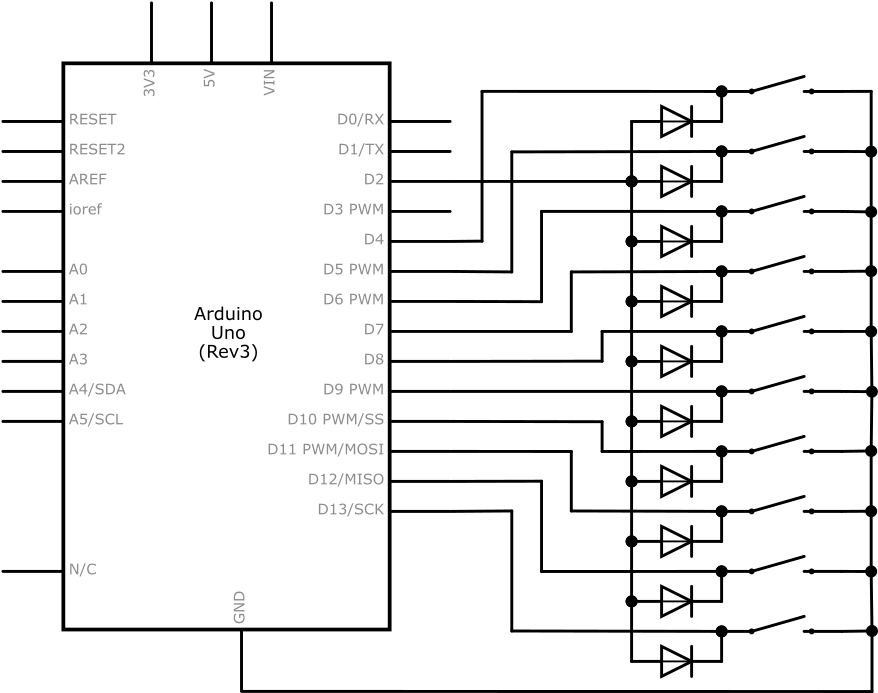
除了标准的外部中断,ATmega328P还有引脚变化中断。有一些库可以处理它们,它们很好地解决了这个问题。
然而,在一次编程比赛中,我想出了如何使用标准外部中断而不需要额外的电子元件来做到这一点。
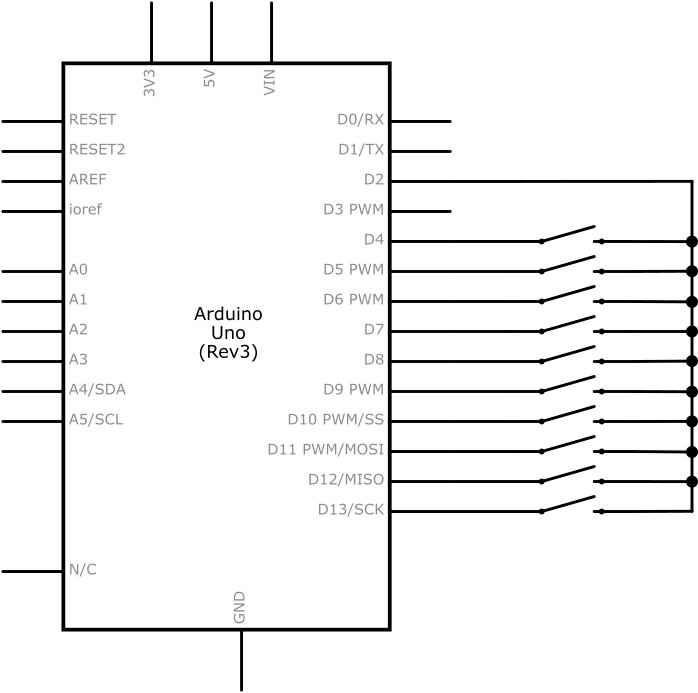
电路

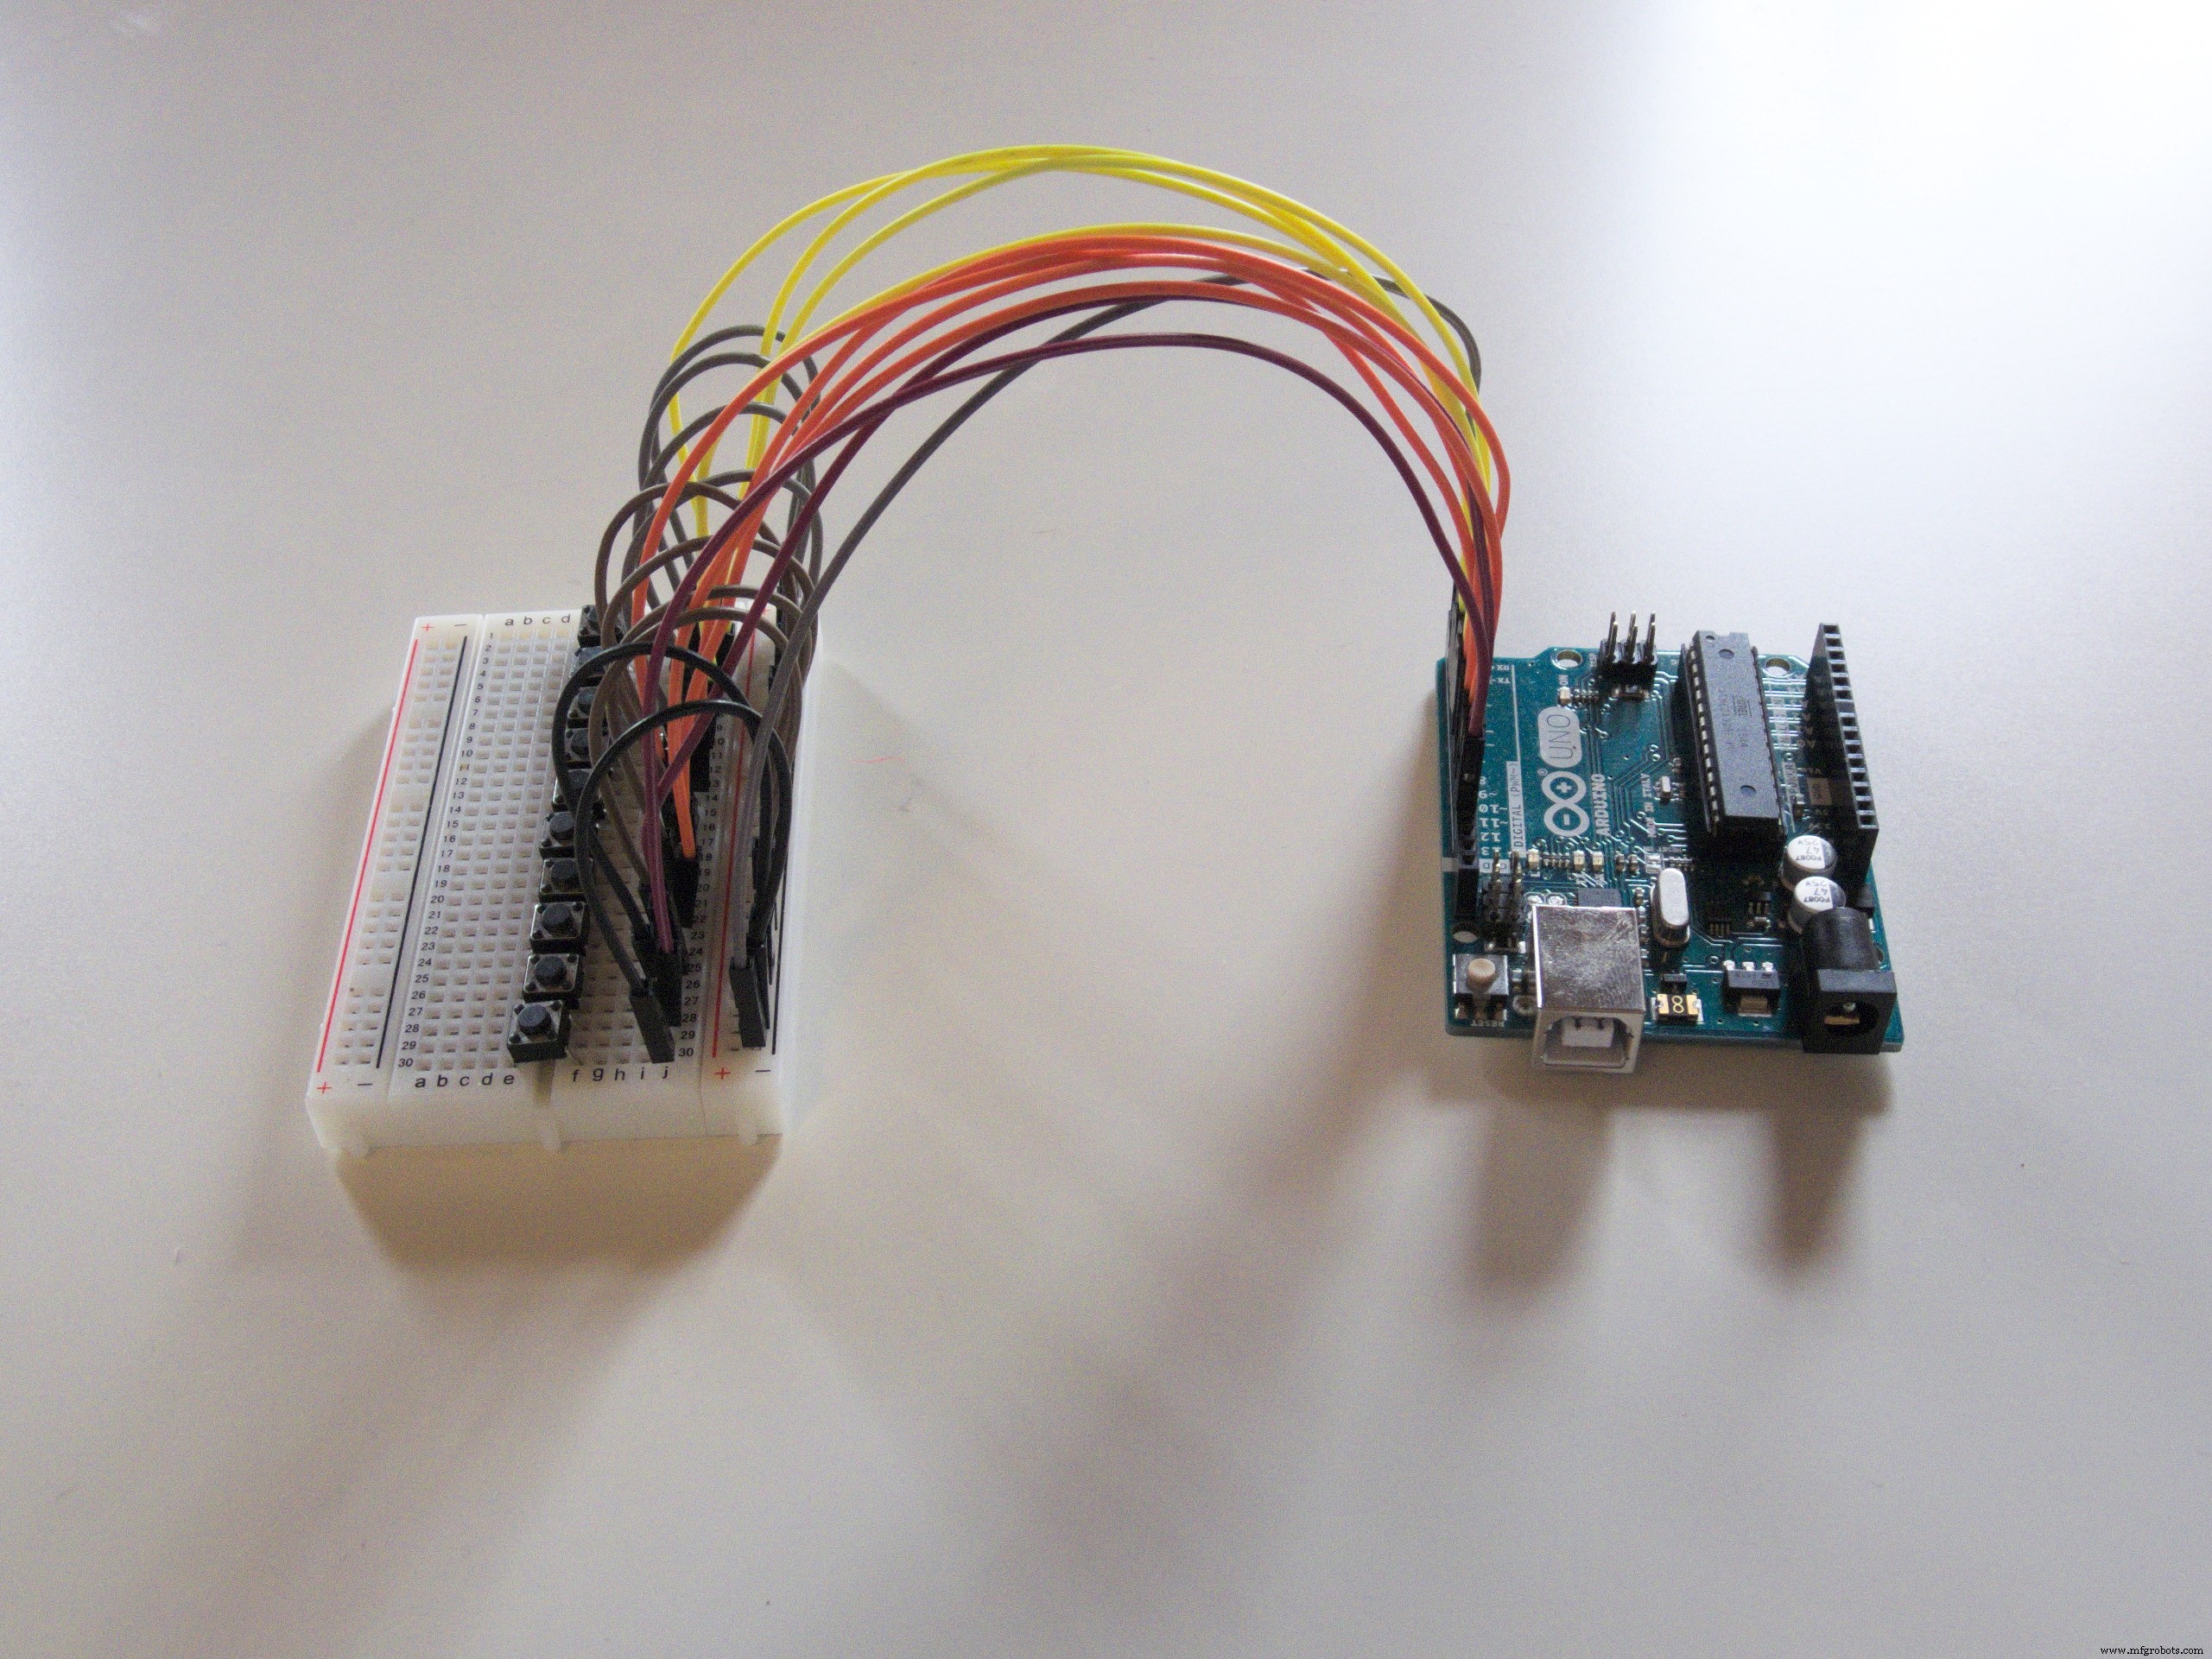
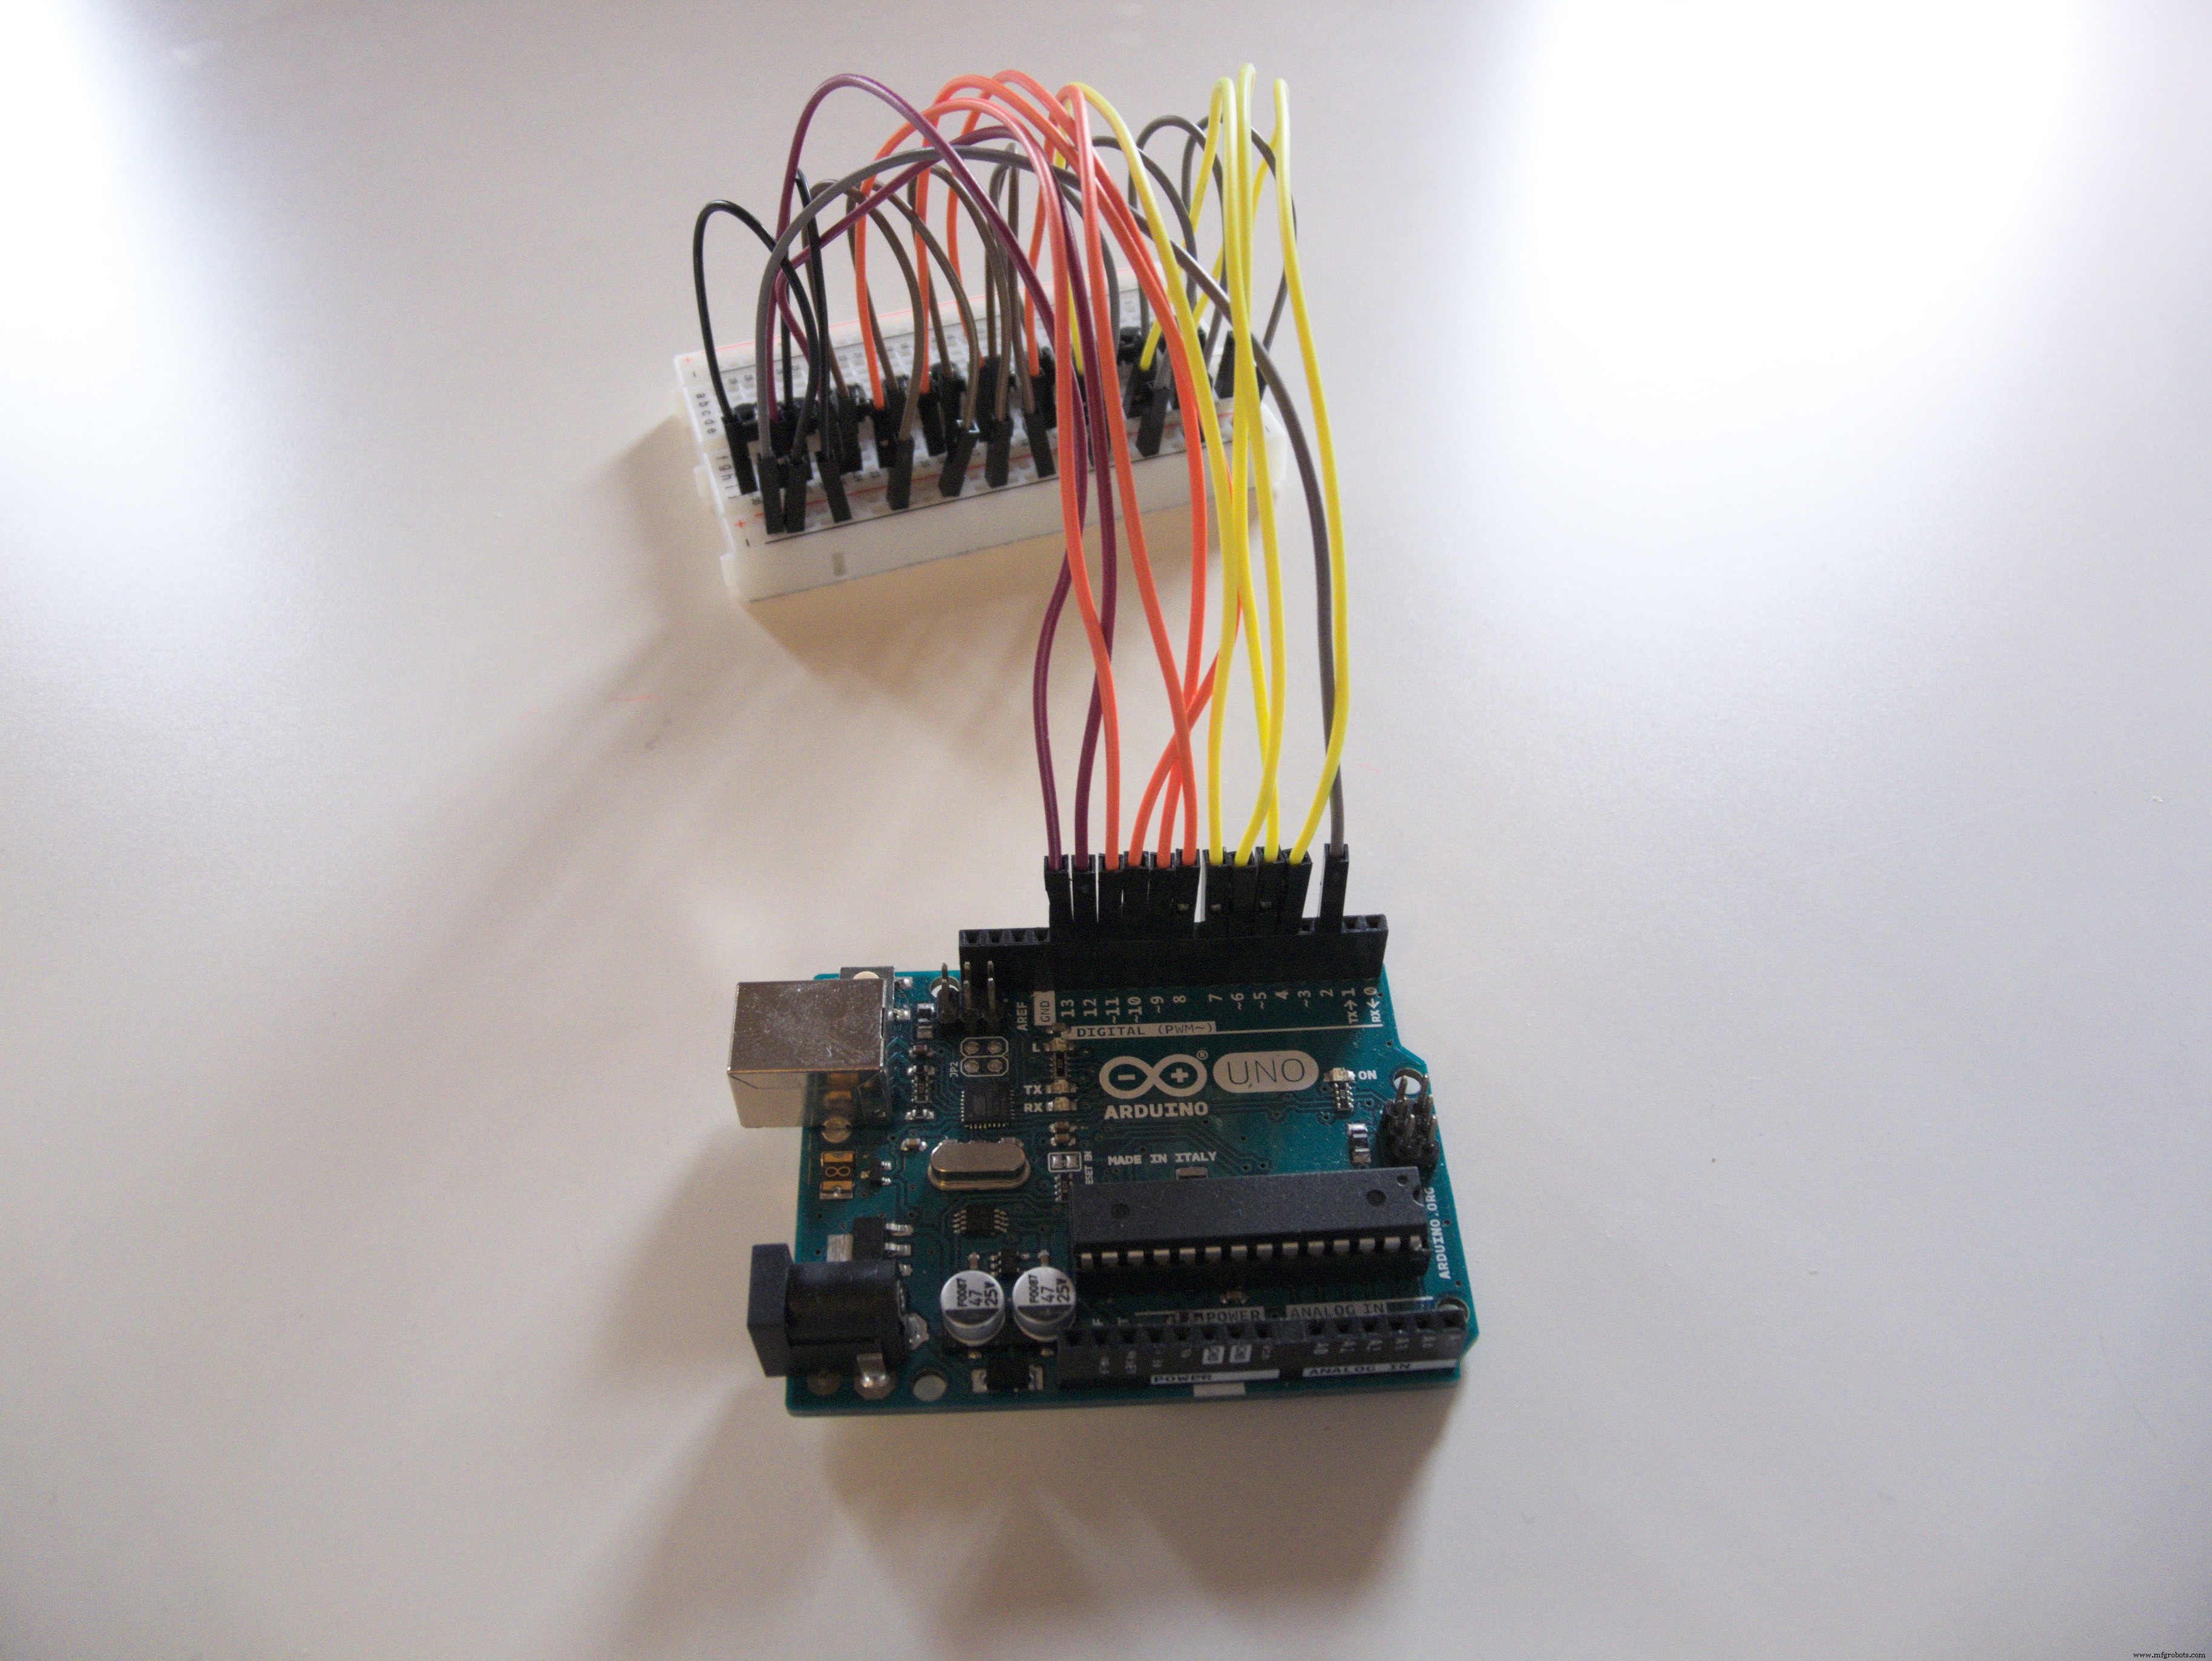
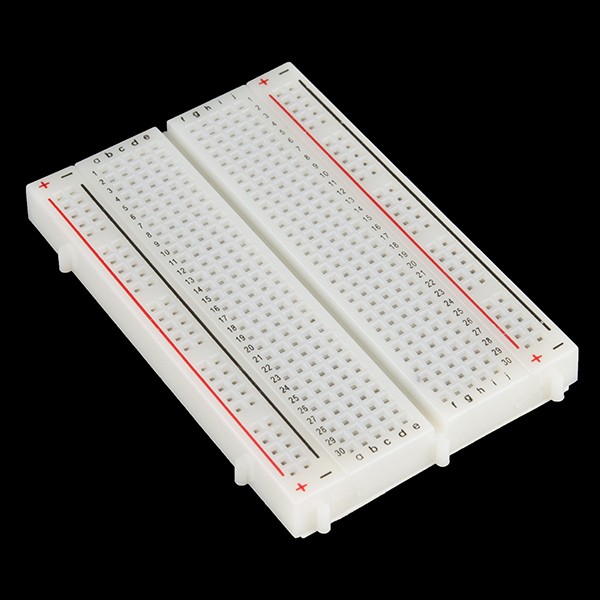
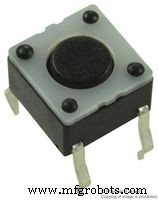
我们有几个按钮。我用了十个,非常适合我的面包板。 (我也没有更多。)每个引脚可以有一个按钮,这意味着 Uno 最多 20 个,Mega 最多 70 个! (如果你真的需要 70 个按钮,我建议你使用多路复用,你不需要整个 Mega。)
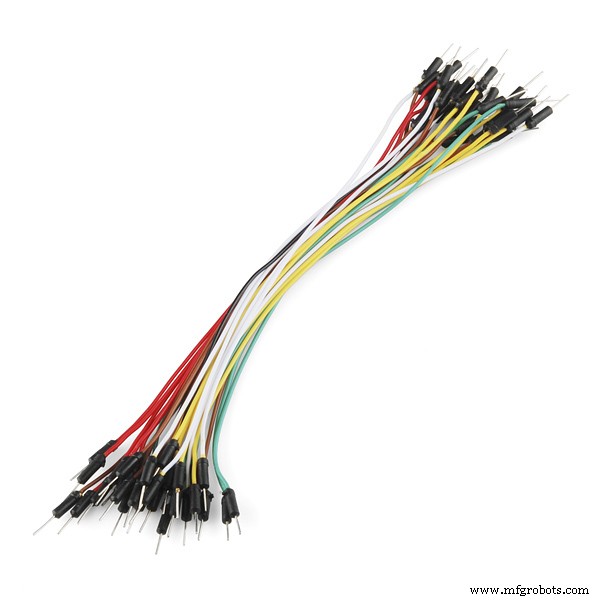
每个按钮的一侧连接到任意引脚。 (在我的情况下为 4-13)所有按钮的另一侧都连接到一个具有中断功能的引脚上。 (在我的情况下为 2)
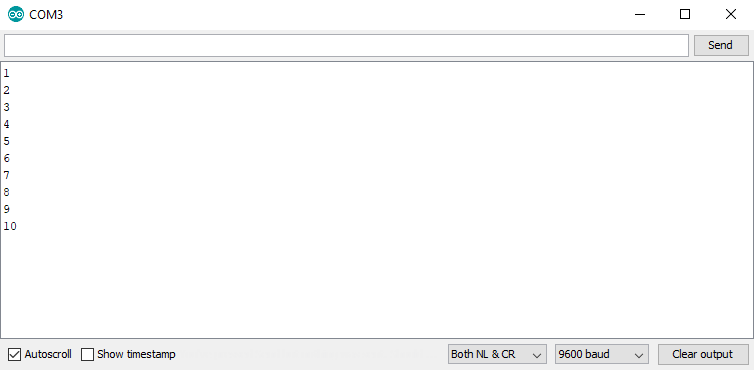
代码
代码附在下面。要使此示例正常工作,请将其上传到您的开发板。打开您的串行监视器。当你按下一个按钮时,它的编号就会出现。如您所见,根本没有使用循环函数。
它是如何工作的?
显然,有一个中断。在我的例子中,它连接到引脚 2。它被配置为 FALLING .
为了避免使用二极管,Arduino 会即时重新布线电路。有两种可能的配置:普通模式 和独特的模式 .
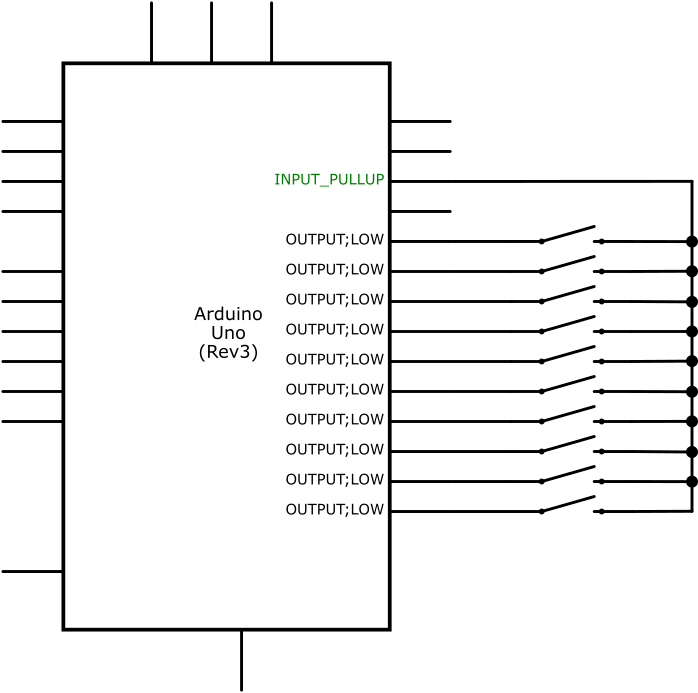
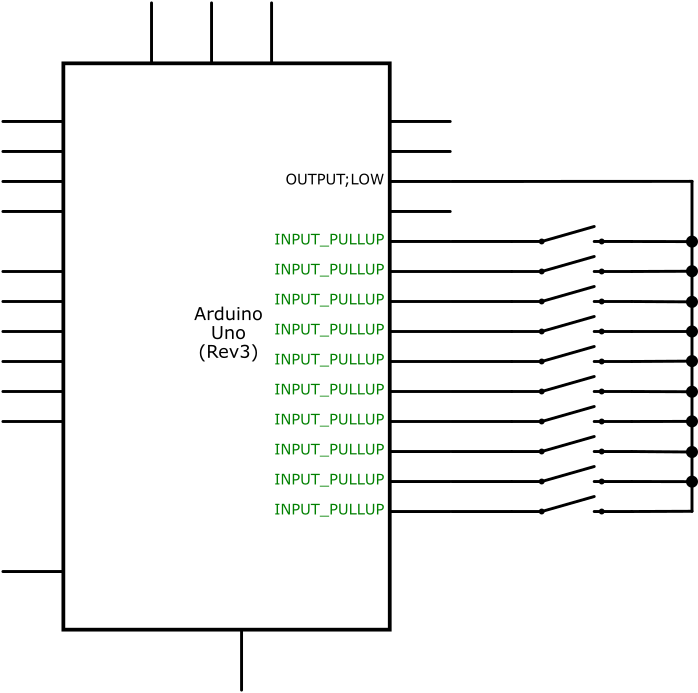
共模
大多数时候,电路将处于共模状态。中断引脚将被配置为 INPUT_PULLUP 剩下的就是 OUTPUT 和 LOW .
void configureCommon() { pinMode(commonPin, INPUT_PULLUP); for (int i =0; i 在普通模式下,按下任何按钮都会拉低我们的中断引脚并触发我们的中断。一旦发生这种情况,我们的中断服务程序将重新配置不同模式的引脚。
独特的模式
一旦我们的中断触发,我们就会迅速切换到不同模式。
区别模式与共模相反。中断引脚将是 OUTPUT 和 LOW 其余的将是 INPUT_PULLUP .
void configureDistinct() { pinMode(commonPin, OUTPUT);数字写入(commonPin,低); for (int i =0; i 在不同模式下,只有与实际按下的按钮对应的引脚才会被下拉。我们可以轻松查看所有引脚以找出触发中断的引脚。
完成后,Arduino 可以切换回普通模式并等待另一个中断。或者,根据您的应用程序,它可以保持不同模式并像往常一样处理用户输入,在 Arduino 进入睡眠状态之前切换回普通模式。
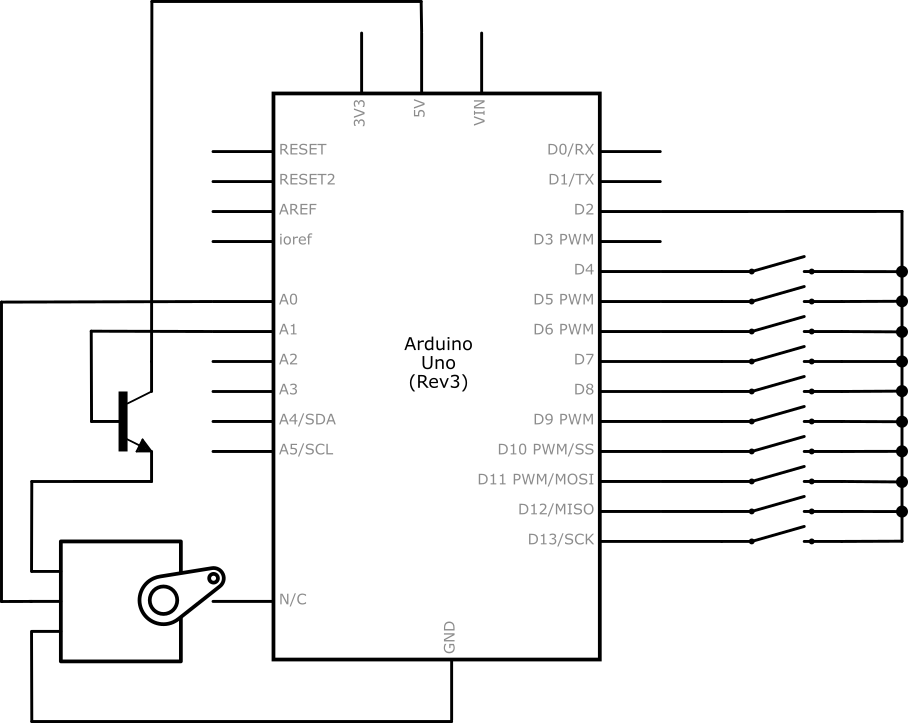
一个更复杂的例子
让我们尝试一些更复杂的东西。我们将附加一个伺服器并将每个按钮映射到不同的角度。 (1=0°,2=20°... 10=120°)我们还将用几块电池为我们的 Arduino 供电。


在此示例中,我们在 Arduino 处于非活动状态 5 秒后将其置于断电模式以节省电量。你可以在网上找到一些关于睡眠模式的教程。除此之外,我们还通过晶体管为伺服器供电,以便在不使用时将其关闭。
下面还附上了这个例子的代码。
代码
- 串行记录器
- 带睡眠模式的伺服
串行记录器Arduino
const int commonPin =2;const int buttonPins[] ={4,5,6,7,8,9,10,11,12,13};unsigned long lastFire =0;void setup() { configureCommon( ); // 为中断设置引脚 attachInterrupt(digitalPinToInterrupt(commonPin), pressInterrupt, FALLING); Serial.begin(9600);}void loop() { // Empty!}void pressInterrupt() { // ISR if (millis() - lastFire <200) { // Debounce return; } } lastFire =毫秒(); configureDistinct(); // 设置用于测试单个按钮的引脚 (int i =0; i 带睡眠模式的伺服Arduino
#include #include #include const int commonPin =2;const int buttonPins[] ={4,5,6,7,8 ,9,10,11,12,13};const intservoEnablePin =A1;const intservoPin =A0;伺服舵机;unsigned long lastFire =0;int status =0;void setup() { pinMode(commonPin, INPUT_PULLUP); configureCommon(); attachInterrupt(digitalPinToInterrupt(commonPin),pressInterrupt,FALLING);伺服.attach(servoPin); pinMode(servoEnablePin, OUTPUT);}void loop() { if (millis()-lastFire> 5000) { digitalWrite(servoEnablePin, LOW); set_sleep_mode(SLEEP_MODE_PWR_DOWN);睡眠启用();睡眠模式(); } delay(10);}void pressInterrupt() { sleep_disable(); power_all_enable();如果 (millis()-lastFire <200) { 返回; } lastFire =毫秒(); configureDistinct(); for (int i=0;i
示意图
 multiinterrupt_hoF76Oc4T5.fzz servo_with_sleep_u9ZqxF0jhY.fzz
制造工艺