

Arduino Cloud Sensor Tower
组件和用品
 |
| × | 1 | |||
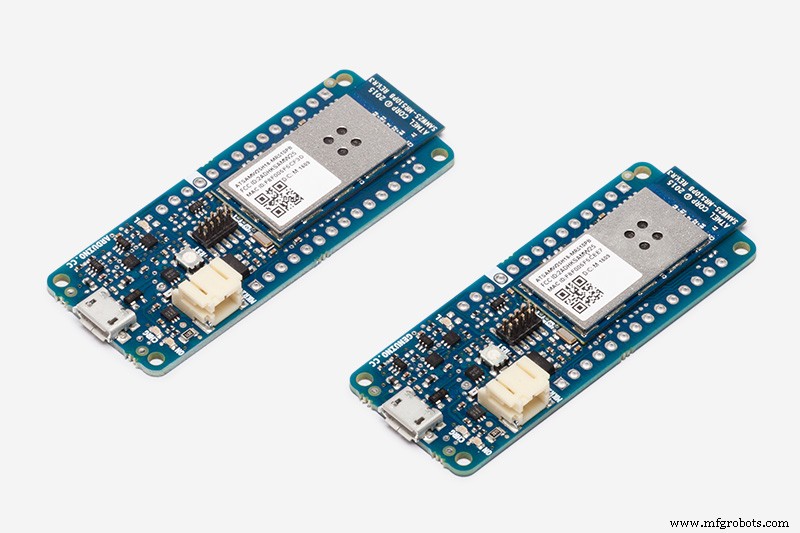
 |
| × | 1 | |||
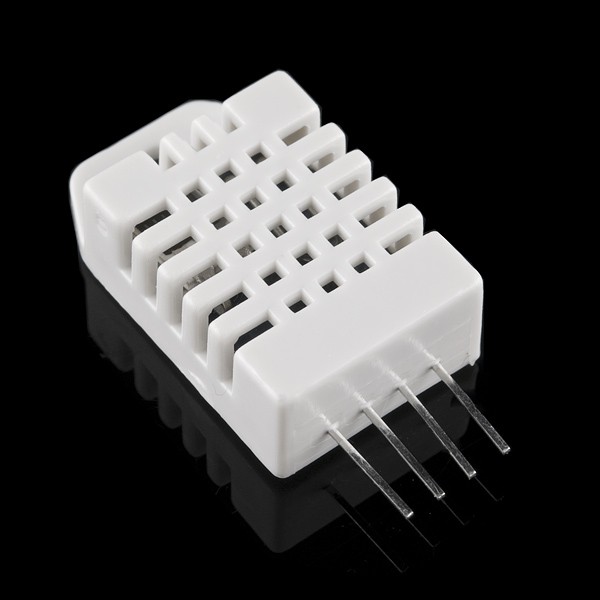
| × | 1 | ||||
| × | 1 | ||||
| × | 1 |
关于这个项目
按照本教程,您将构建一个带有多个传感器的小塔,并将其连接到 Arduino Cloud 以可视化实时数据。
连接到 Arduino 云
创建一个帐户并登录到 Arduino Cloud。
如果这是您第一次使用 Arduino Cloud,我们建议您按照入门流程下载 Arduino Cloud 库并创建您的第一台设备。
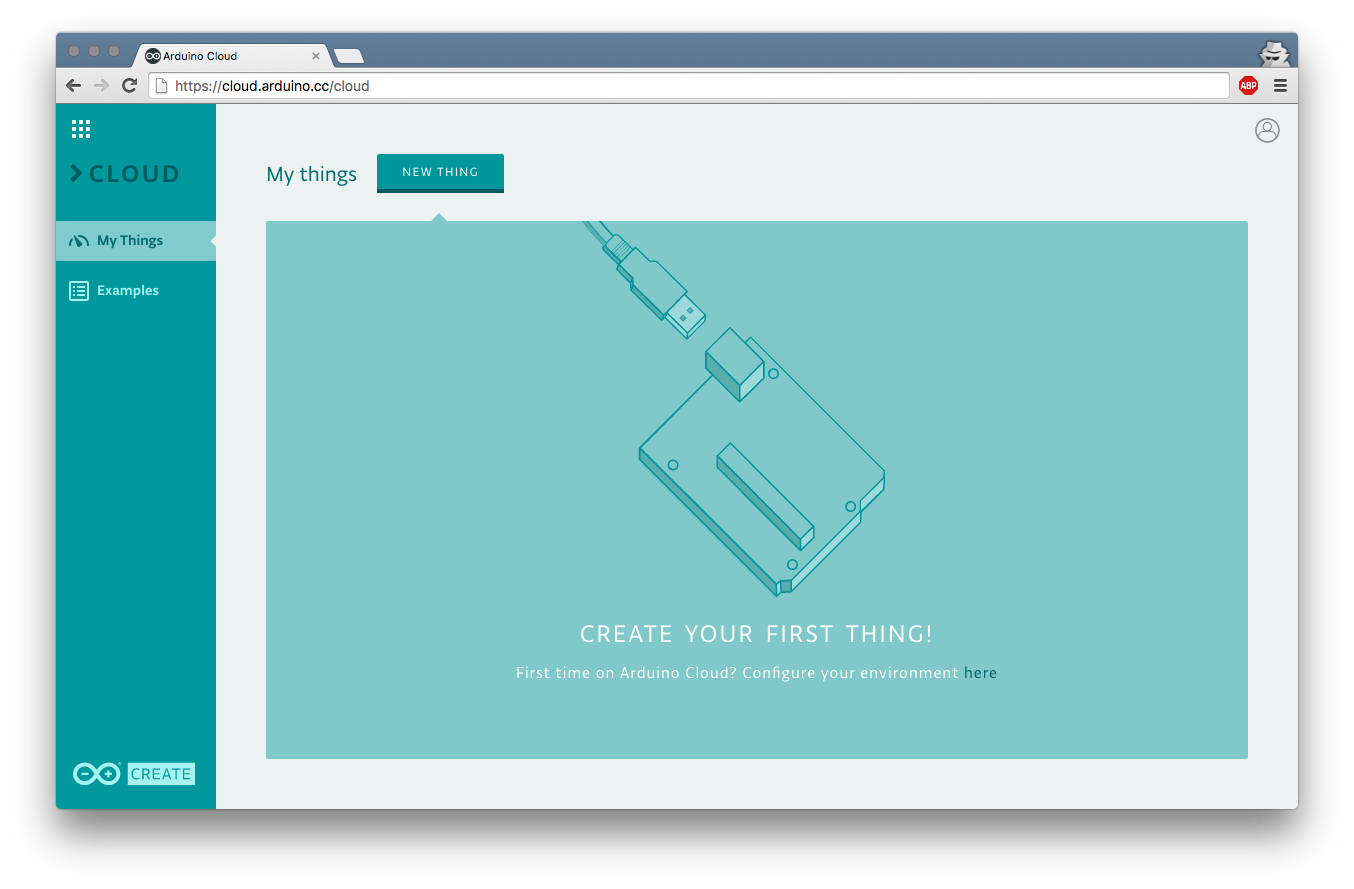
来吧,创造一个新事物 并将其命名为“sensorTower”,不带引号。
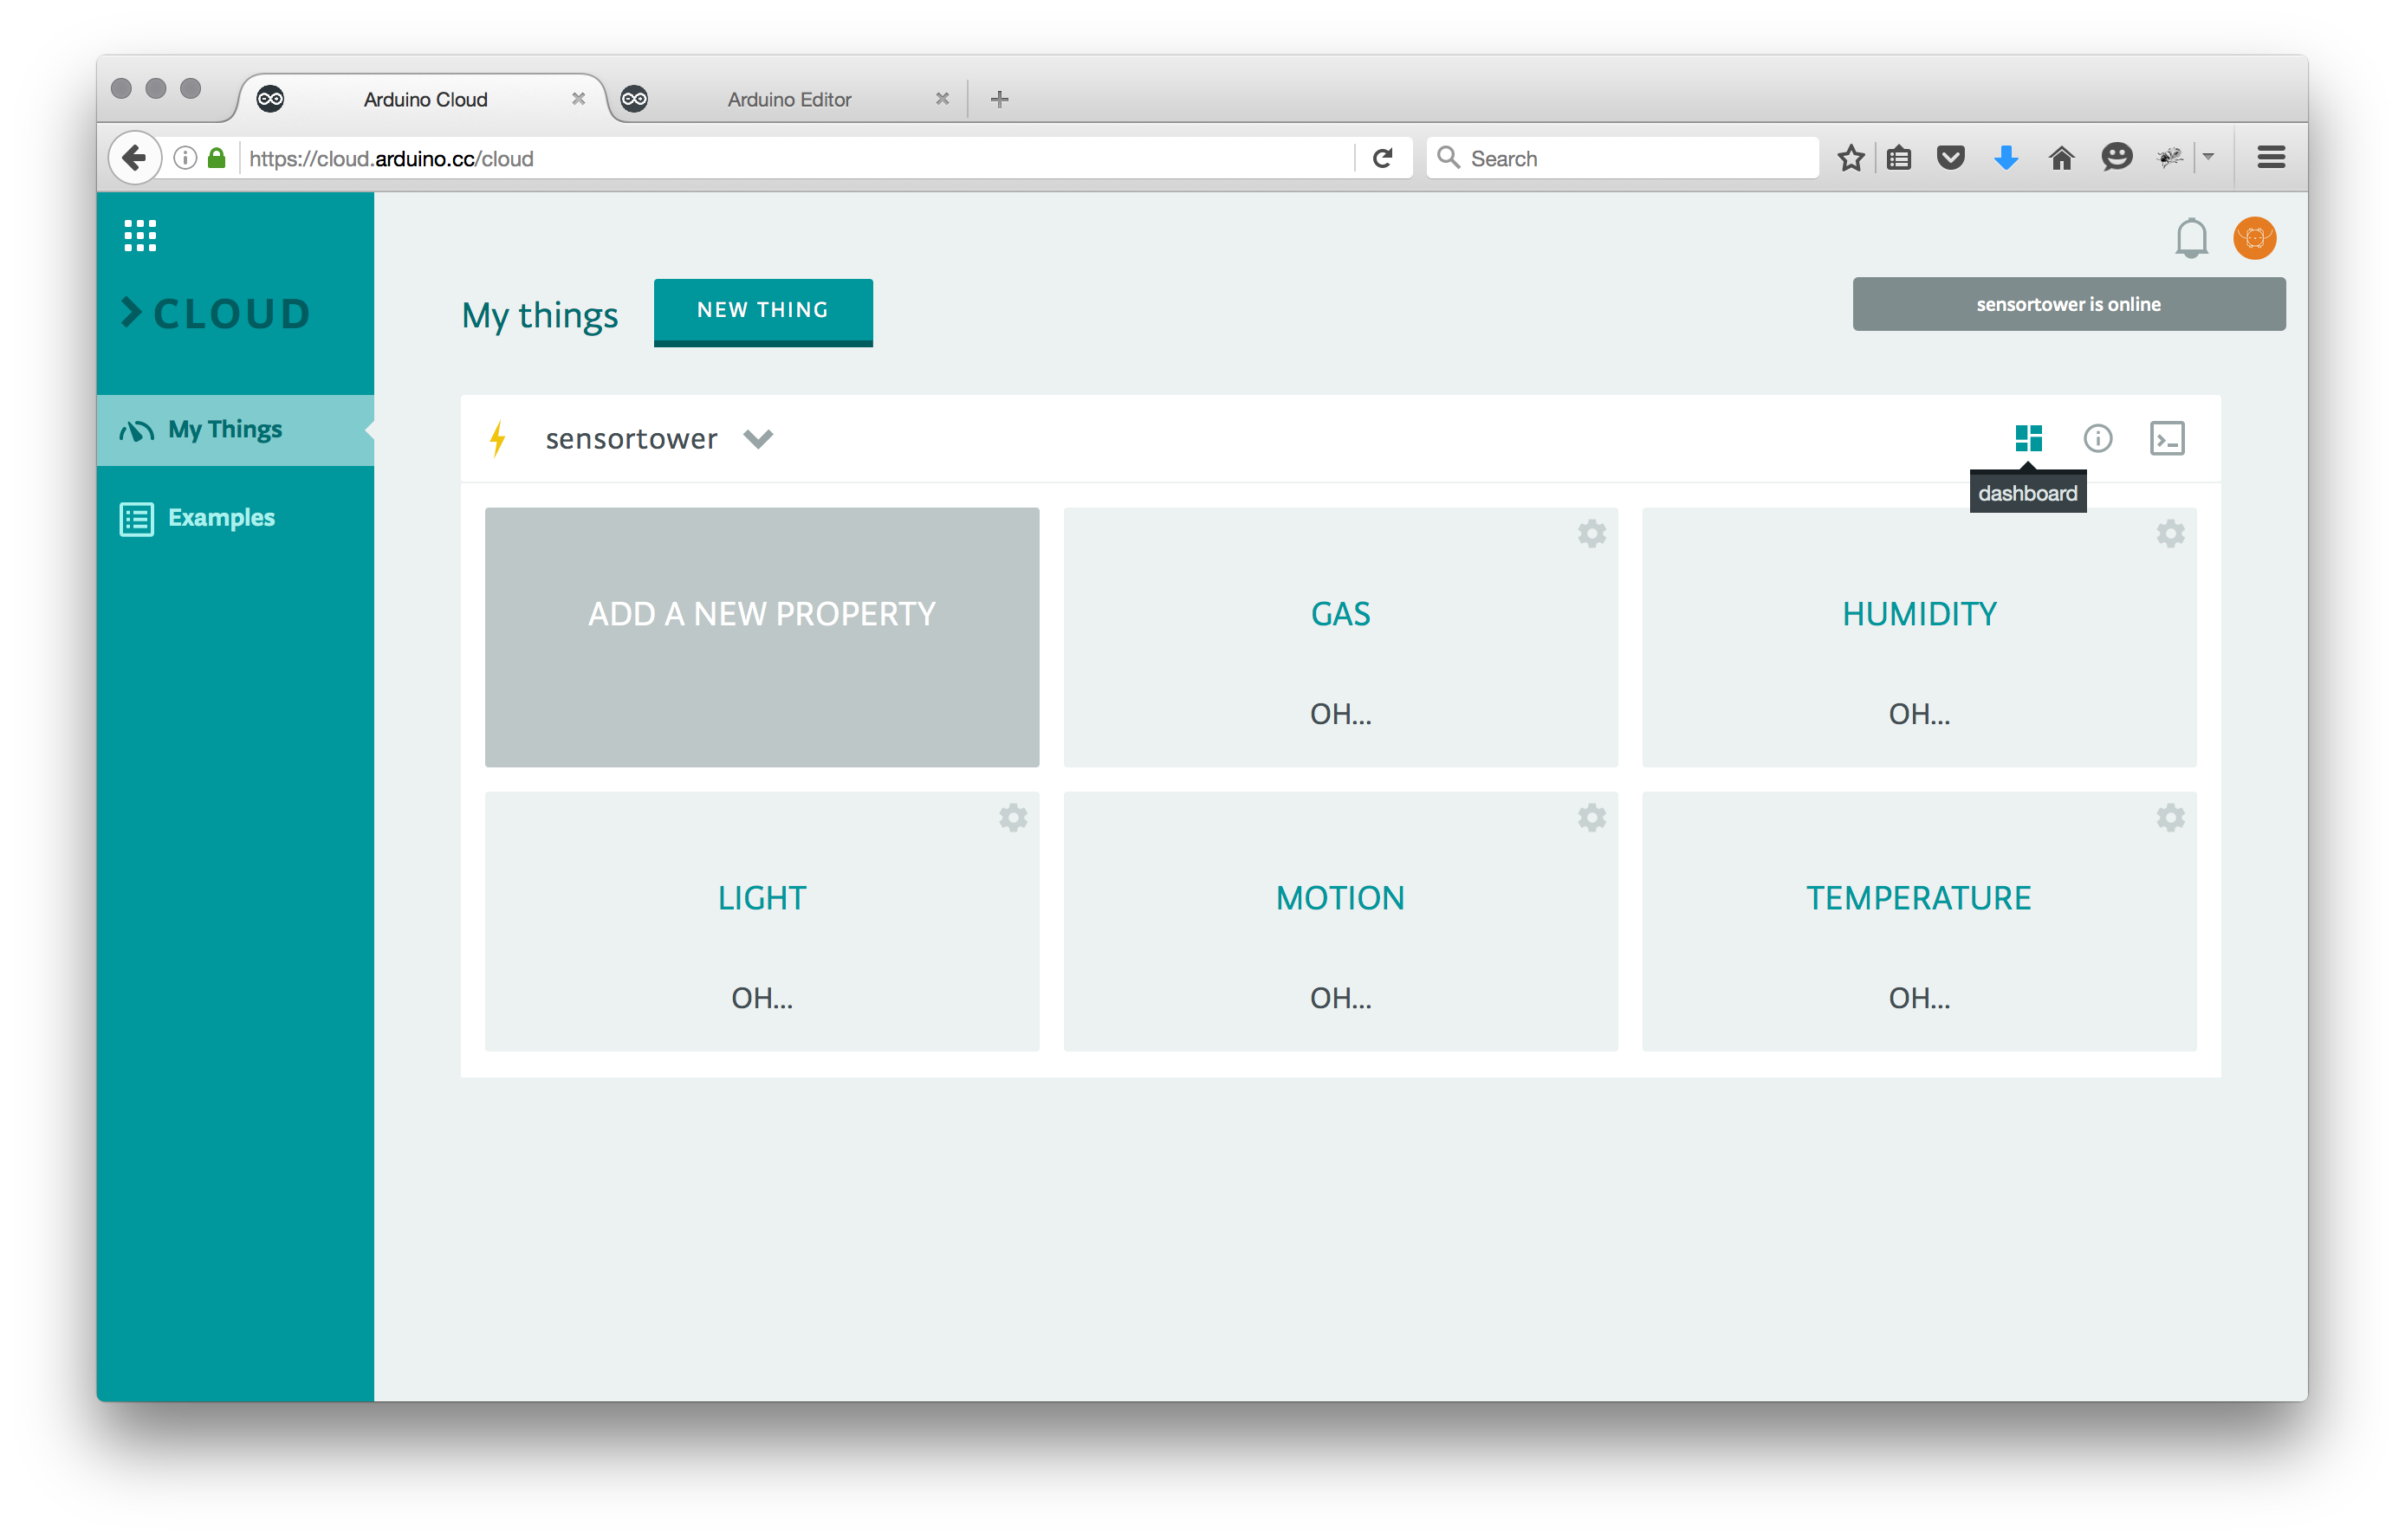
现在您可以创建一个属性。
属性定义了您要从 Arduino Cloud 仪表板监控的数据类型。
指定:
- 属性名称
- 属性类型 :指定测量单位
- 财产政策 :指定您希望何时将数据发送到仪表板,无论是在属性值更改时还是在特定时间间隔之后。
- 更新频率: 如果选择定期更新:指定间隔的持续时间。
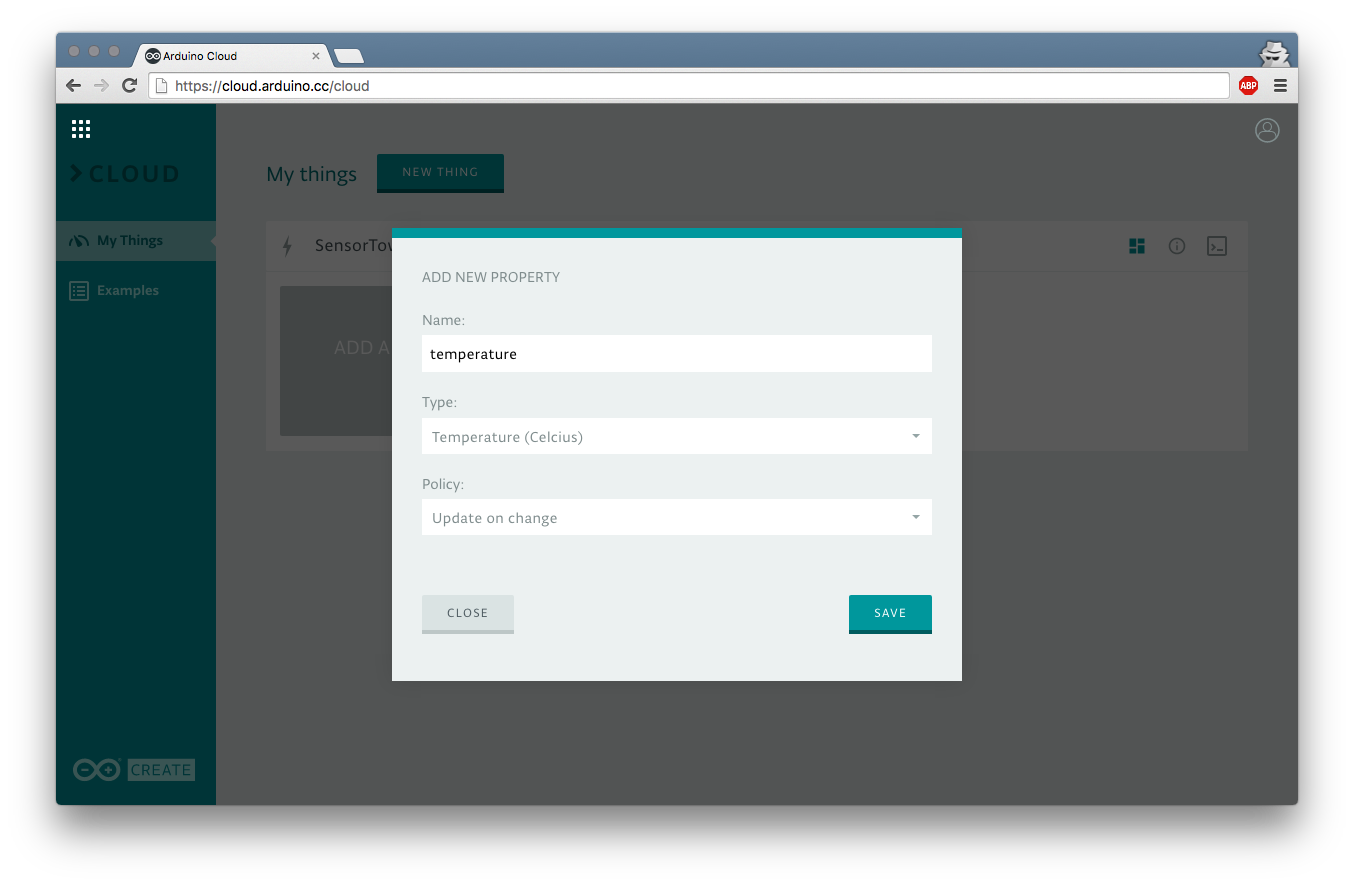
对于此项目,我们将需要与要监控的数据一样多的属性:温度 , 湿度 , 气体 检测,运动检测 和光照强度 .
创建所有 5 个属性后,点击代码按钮 并可视化预填充的草图。
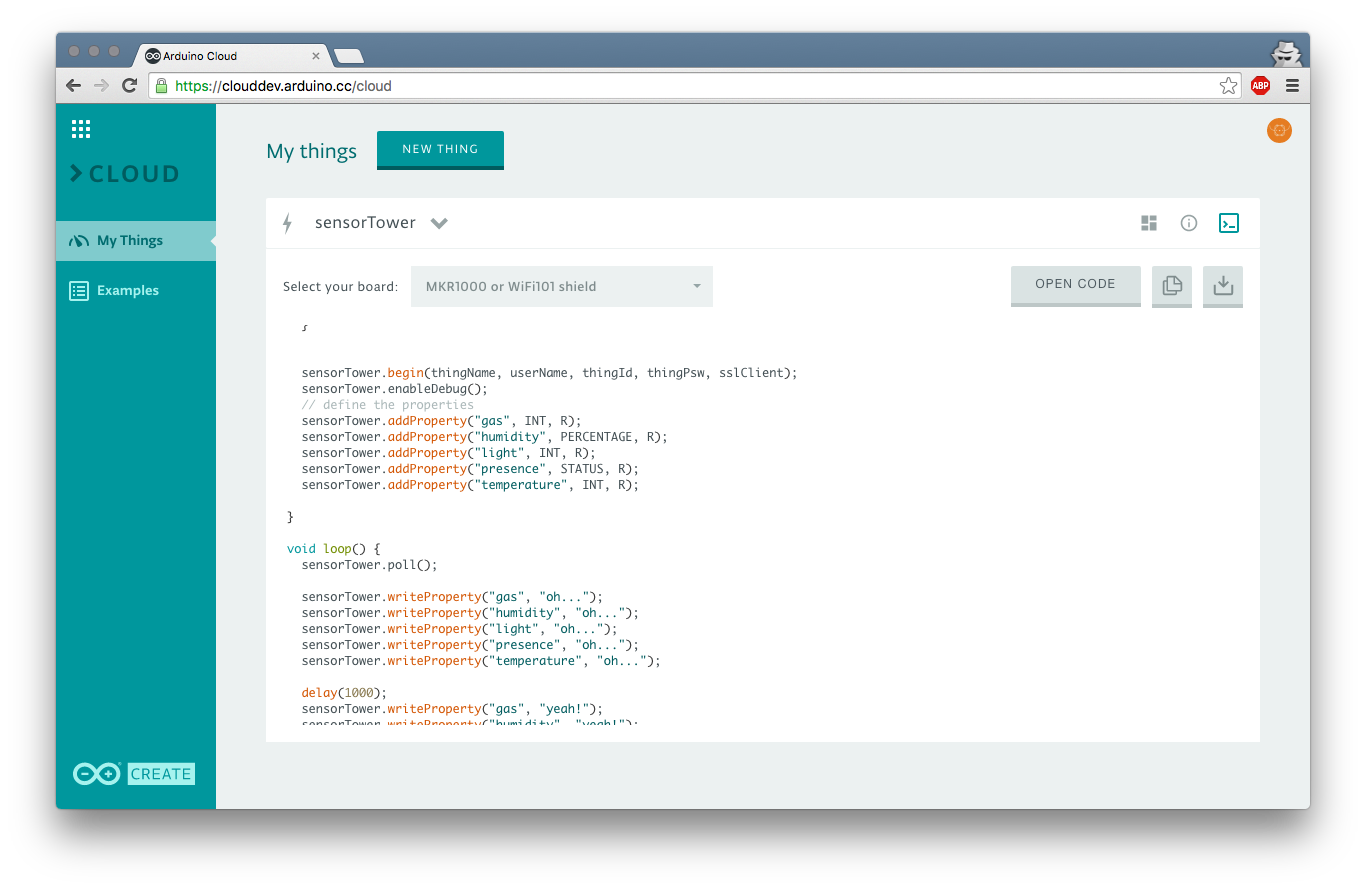
如您所见,生成的代码已包含创建 ArduinoCloudThing 对象 () 所需的代码:
创建对象
ArduinoCloudThing sensorTower; 使用设备凭据对其进行初始化
sensortower.begin(thingName, userName, thingId, thingPsw, sslClient); 启用调试器(这是可选的)
sensortower.enableDebug(); 生成的草图还包含属性配置。
sensortower.addProperty("温度", FLOAT, R); 为了更改属性的值,您可以使用
sensortower.writeProperty("温度", "val");
测试
下载生成的代码并将其上传到您的开发板。
!!!记得填写连接网络所需的数据!!!
/////// Wifi 设置 ///////char ssid[] ="";char pass[] =""; 切换回仪表板视图。如果一切正常,您应该会在屏幕上看到一些值发生变化。哦耶!!!
连接传感器
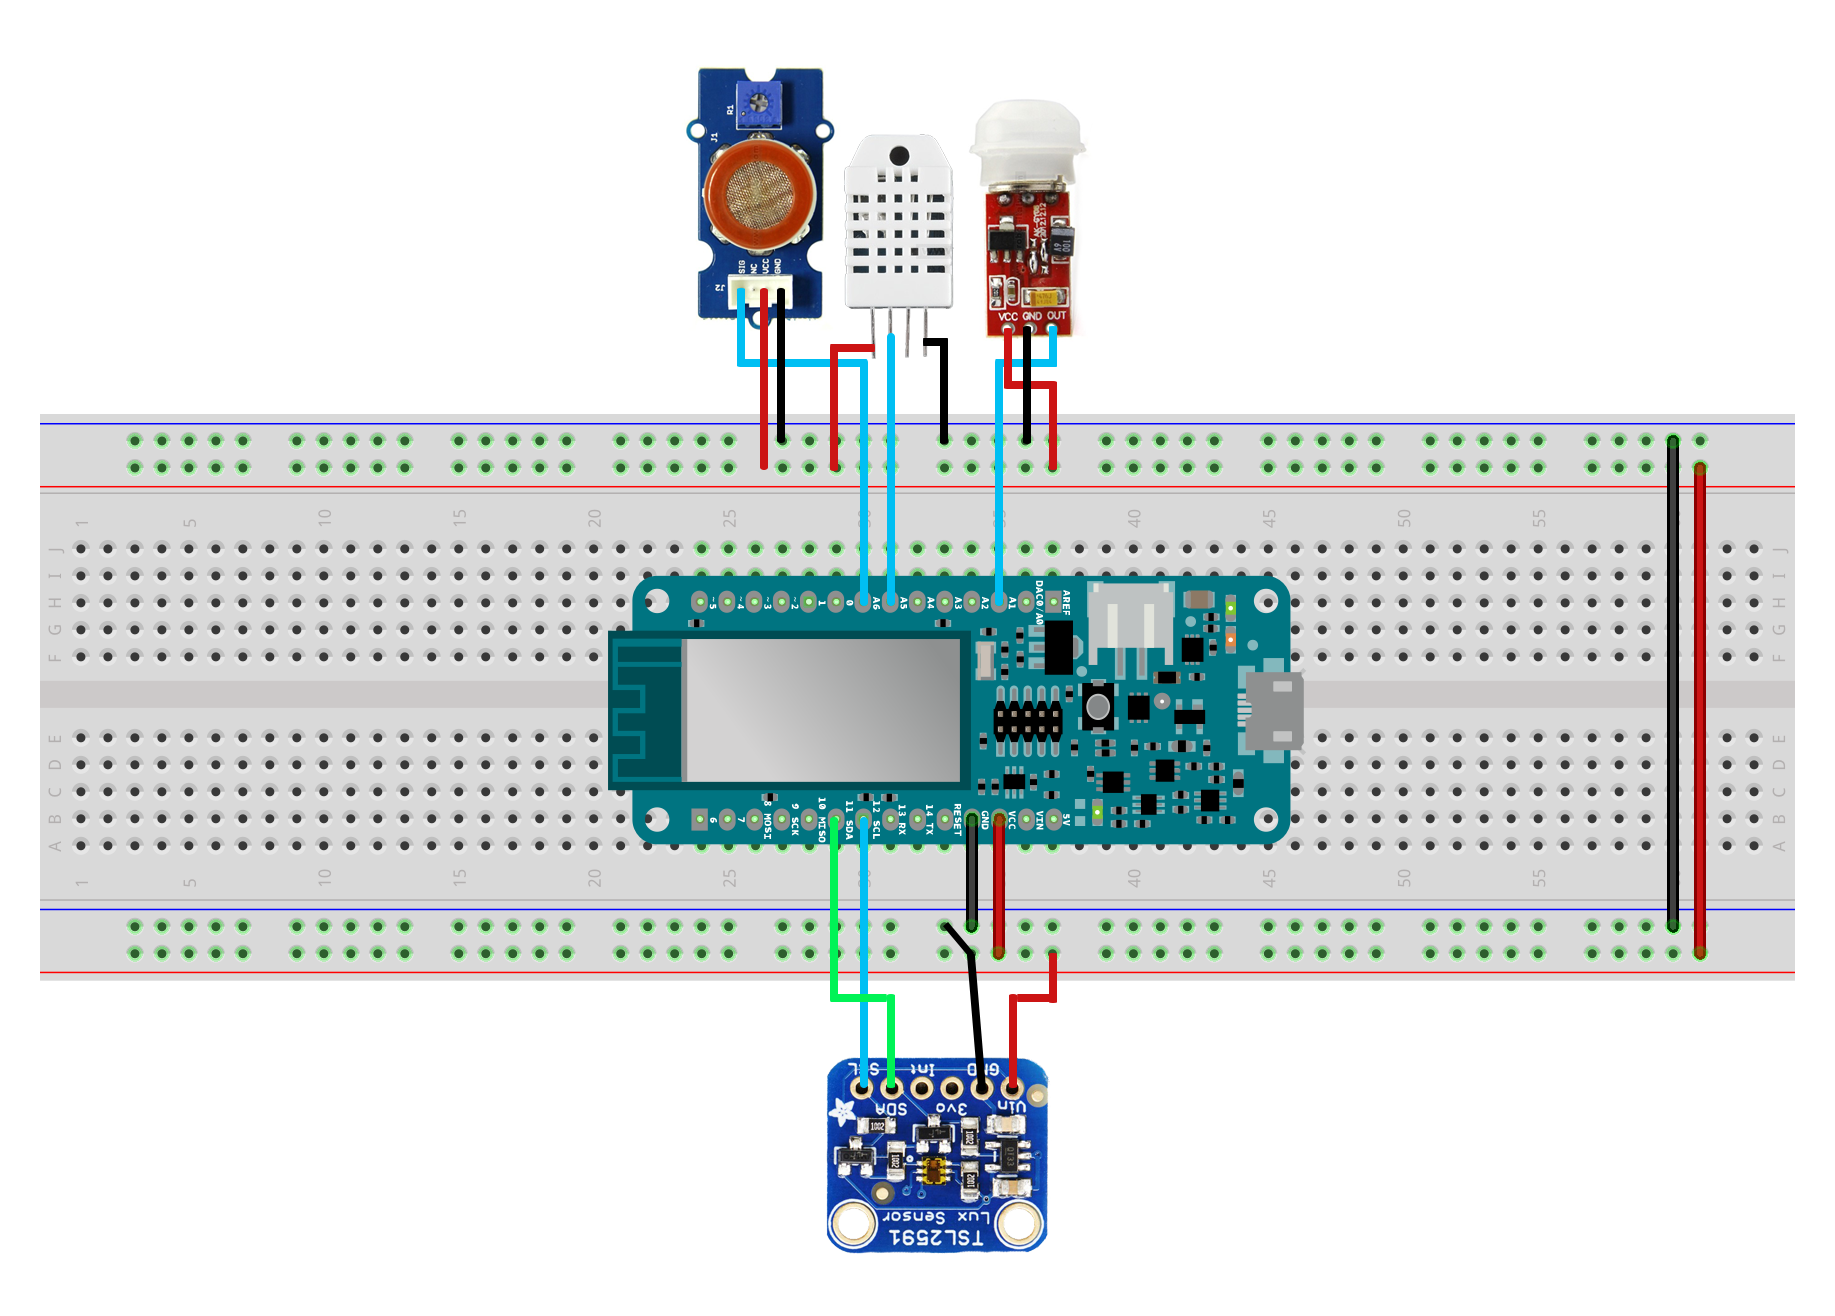
按照他们的数据表将您的传感器连接到 Arduino。
要重现与本教程完全相同的设置,只需查看下图中的接线即可。
代码
从您在 Arduino Cloud 仪表板中收到的代码开始,您只需添加传感器插入引脚的声明,以及读取特定传感器所需的代码。
代码
代码
定制零件和外壳
torretta.3dm示意图

制造工艺