通过英特尔居里的运动敏感电路控制
组件和用品
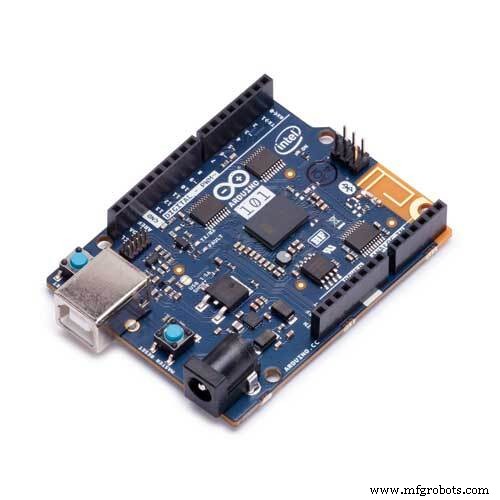 |
| × | 1 |
关于这个项目
目标
- 检测到脚步声时自动打开(和关闭)灯
- 将闪烁的灯光与检测到的附近跳舞/敲击的节奏同步
- 通过 USB/蓝牙输出加速度计/陀螺仪读数以检测地震事件
GitHub 存储库
https://github.com/ckuzma/arduino-101-sketches
草图
TapFlashTest
#include "CurieIMU.h" void setup() { pinMode(LED_BUILTIN, OUTPUT); CurieIMU.begin(); CurieIMU.attachInterrupt(eventCallback); CurieIMU.setDetectionThreshold(CURIE_IMU_SHOCK, 1050); // 1.050g =1050mg CurieIMU.setDetectionDuration(CURIE_IMU_SHOCK, 75); // 75ms CurieIMU.interrupts(CURIE_IMU_SHOCK); } void loop() { // 我们不需要在主循环中放置任何东西... } static void eventCallback(void) { if (CurieIMU.getInterruptStatus(CURIE_IMU_SHOCK)) { digitalWrite(LED_BUILTIN, HIGH);延迟(50);数字写入(LED_BUILTIN,低); } } - 检测到点击时板载 LED 闪烁
- 用于找出脉冲检测的变化
TapBeatMatch
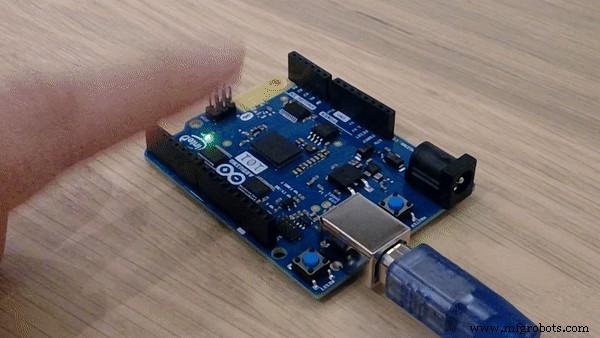
- 使板载 LED 的闪烁与敲击 Arduino 101 附近桌面的速度同步
- 实施加权平均以帮助减轻噪音
- 可调冲击检测阈值
SeismicReader + Python 可视化脚本
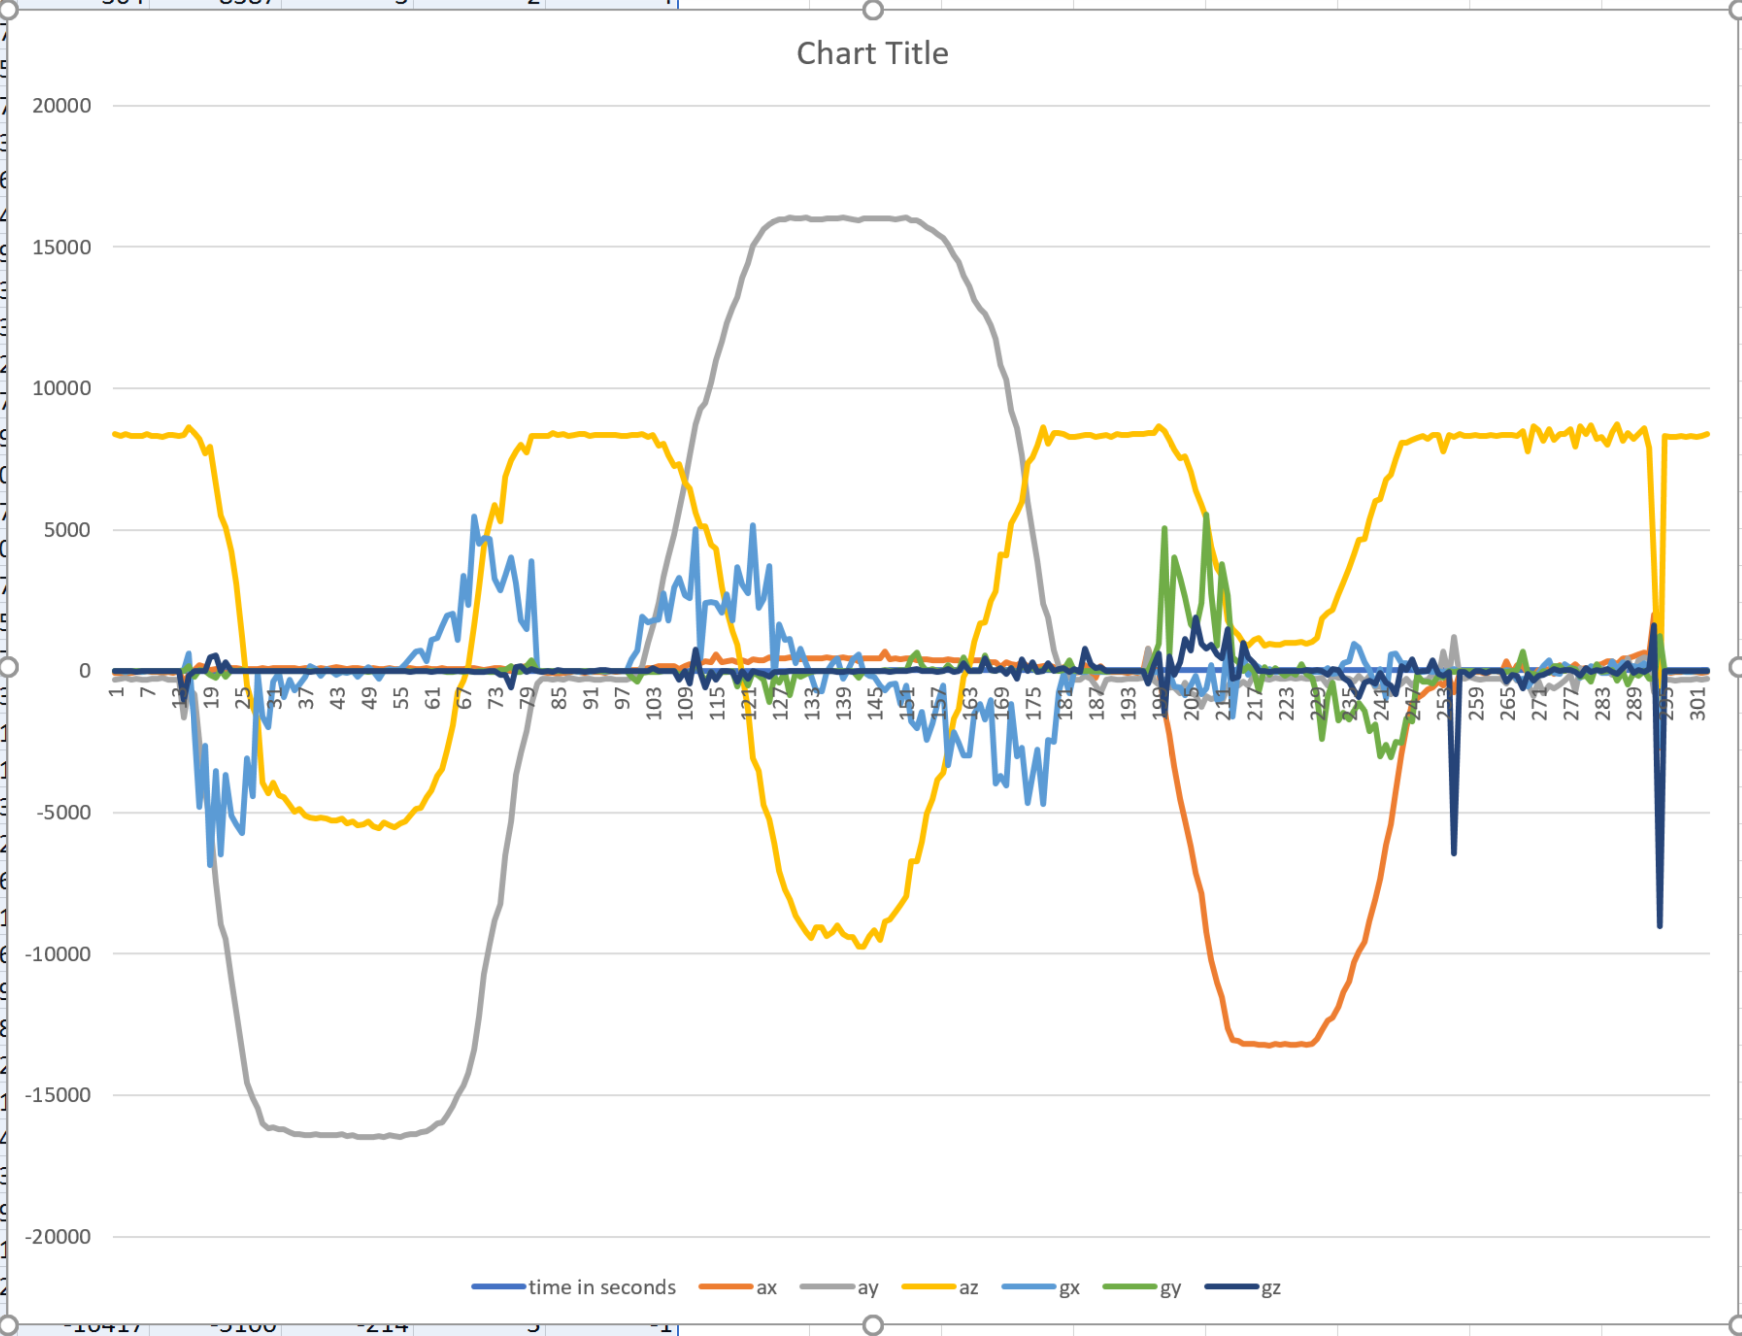
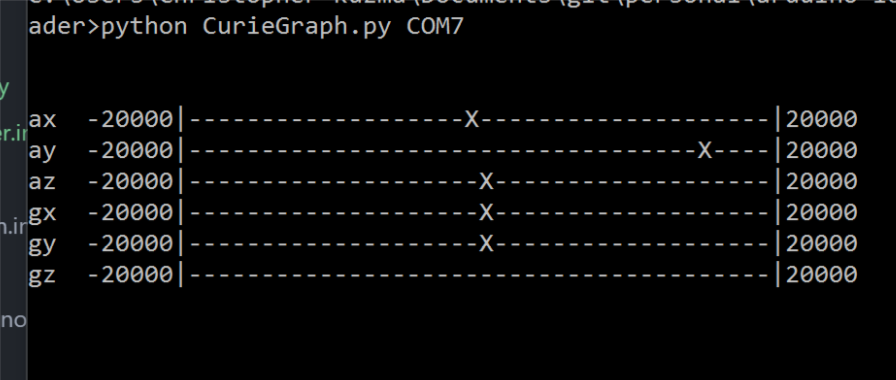
- Arduino 101 板通过串行输出 JSON 格式的加速度计和陀螺仪值,然后由连接的计算机读取
- 编写了一个小型 Python 脚本,该脚本从板上读取数据,并在终端/命令提示符中以非常简单的线条绘制数据
- 将结果保存到可以在 Excel 中打开并绘制成图表的 CSV 文件
- 多平台 Python 2.x / 3.x 用法:
振动照明
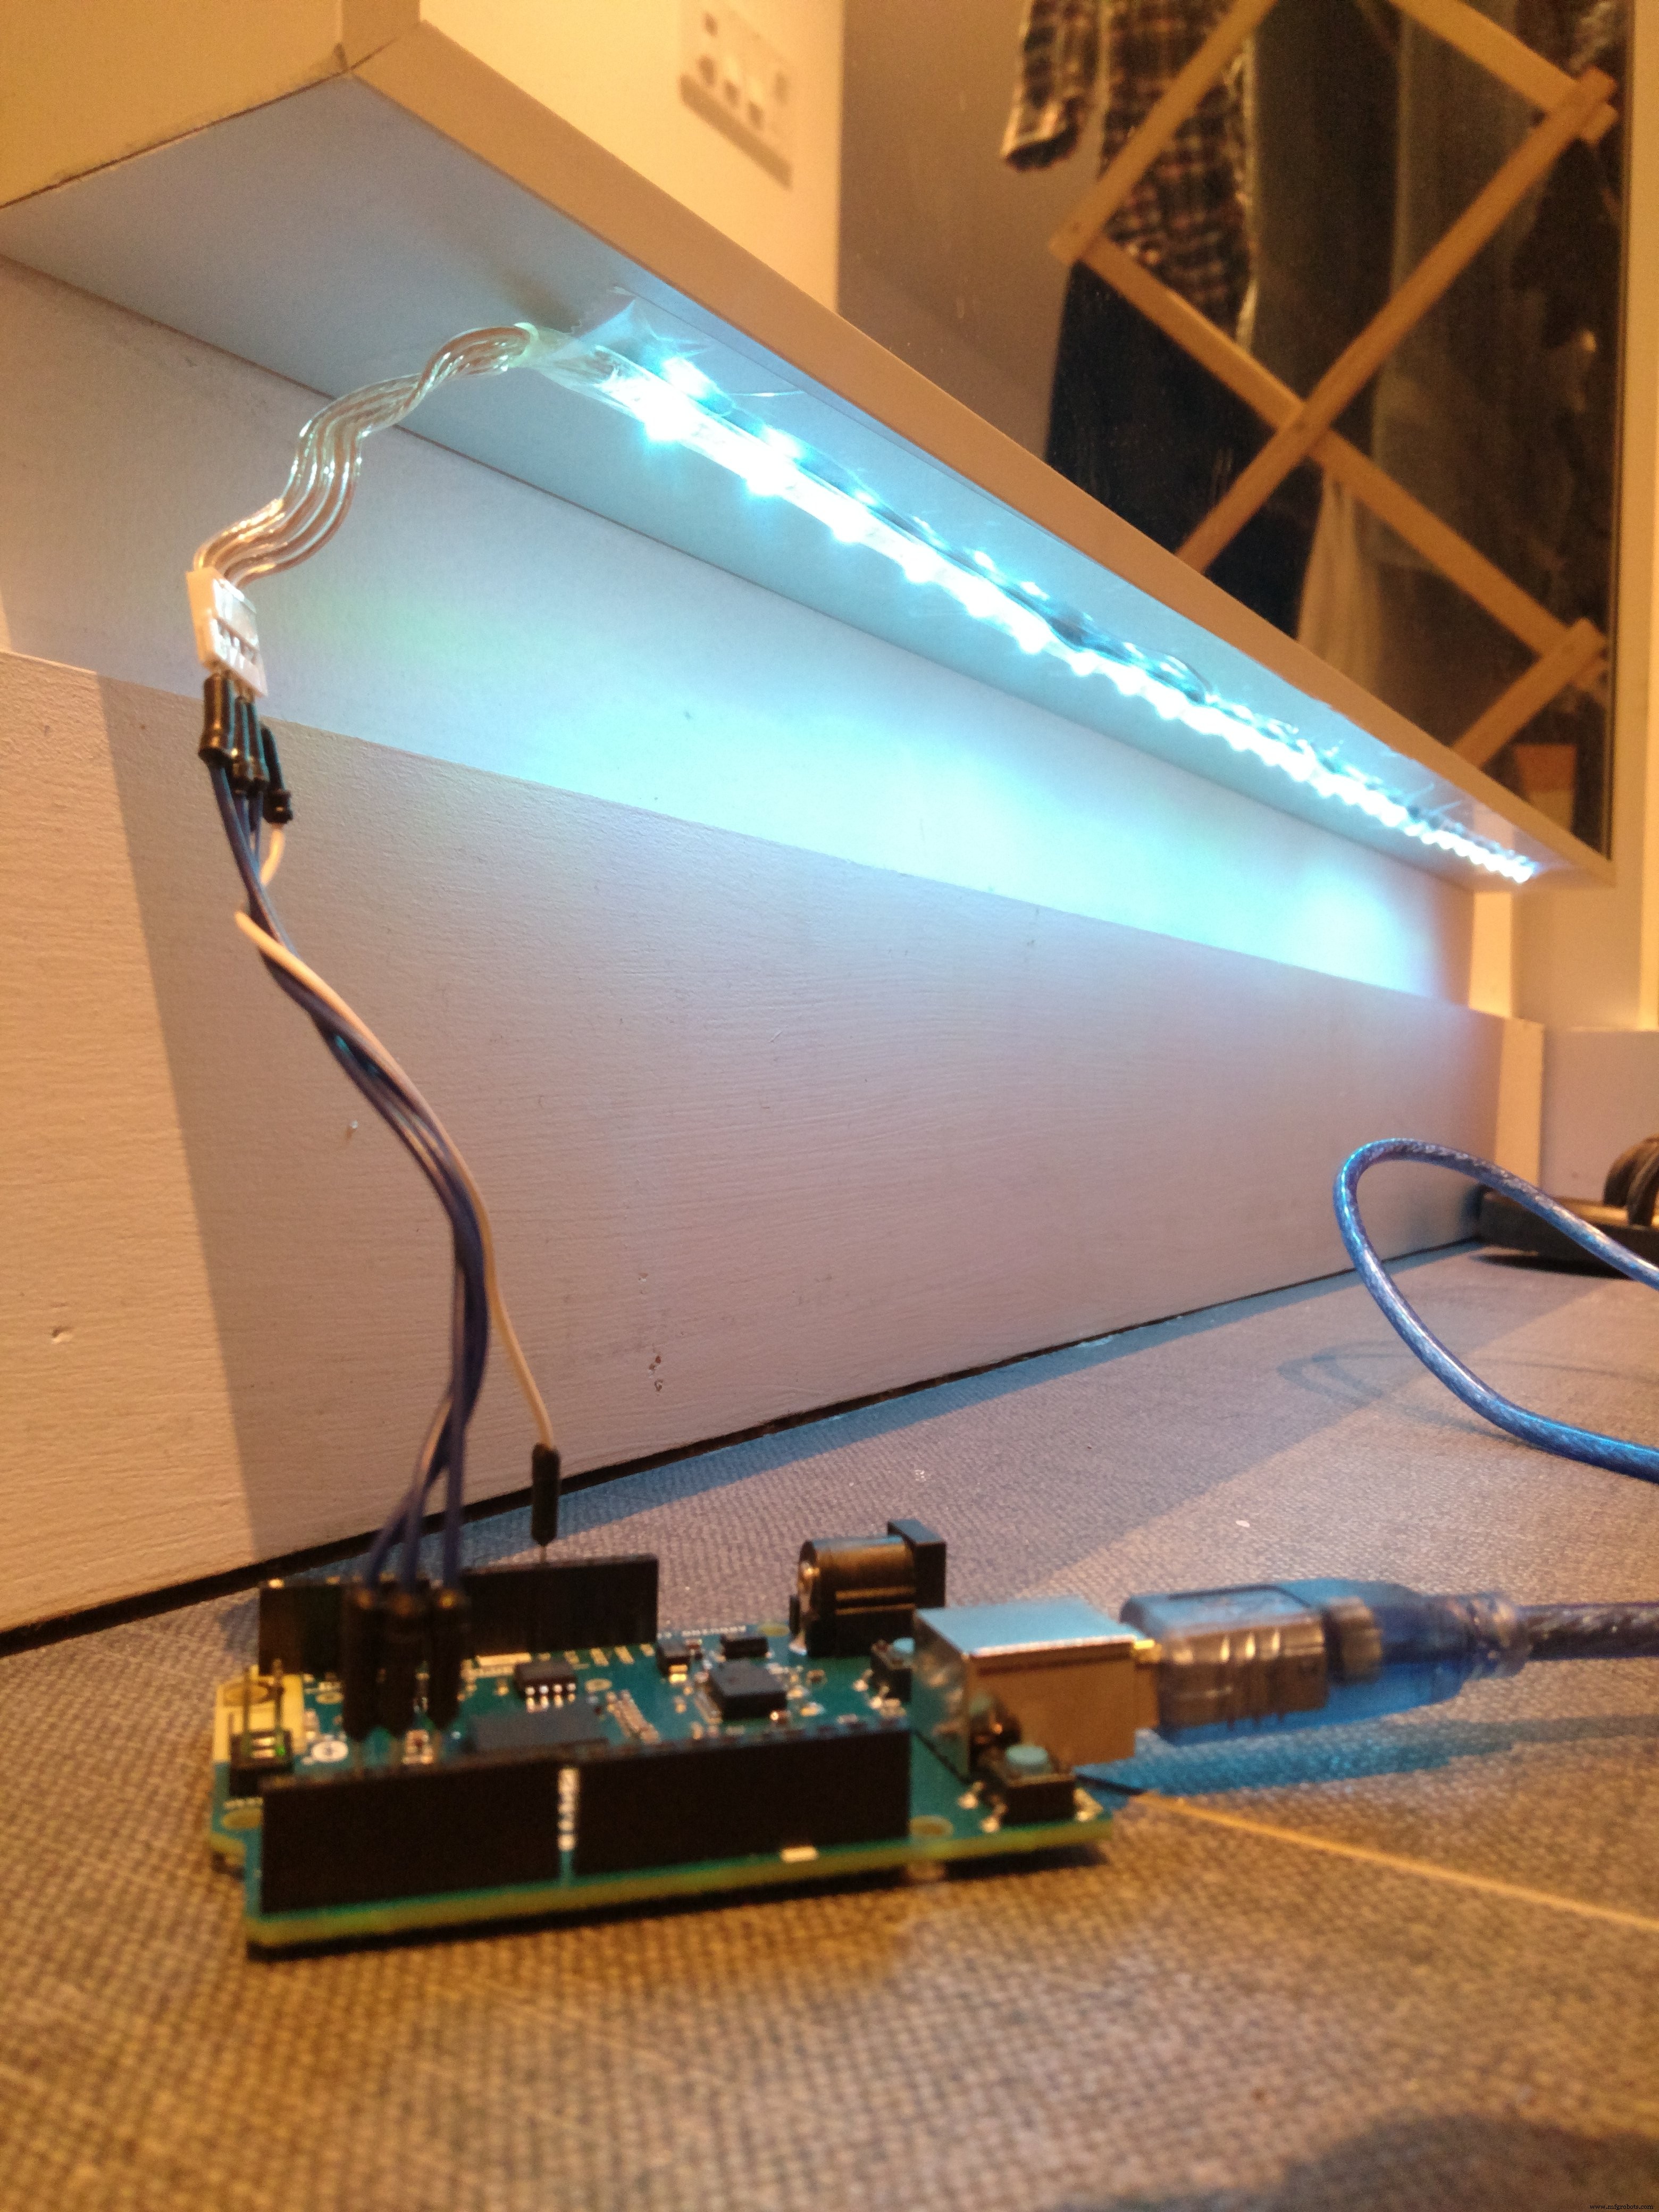
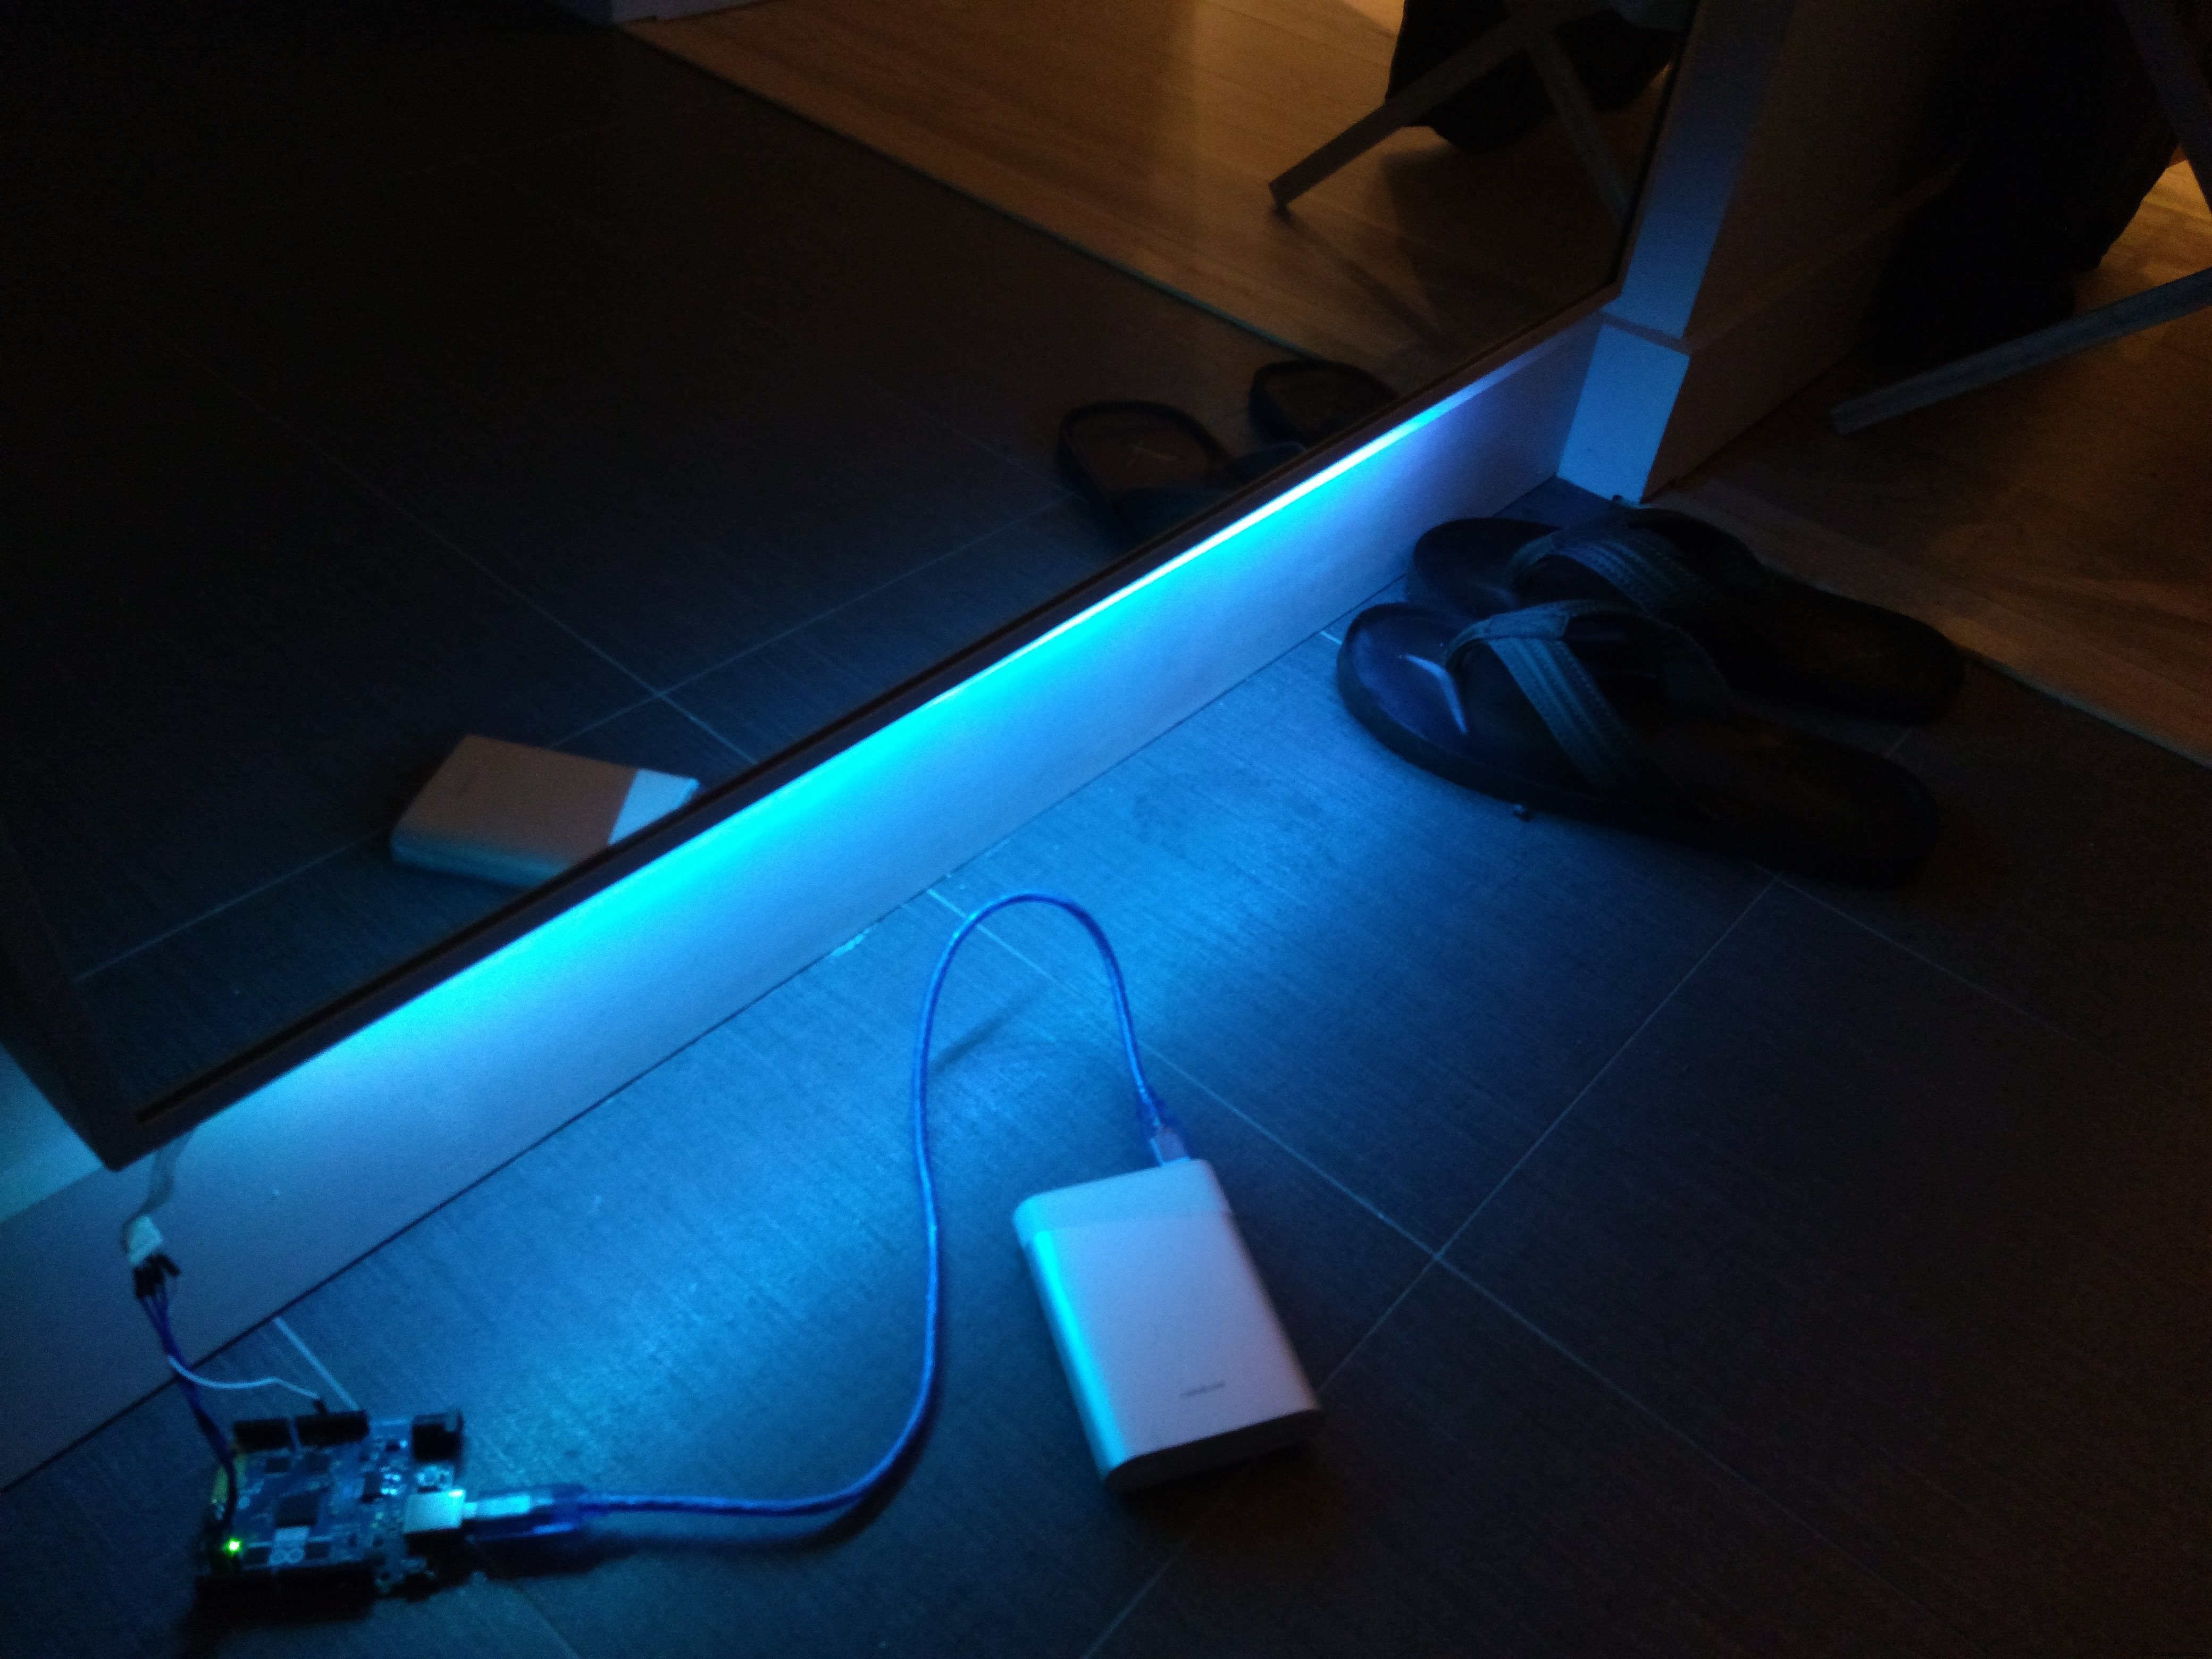
- 最初设计用于检测接近的脚步声并在有人在附近时激活照明,由于信噪比对于我的安装来说不够干净,因此缩减为双击检测
- 当镜子连续敲击两次时,贴在入口镜子下方的 LED 灯条会打开和关闭
奖金
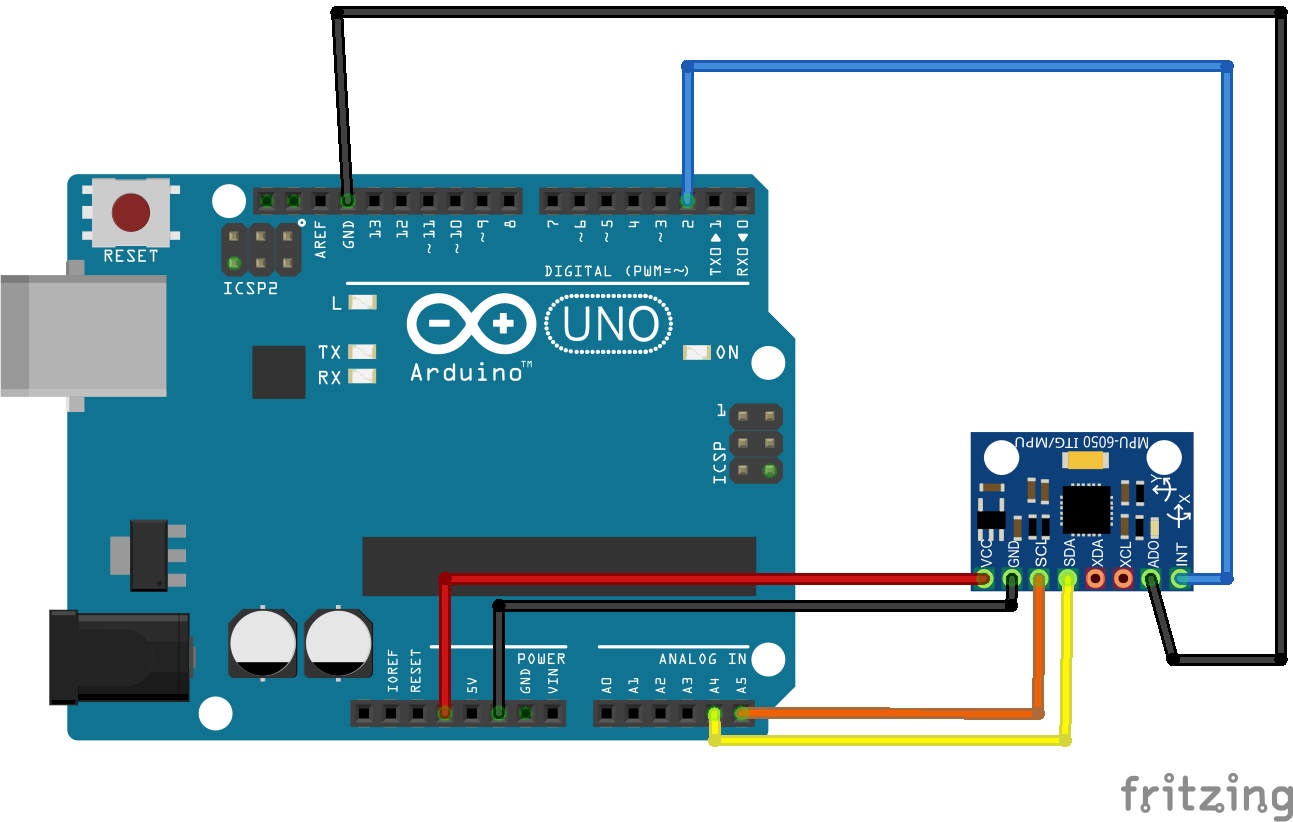
与 Bogdan 的对话让我意识到修改 Arduino 草图以使用连接到几乎任何 Arduino 设备的独立加速度计 + 陀螺仪传感器非常容易,然后使用 CurieGraph.py 将数据可视化。鉴于收集地震读数的目标是证明无需复杂或专门的设备即可大规模众包数据,我在办公桌上翻找“ITG-MTU”/“GY-521”/“MPU-6050”传感器板,并为其编写了以下草图。 CurieGraph.py 可能会启动几次失败,但通常会在第三次尝试时正常启动。
外置陀螺仪
#include const int MPU_addr=0x68; // ITG-MTU 的 I2C 地址 int ax, ay, az, temp, gx, gy, gz; void setup(){ Serial.begin(9600); Wire.begin(); Wire.beginTransmission(MPU_addr); Wire.write(0x6B); Wire.write(0); Wire.endTransmission(true); } String jsonEncodeValue(String key, float keyVal){ return "\"" + key + "\":" + String(keyVal) + ""; } String assembleJson(String keysAndVals){ return "{" + keysAndVals + "}"; } void loop(){ Wire.beginTransmission(MPU_addr); Wire.write(0x3B); Wire.endTransmission(false); Wire.requestFrom(MPU_addr, 14, true); ax =Wire.read()<<8|Wire.read(); ay =Wire.read()<<8|Wire.read(); az =Wire.read()<<8|Wire.read(); temp =Wire.read()<<8|Wire.read(); gx =Wire.read()<<8|Wire.read(); gy =Wire.read()<<8|Wire.read(); gz =Wire.read()<<8|Wire.read(); // 温度 =温度/340.00+36.53; // 将临时数据转换为摄氏度 - 未使用 String keyVals =jsonEncodeValue("ax", ax) + ","; keyVals +=jsonEncodeValue("ay", ay) + ","; keyVals +=jsonEncodeValue("az", az) + ","; keyVals +=jsonEncodeValue("gx", gx) + ","; keyVals +=jsonEncodeValue("gy", gy) + ","; keyVals +=jsonEncodeValue("gz", gz); Serial.println(assembleJson(keyVals));延迟(100); } 代码
arduino-101-sketches
一组专门为 Arduino 101 编写的草图,利用了英特尔居里的加速度计和陀螺仪。https://github.com/ckuzma/arduino-101-sketches制造工艺


