

Arduino - 通过 Facebook Messenger 监控门打开
组件和用品
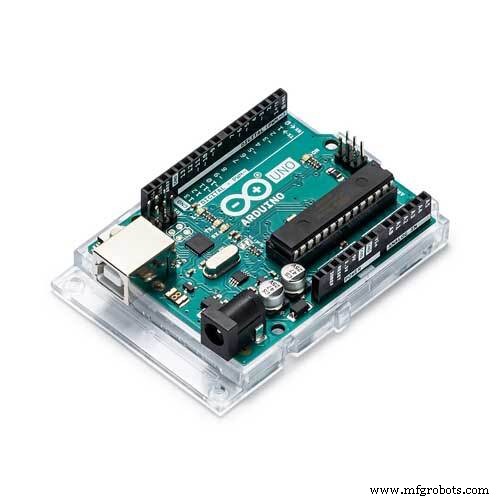 |
| × | 1 | |||
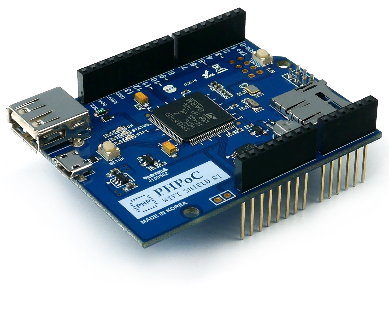 |
| × | 1 | |||
| × | 1 |
应用和在线服务
 |
|
关于这个项目
注意:由于 Facebook 制定的新政策,IFTTT 最近停止了他们的 FB Messenger 服务。因此,该项目已不再可行。
如果您是初学者,可以学习相关主题:
- Arduino - 无线网络
- Arduino - 门传感器。
- Arduino - IFTTT
演示
我做了类似的项目,但成本(总体)更便宜,可用于工业环境:https://www.hackster.io/phpoc_man/phpoc-monitoring-door-open-via-facebook-messenger-49603e
系统架构 <人物>

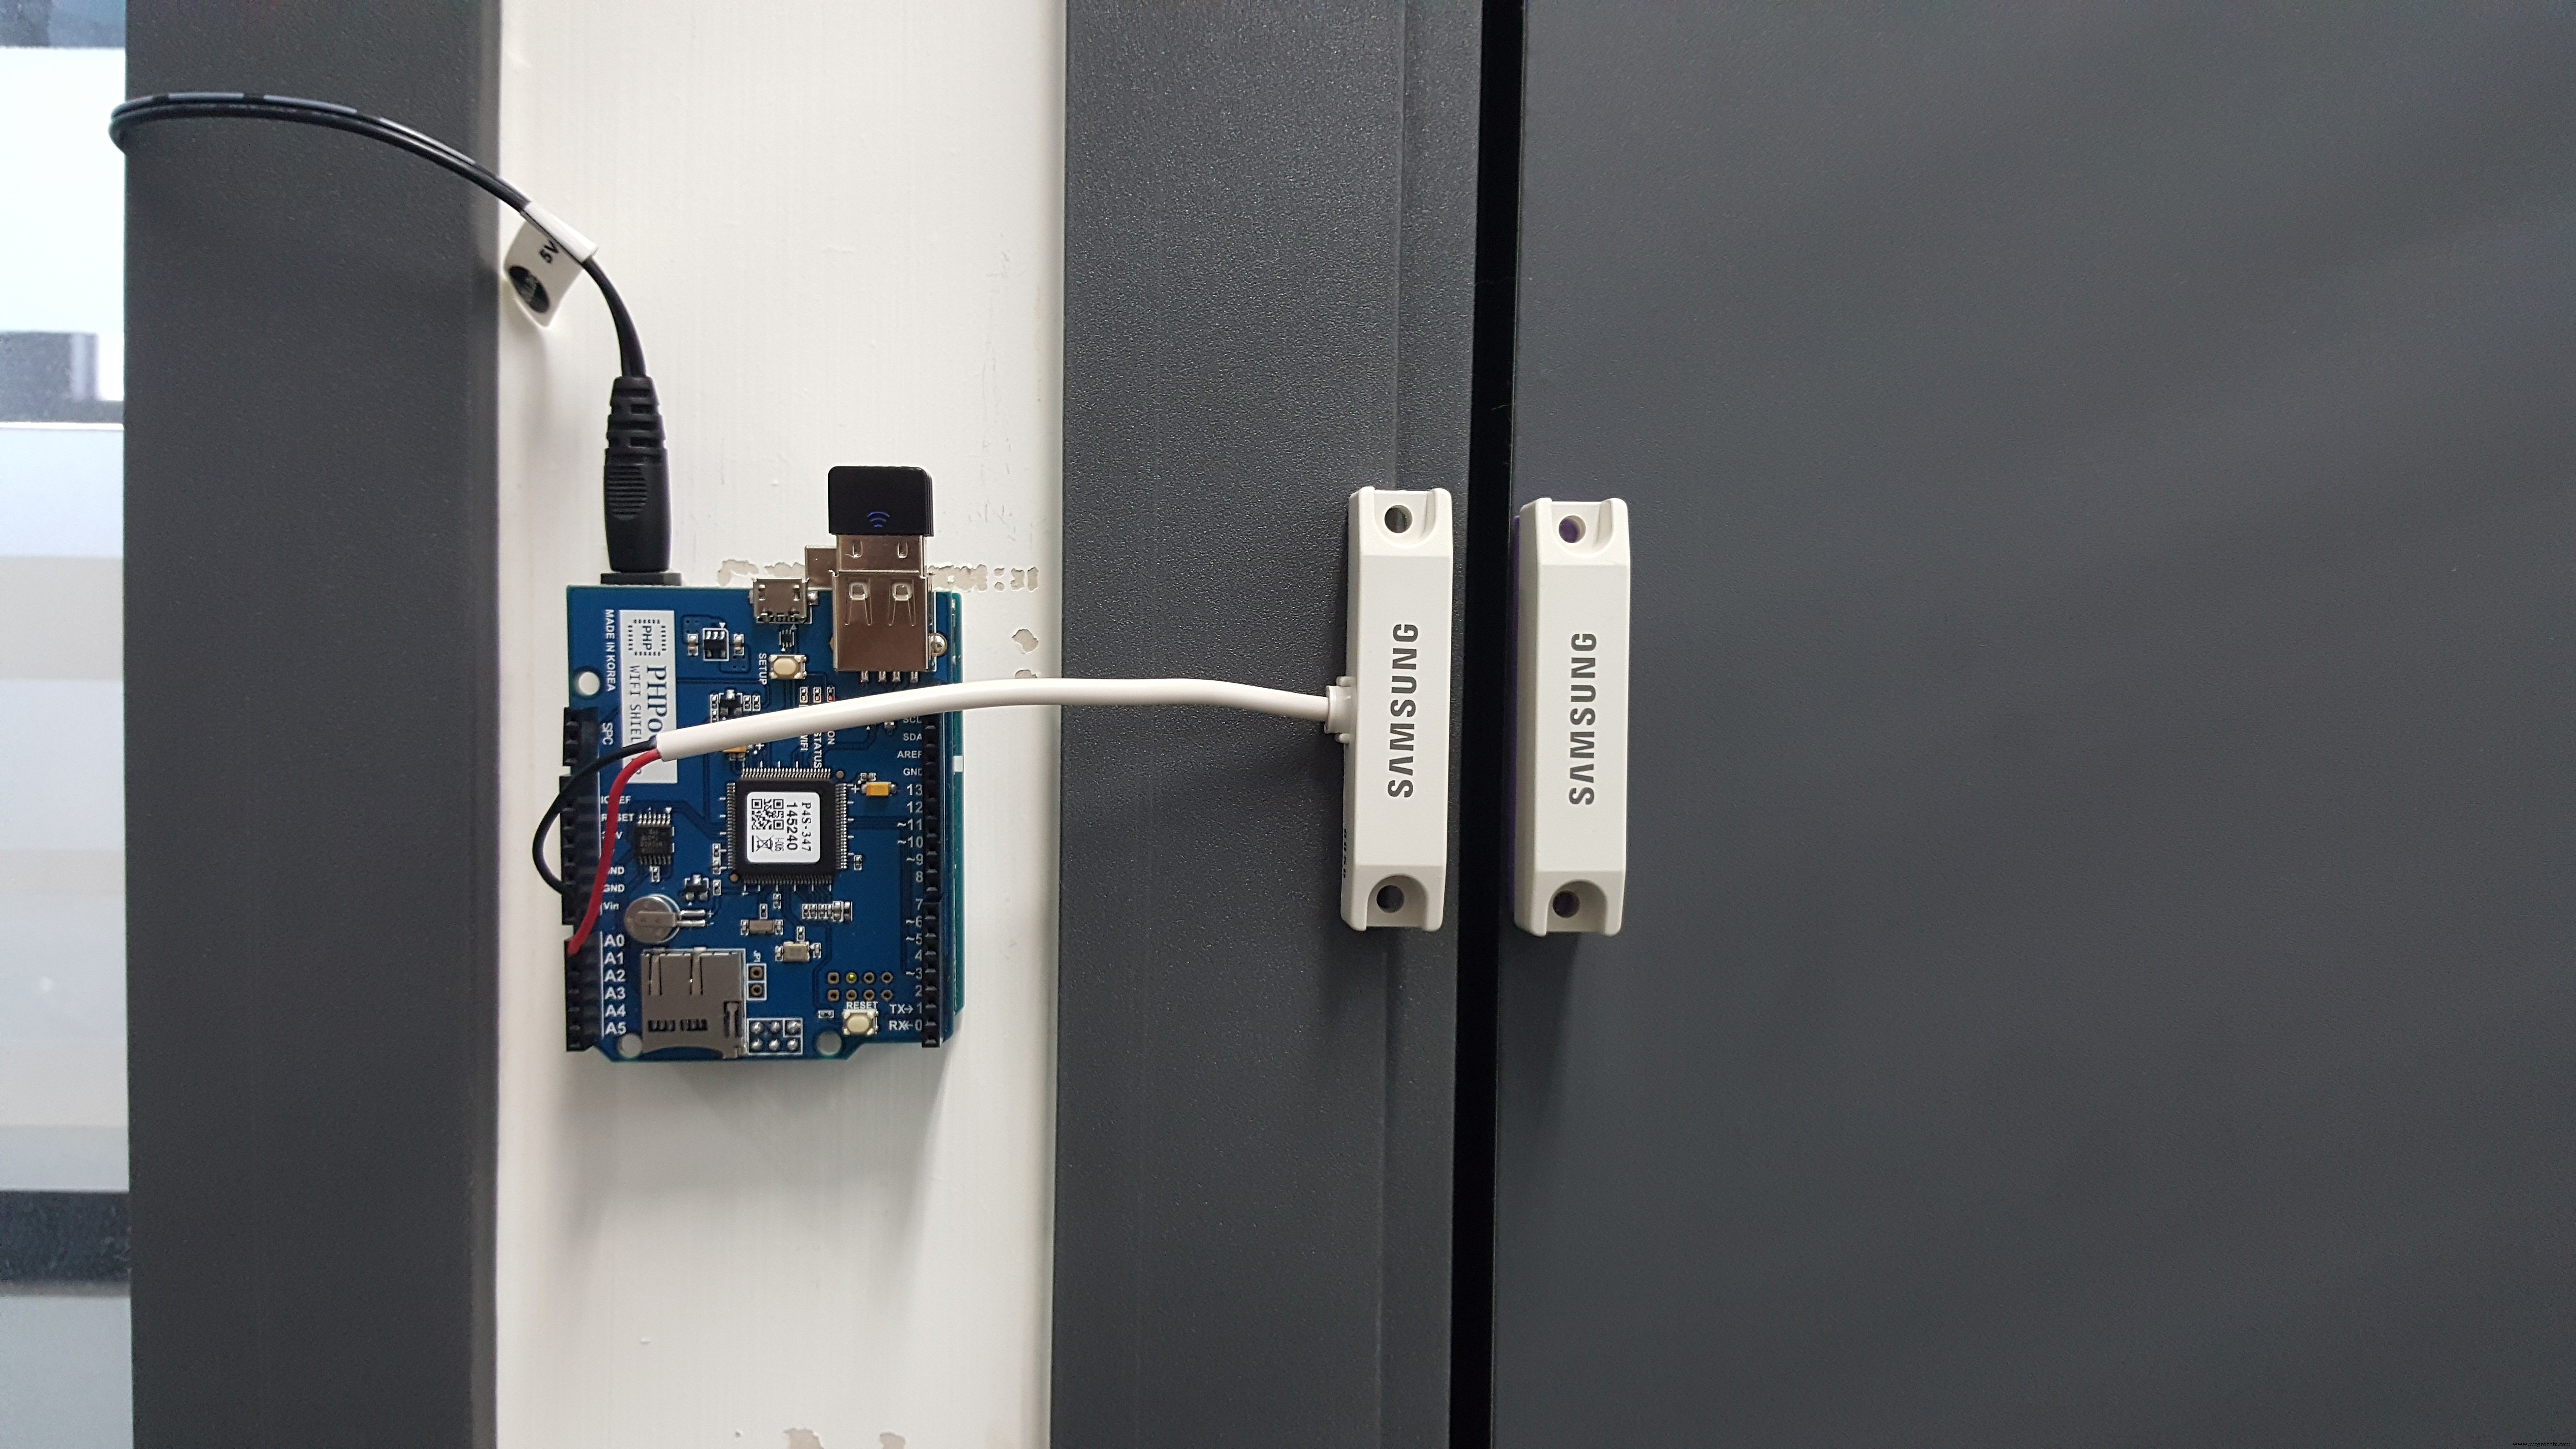
接线 <人物>

- 一个引脚接地。
- A0 的另一个引脚。
如何创建 IFTTT 小程序
遵循 12 个步骤(见红色方块)
1. 创建小程序。
<人物>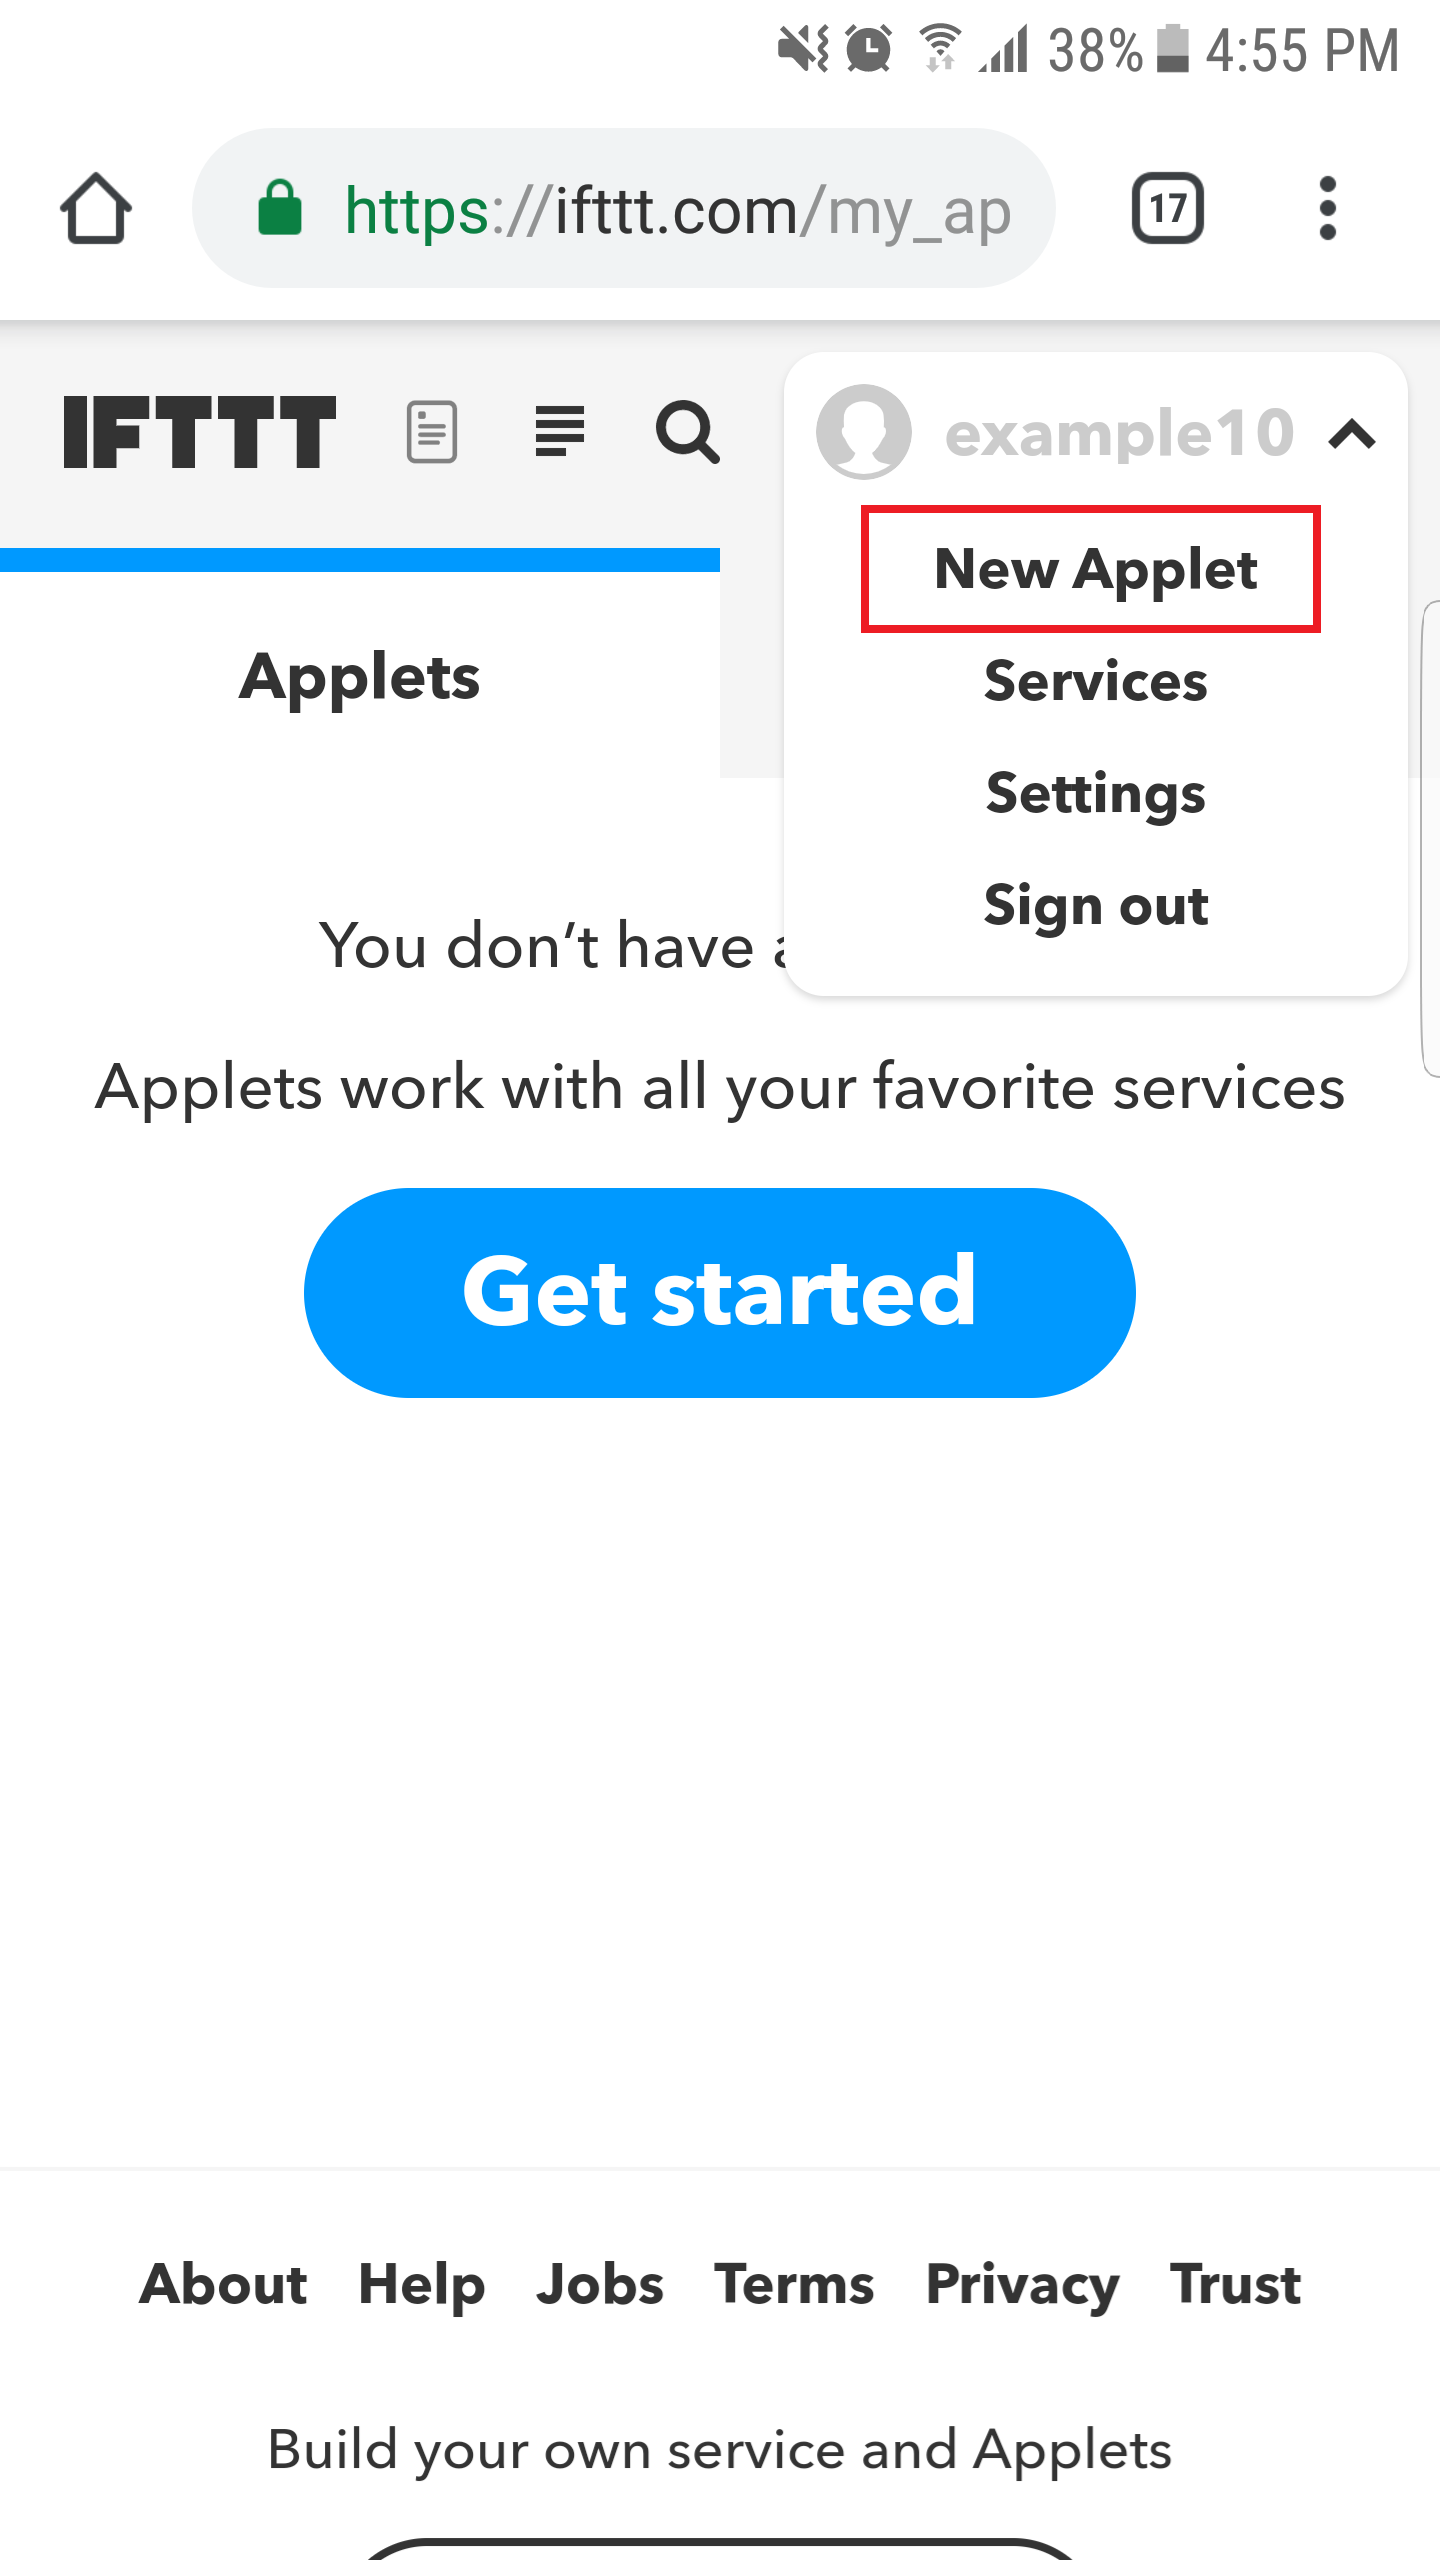
2. 设置触发器。
<人物>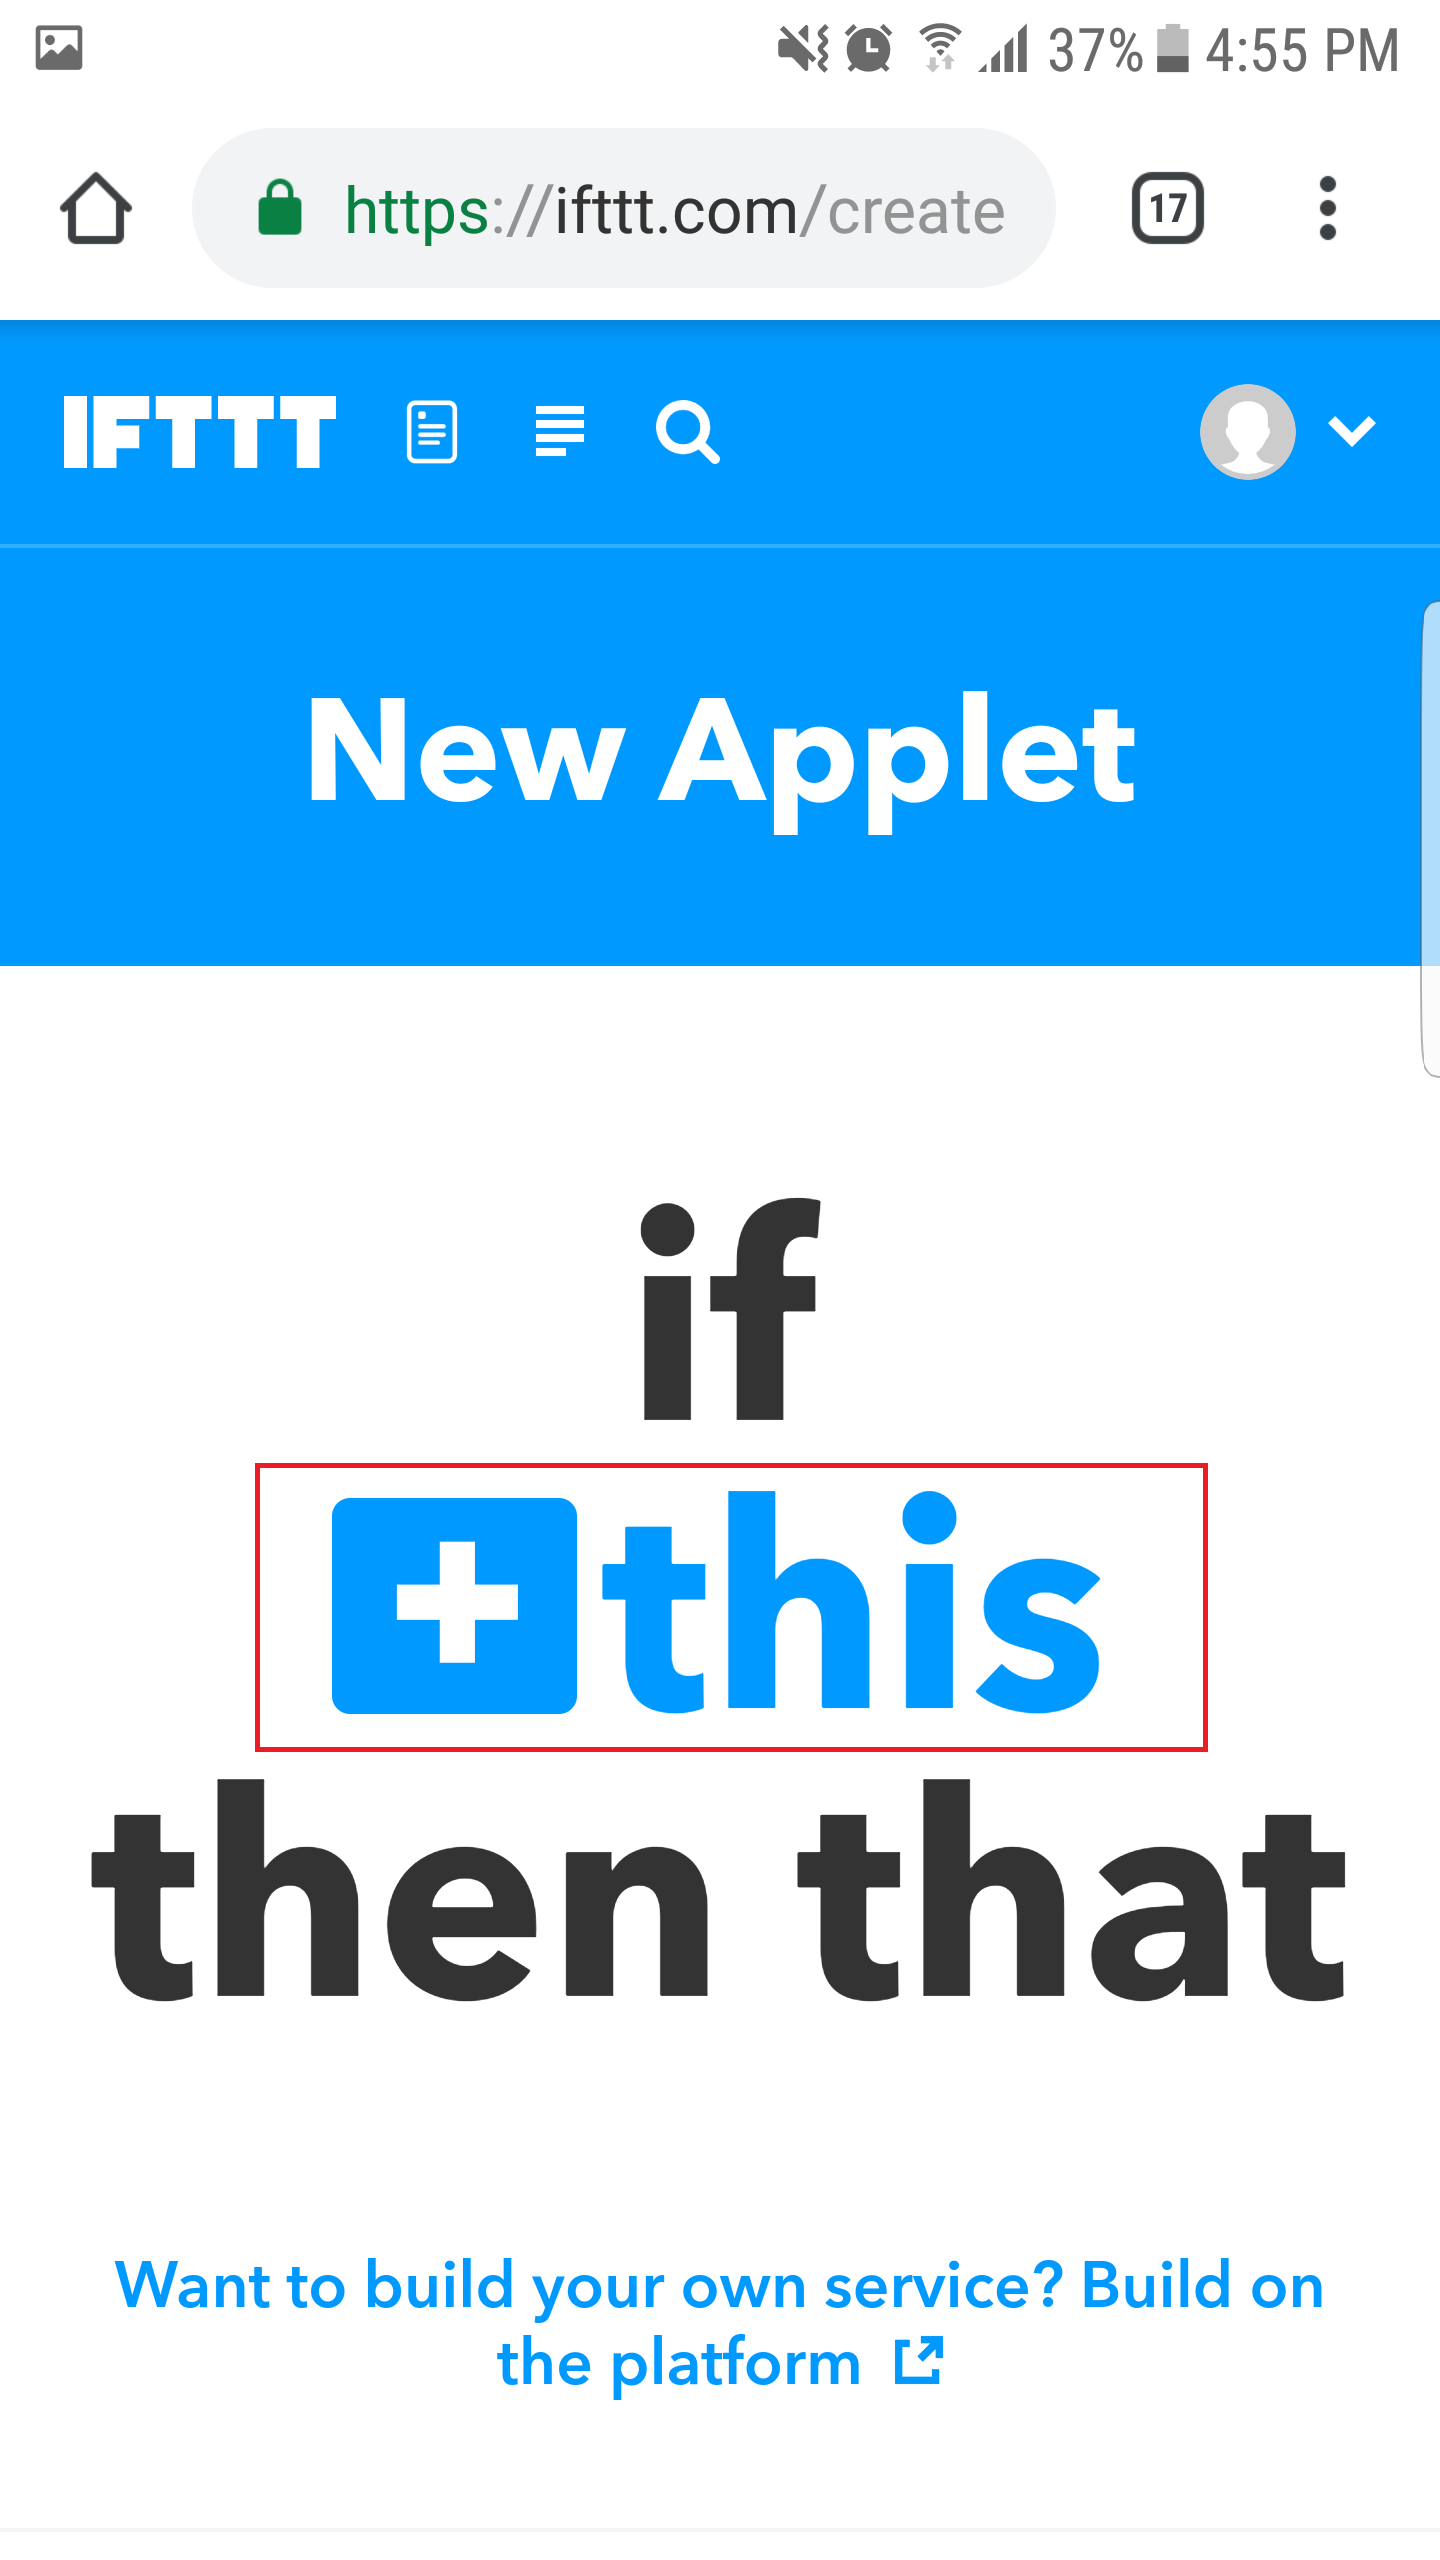
3. 搜索“Webhooks”并点击Webhooks。
<人物>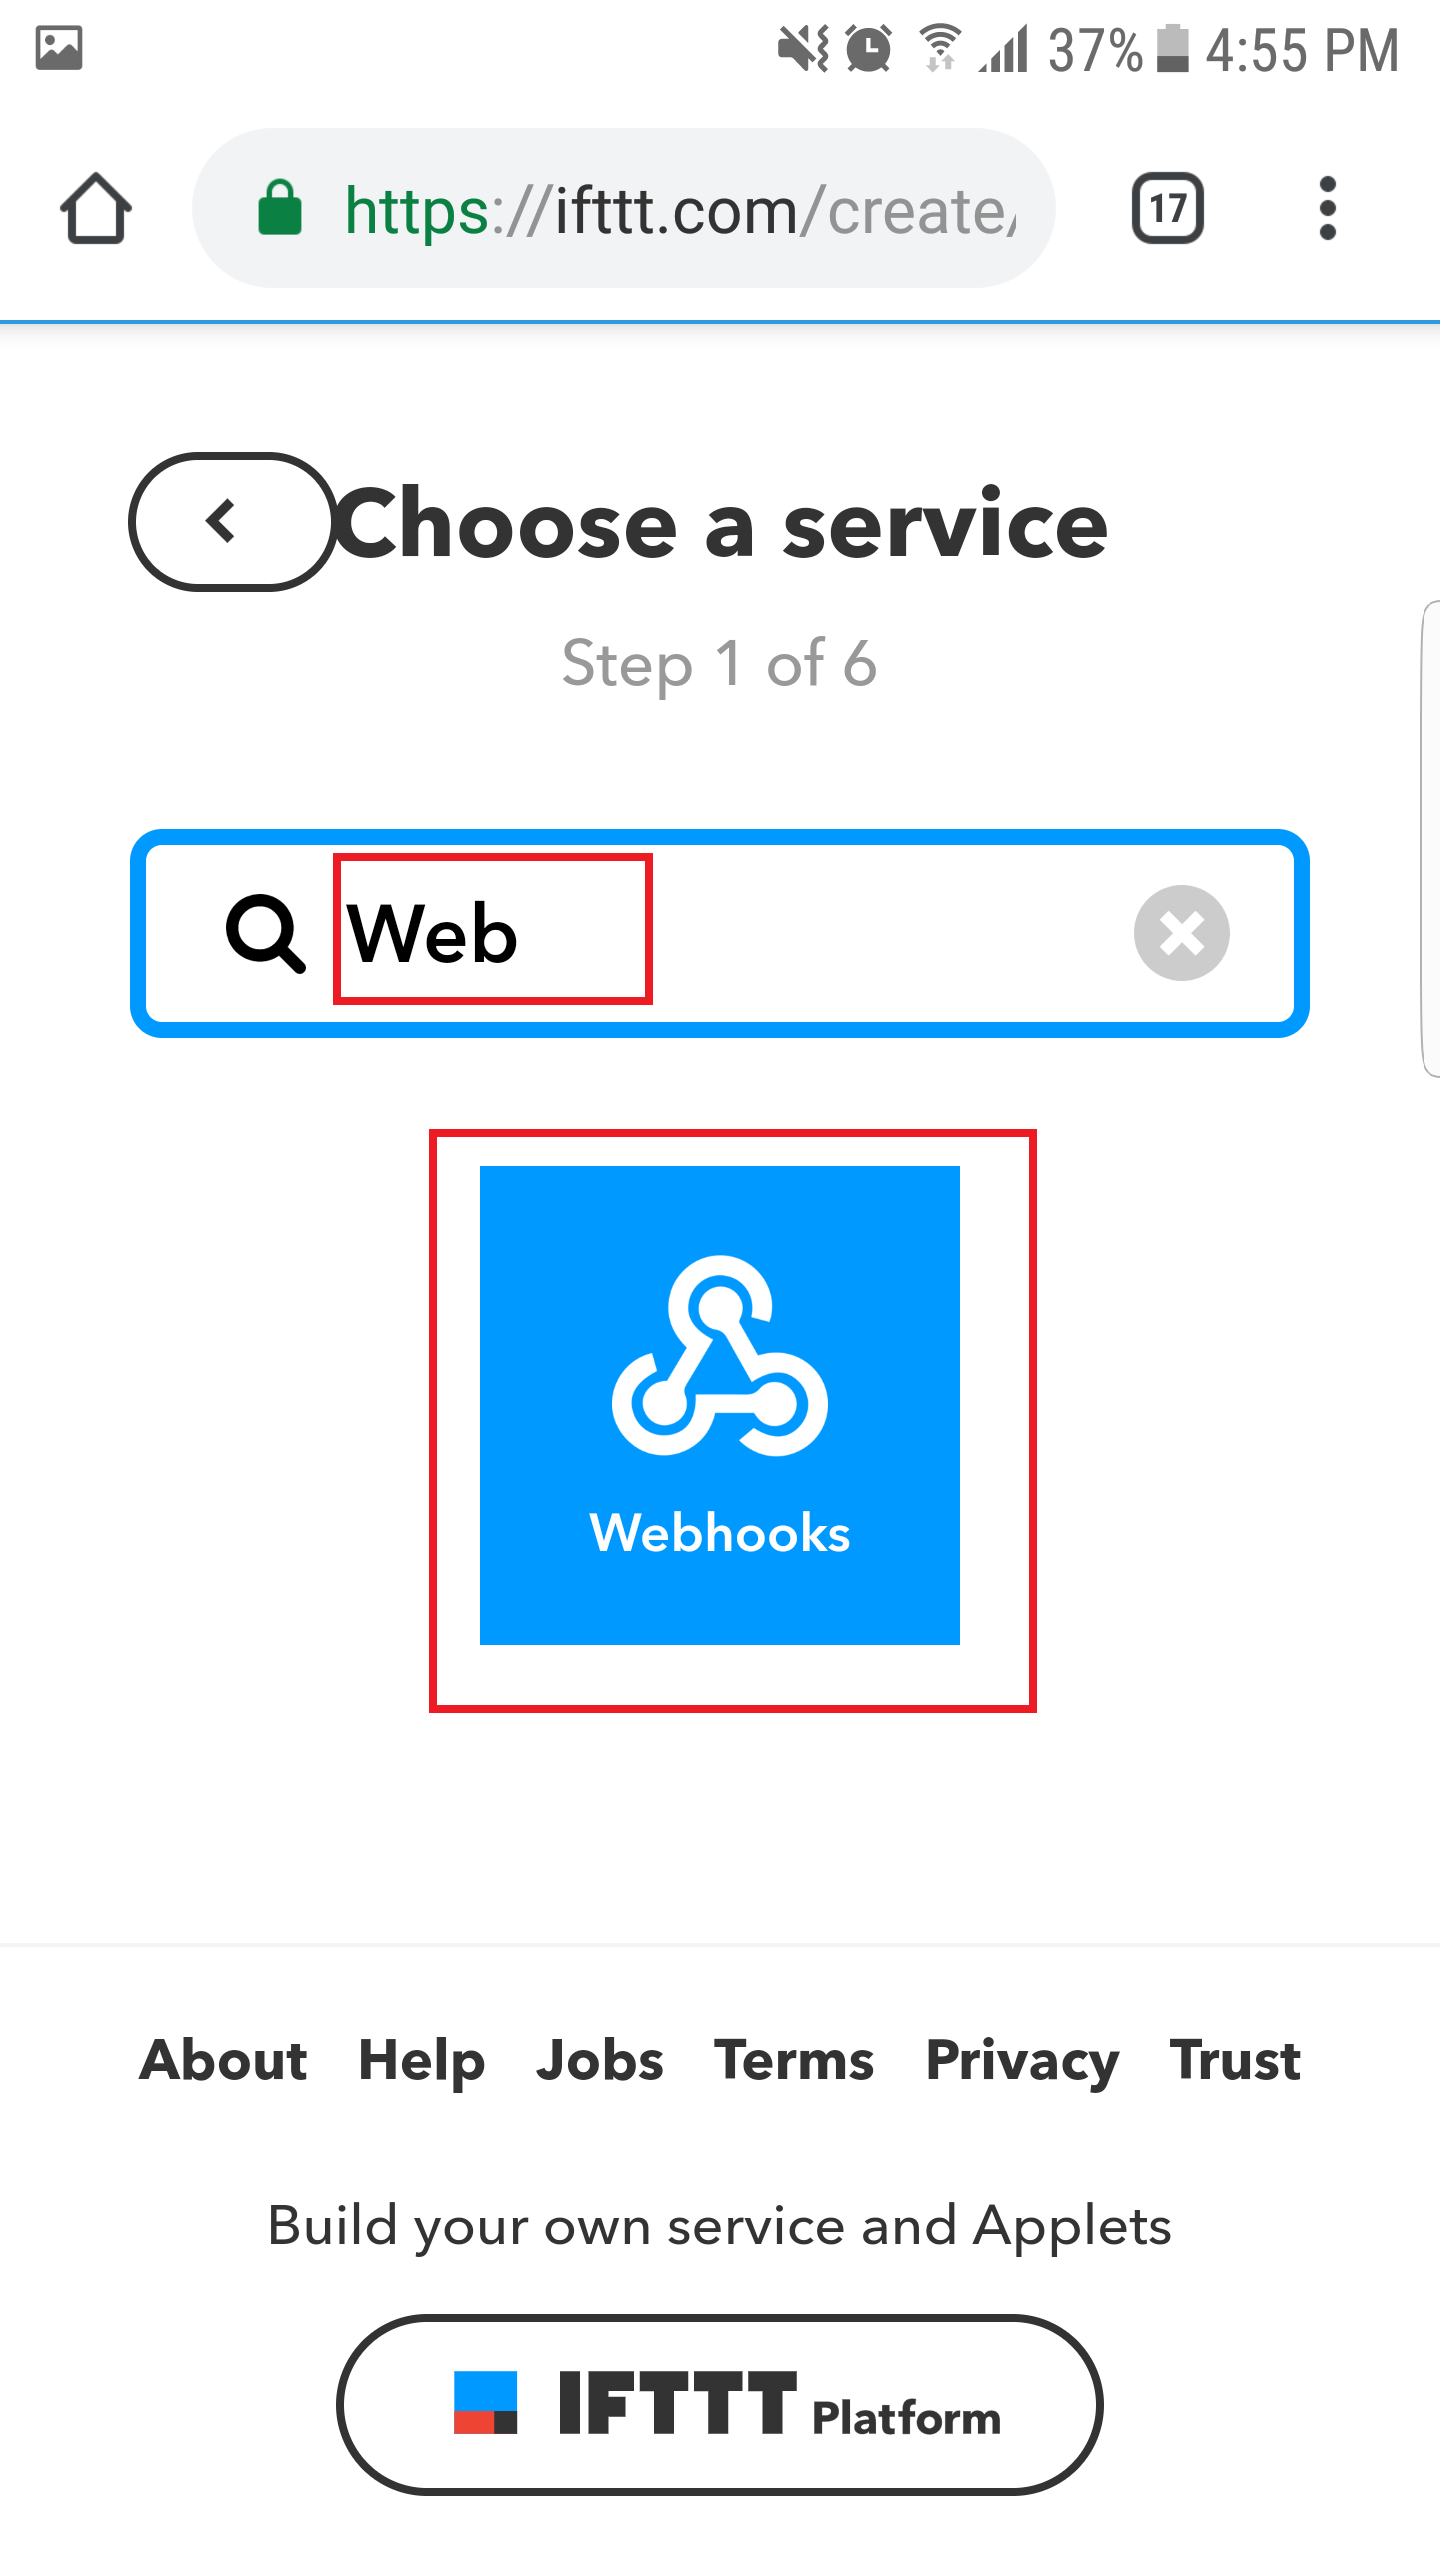
4. 选择“接收网络请求”。
<人物>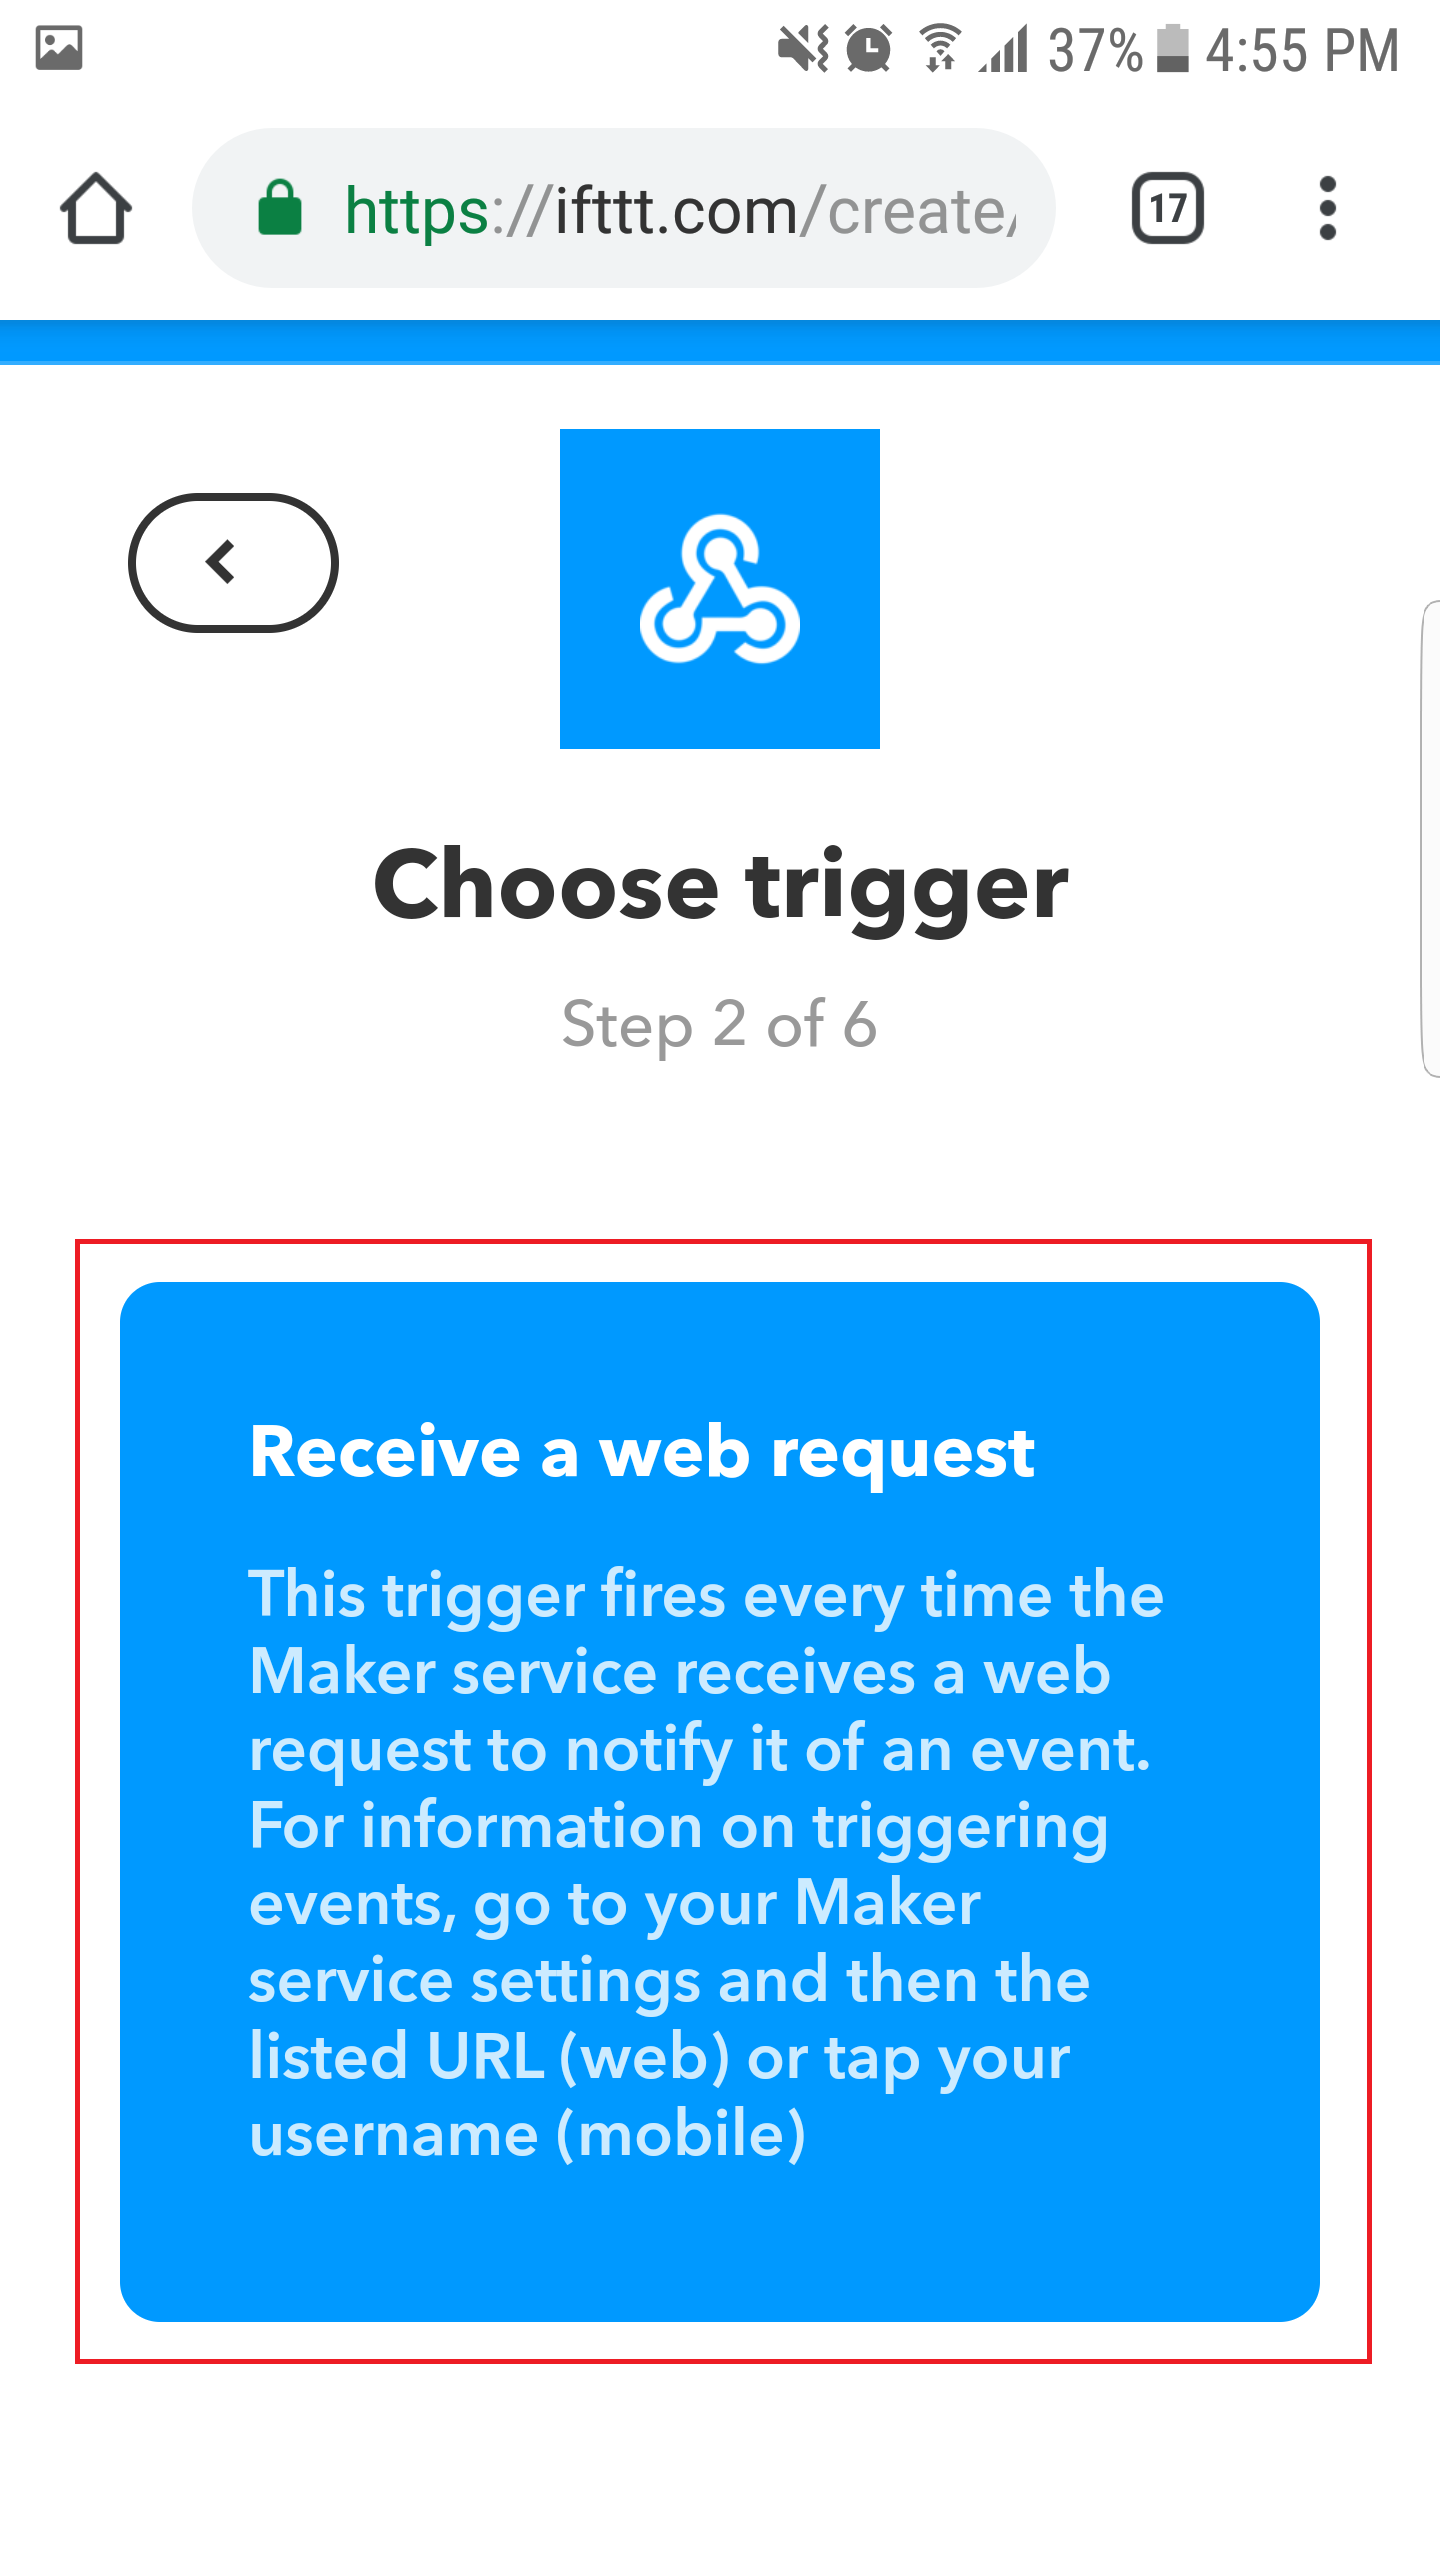
5.设置事件名称为“door_open”,点击“创建触发器”按钮。
<人物>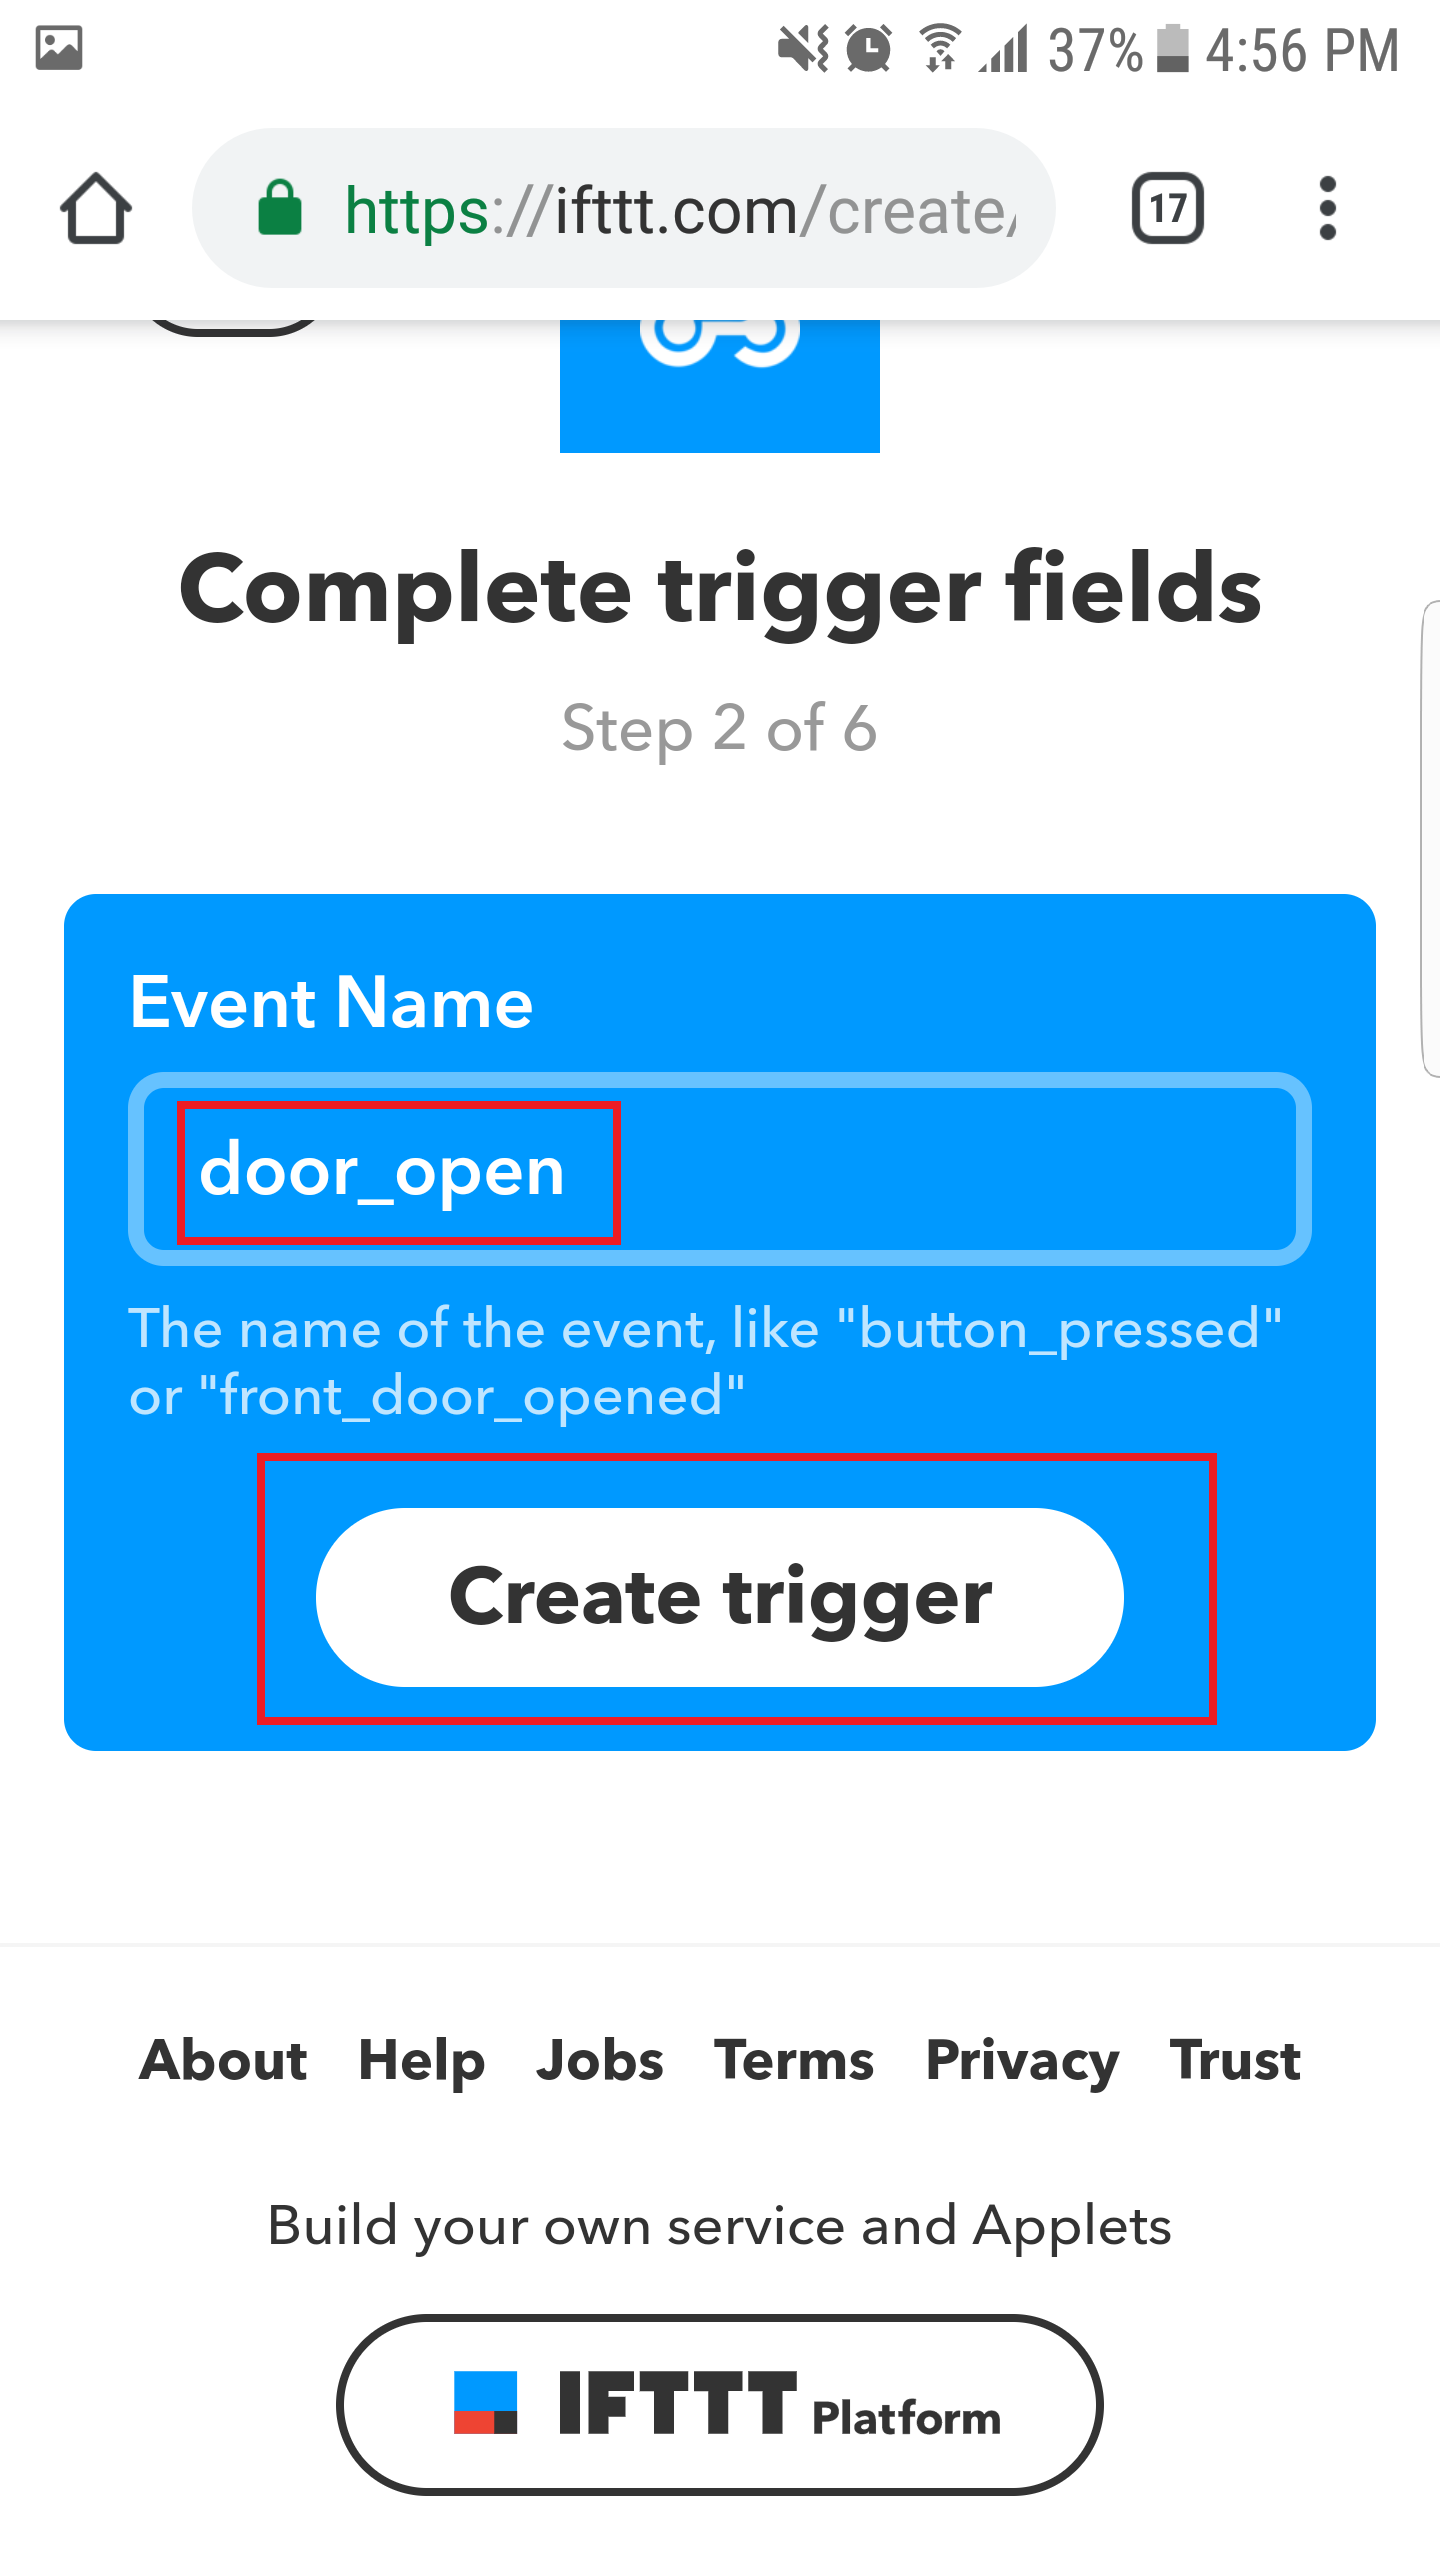
6. 点击“+that”按钮创建动作。
<人物>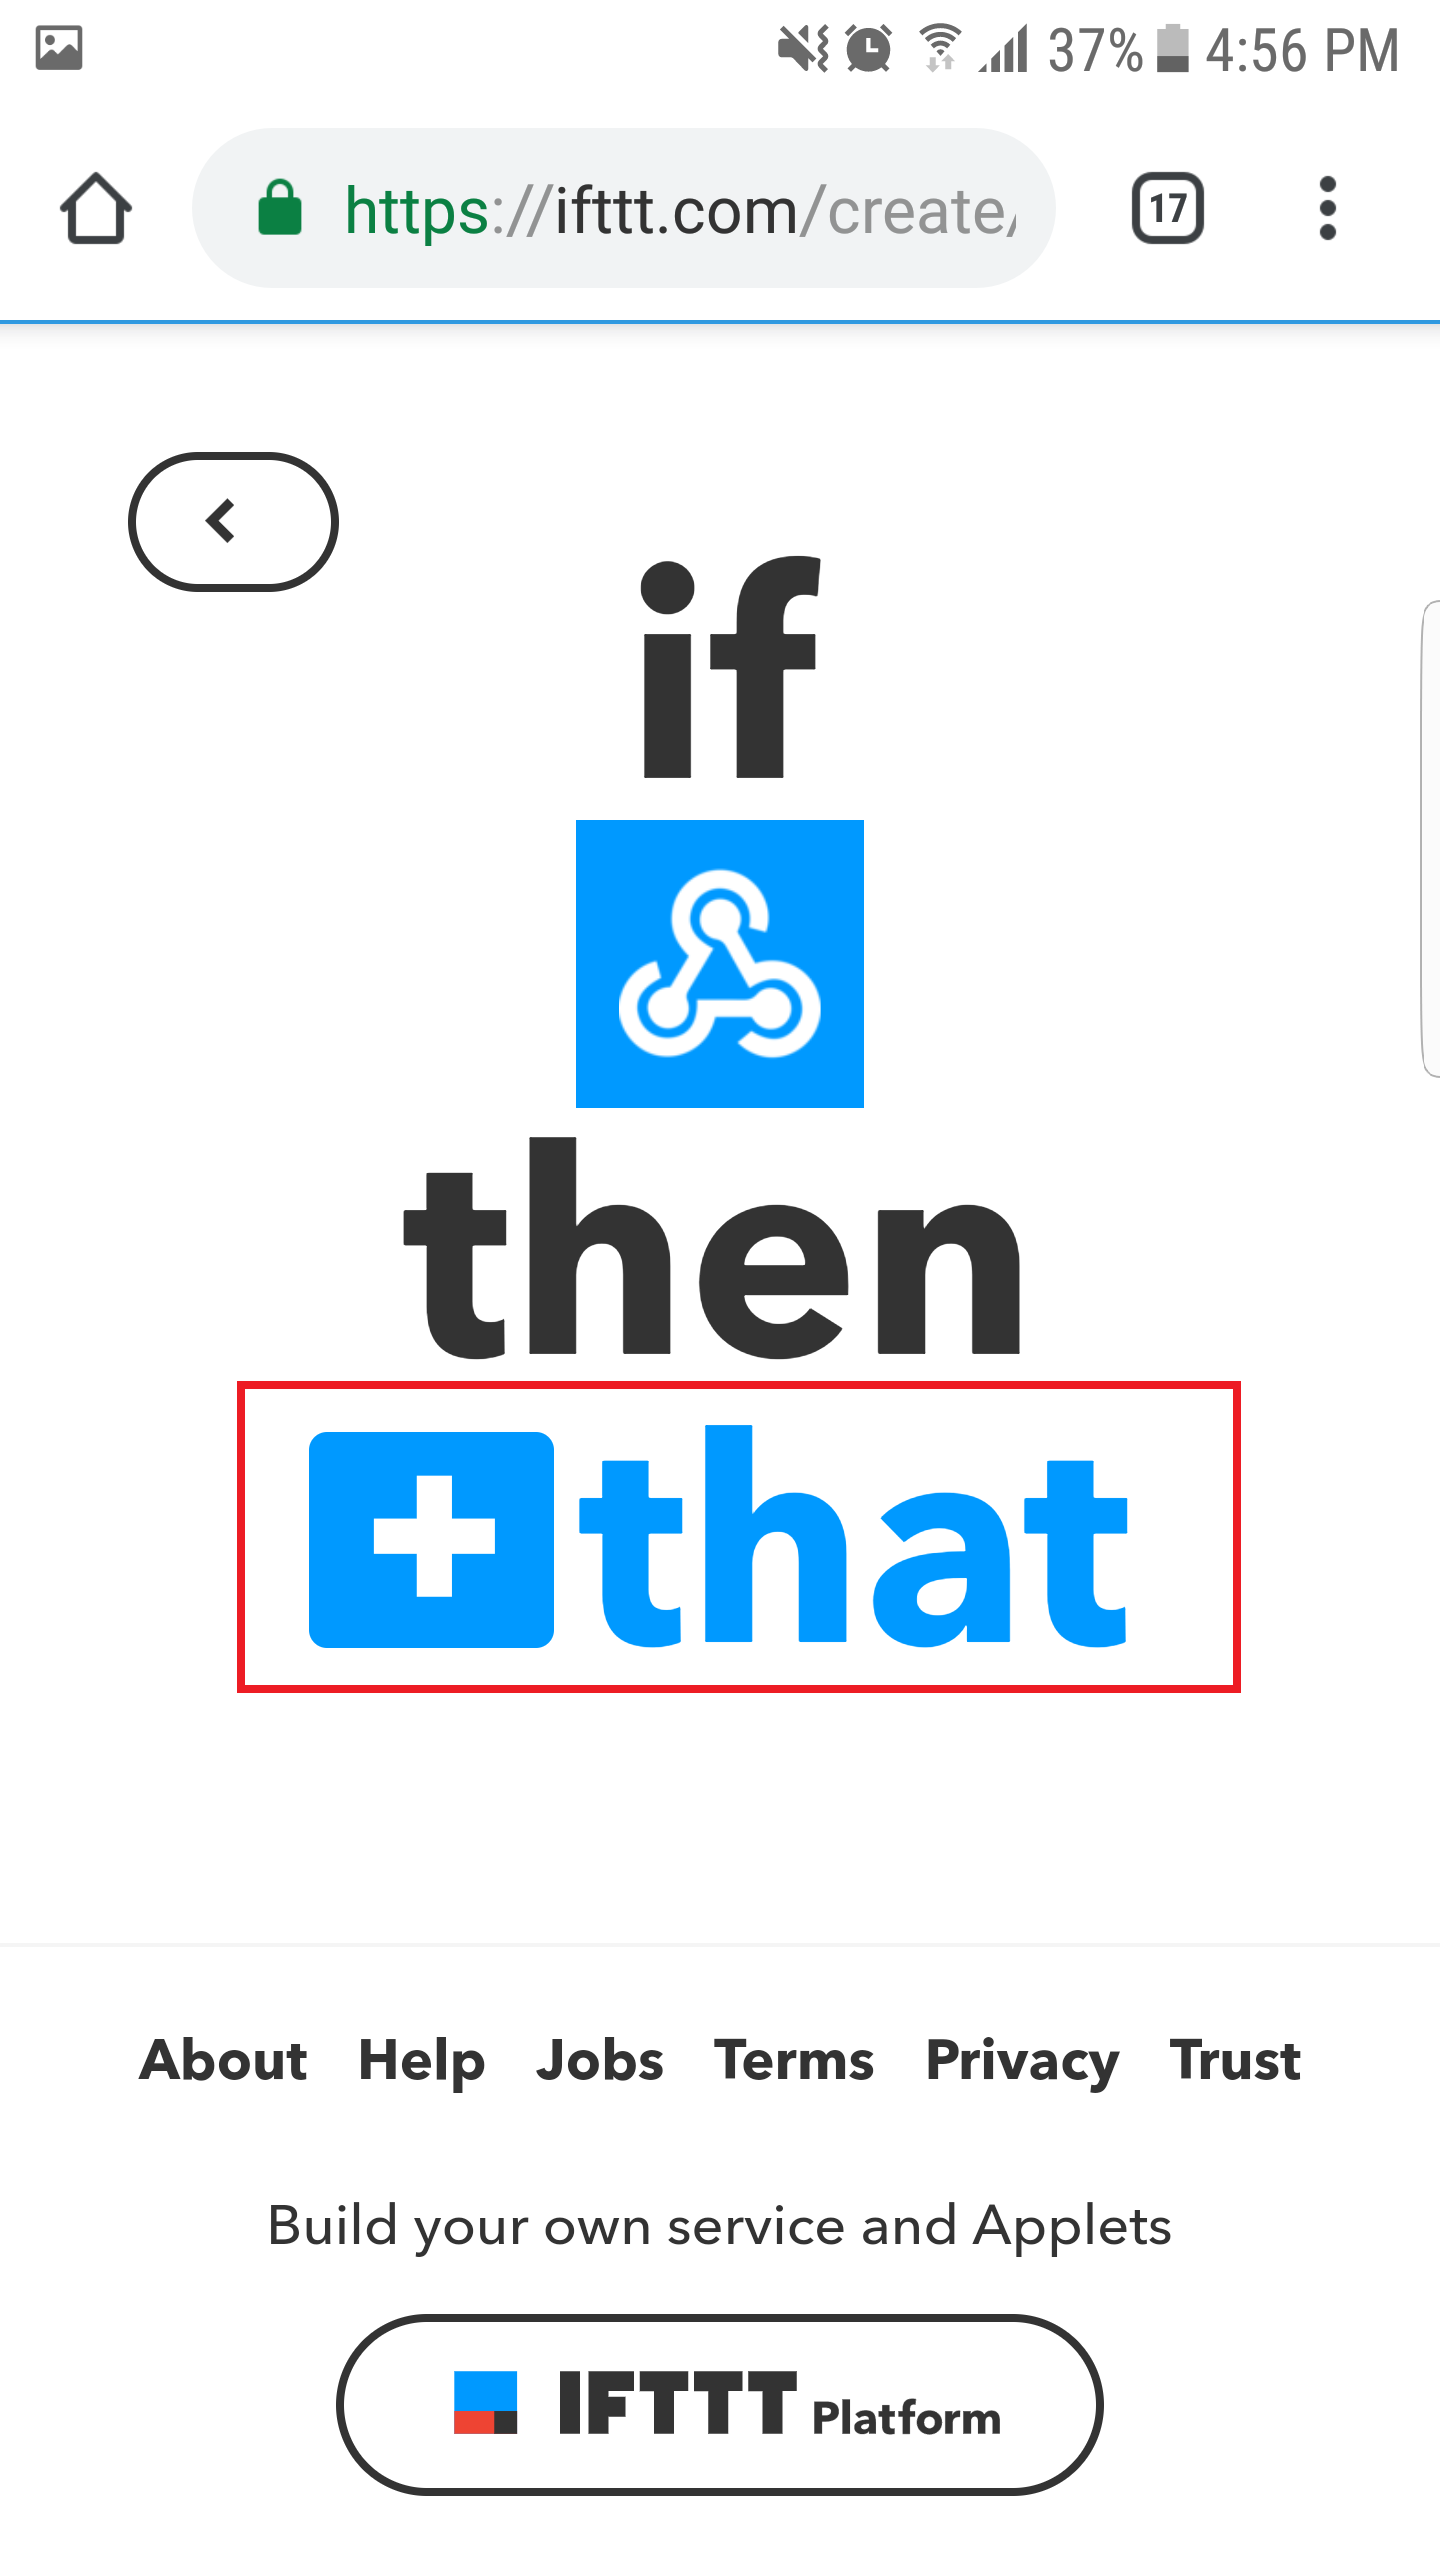
7. 搜索“Facebook Messenger”并点击。
<人物>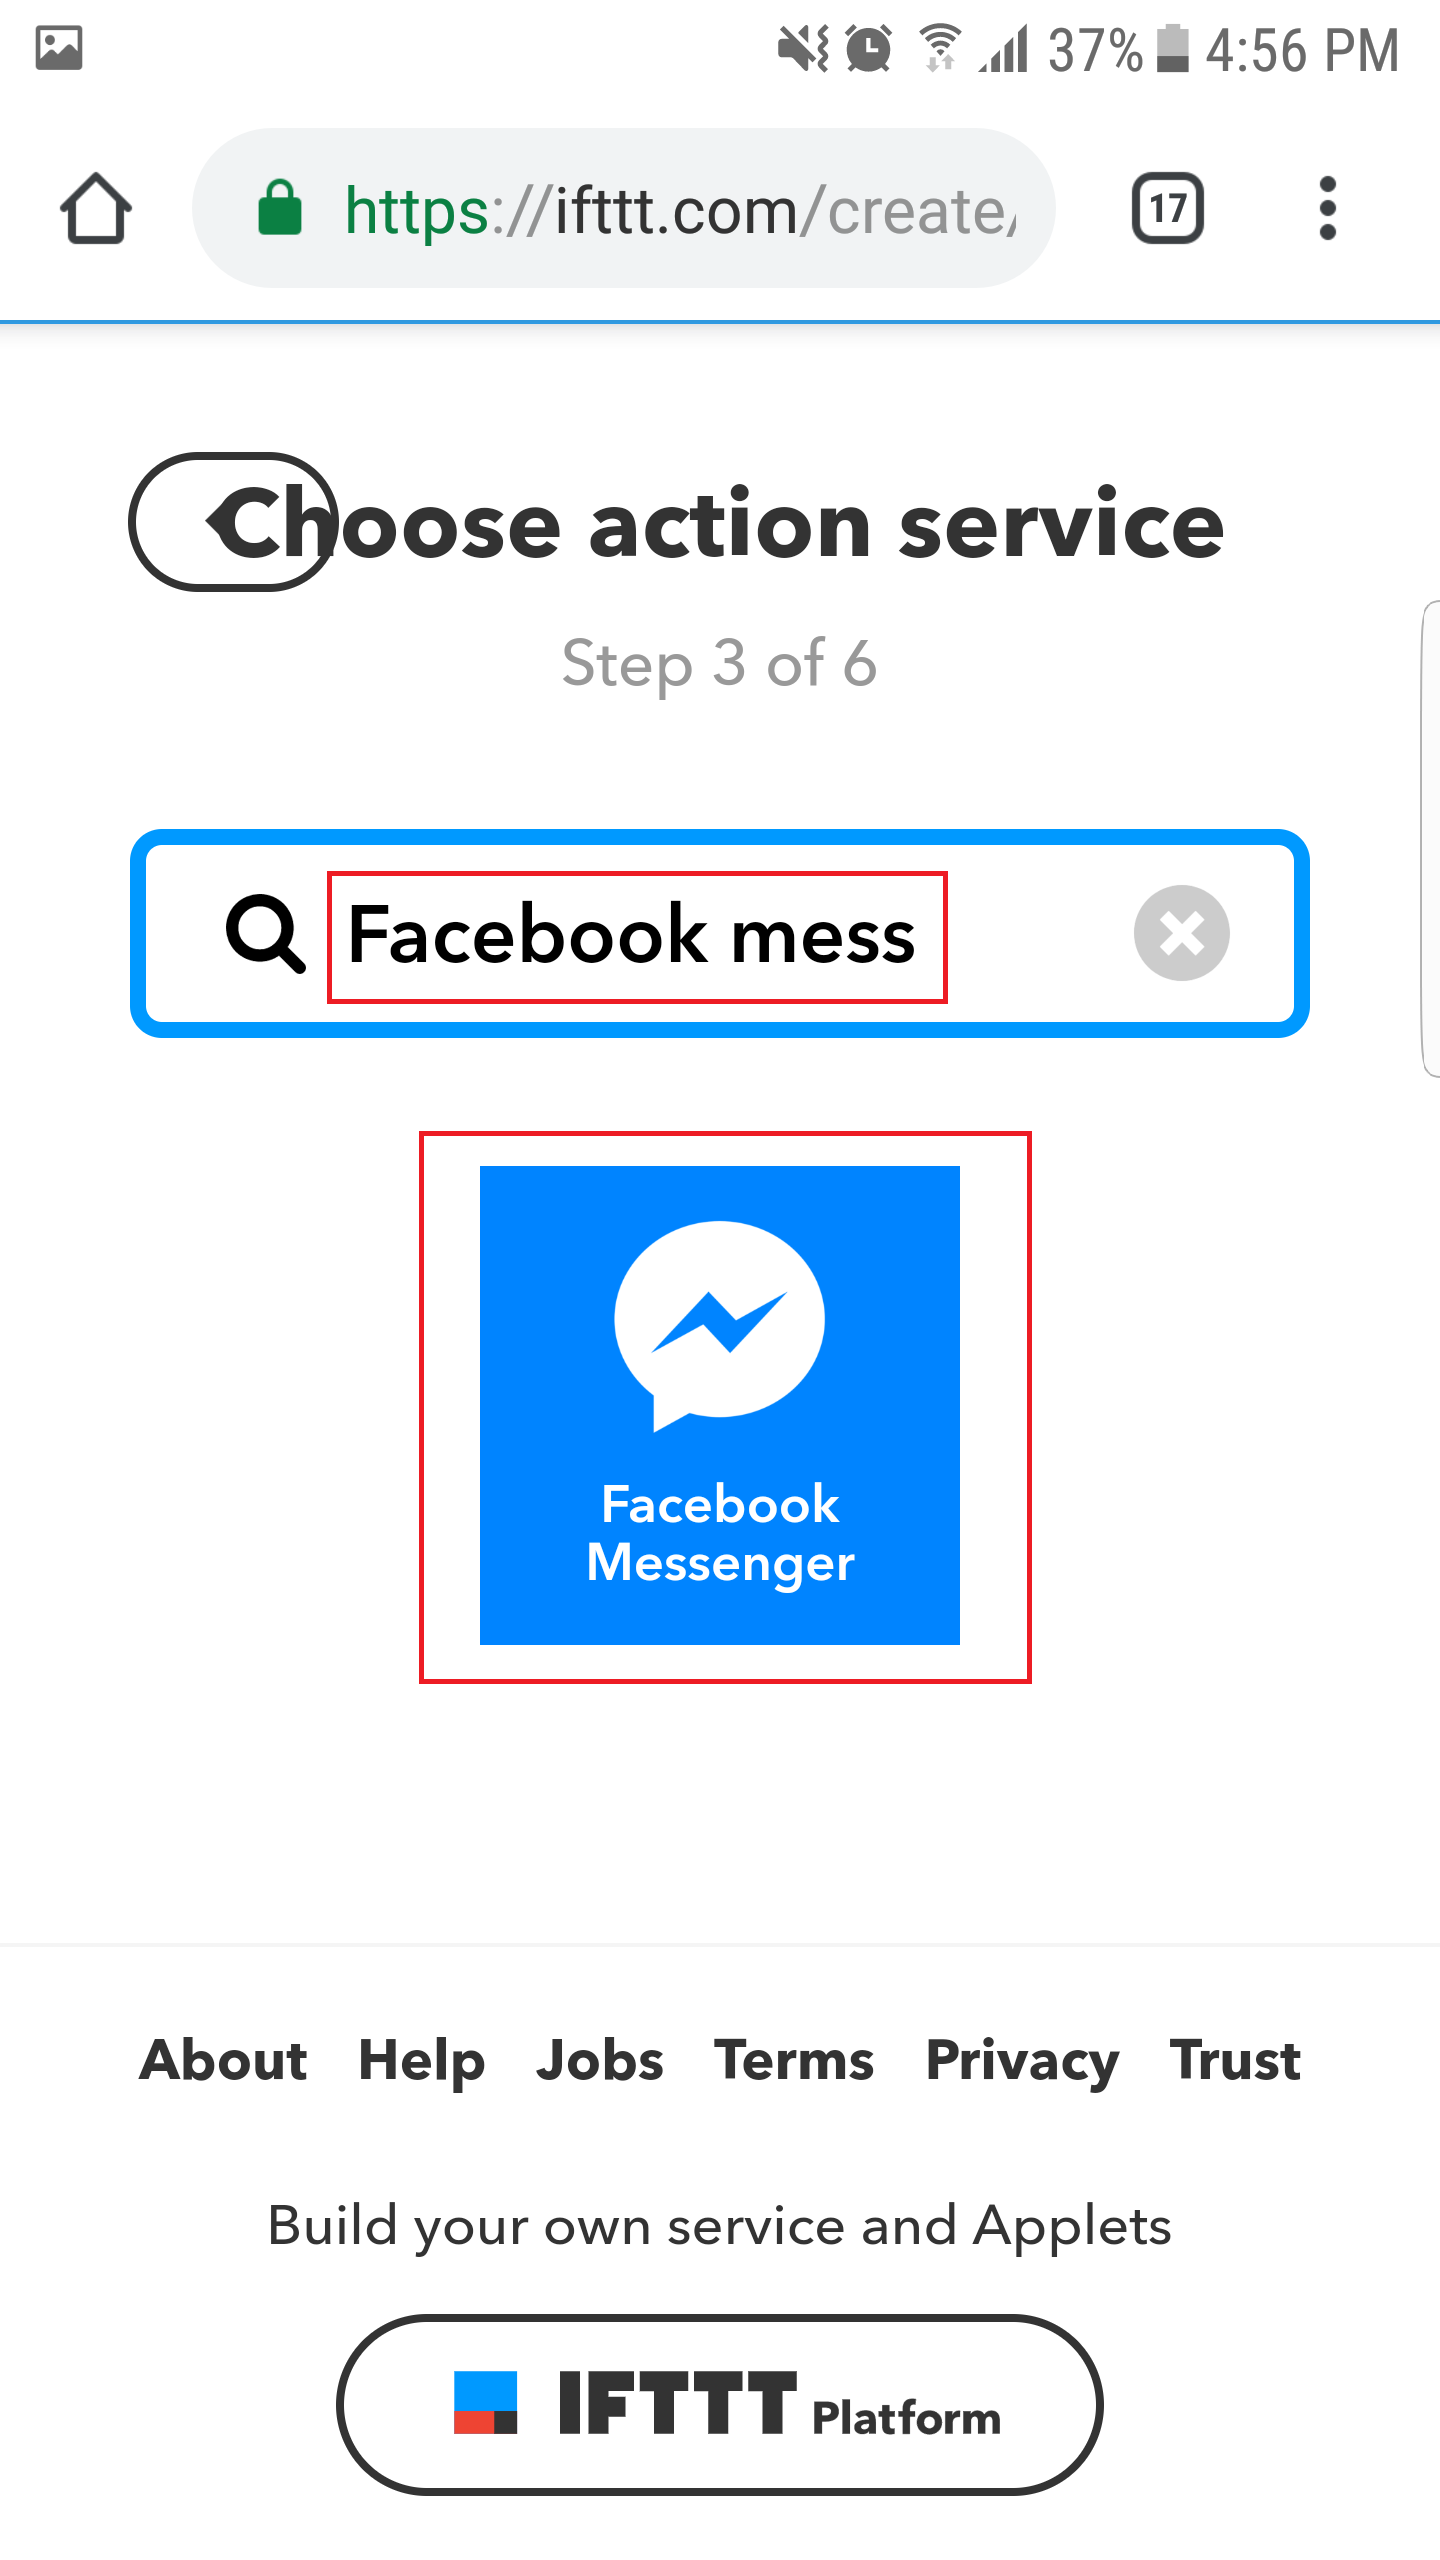
8. 选择操作“发送消息”。需要第一次连接到Facebook。
<人物>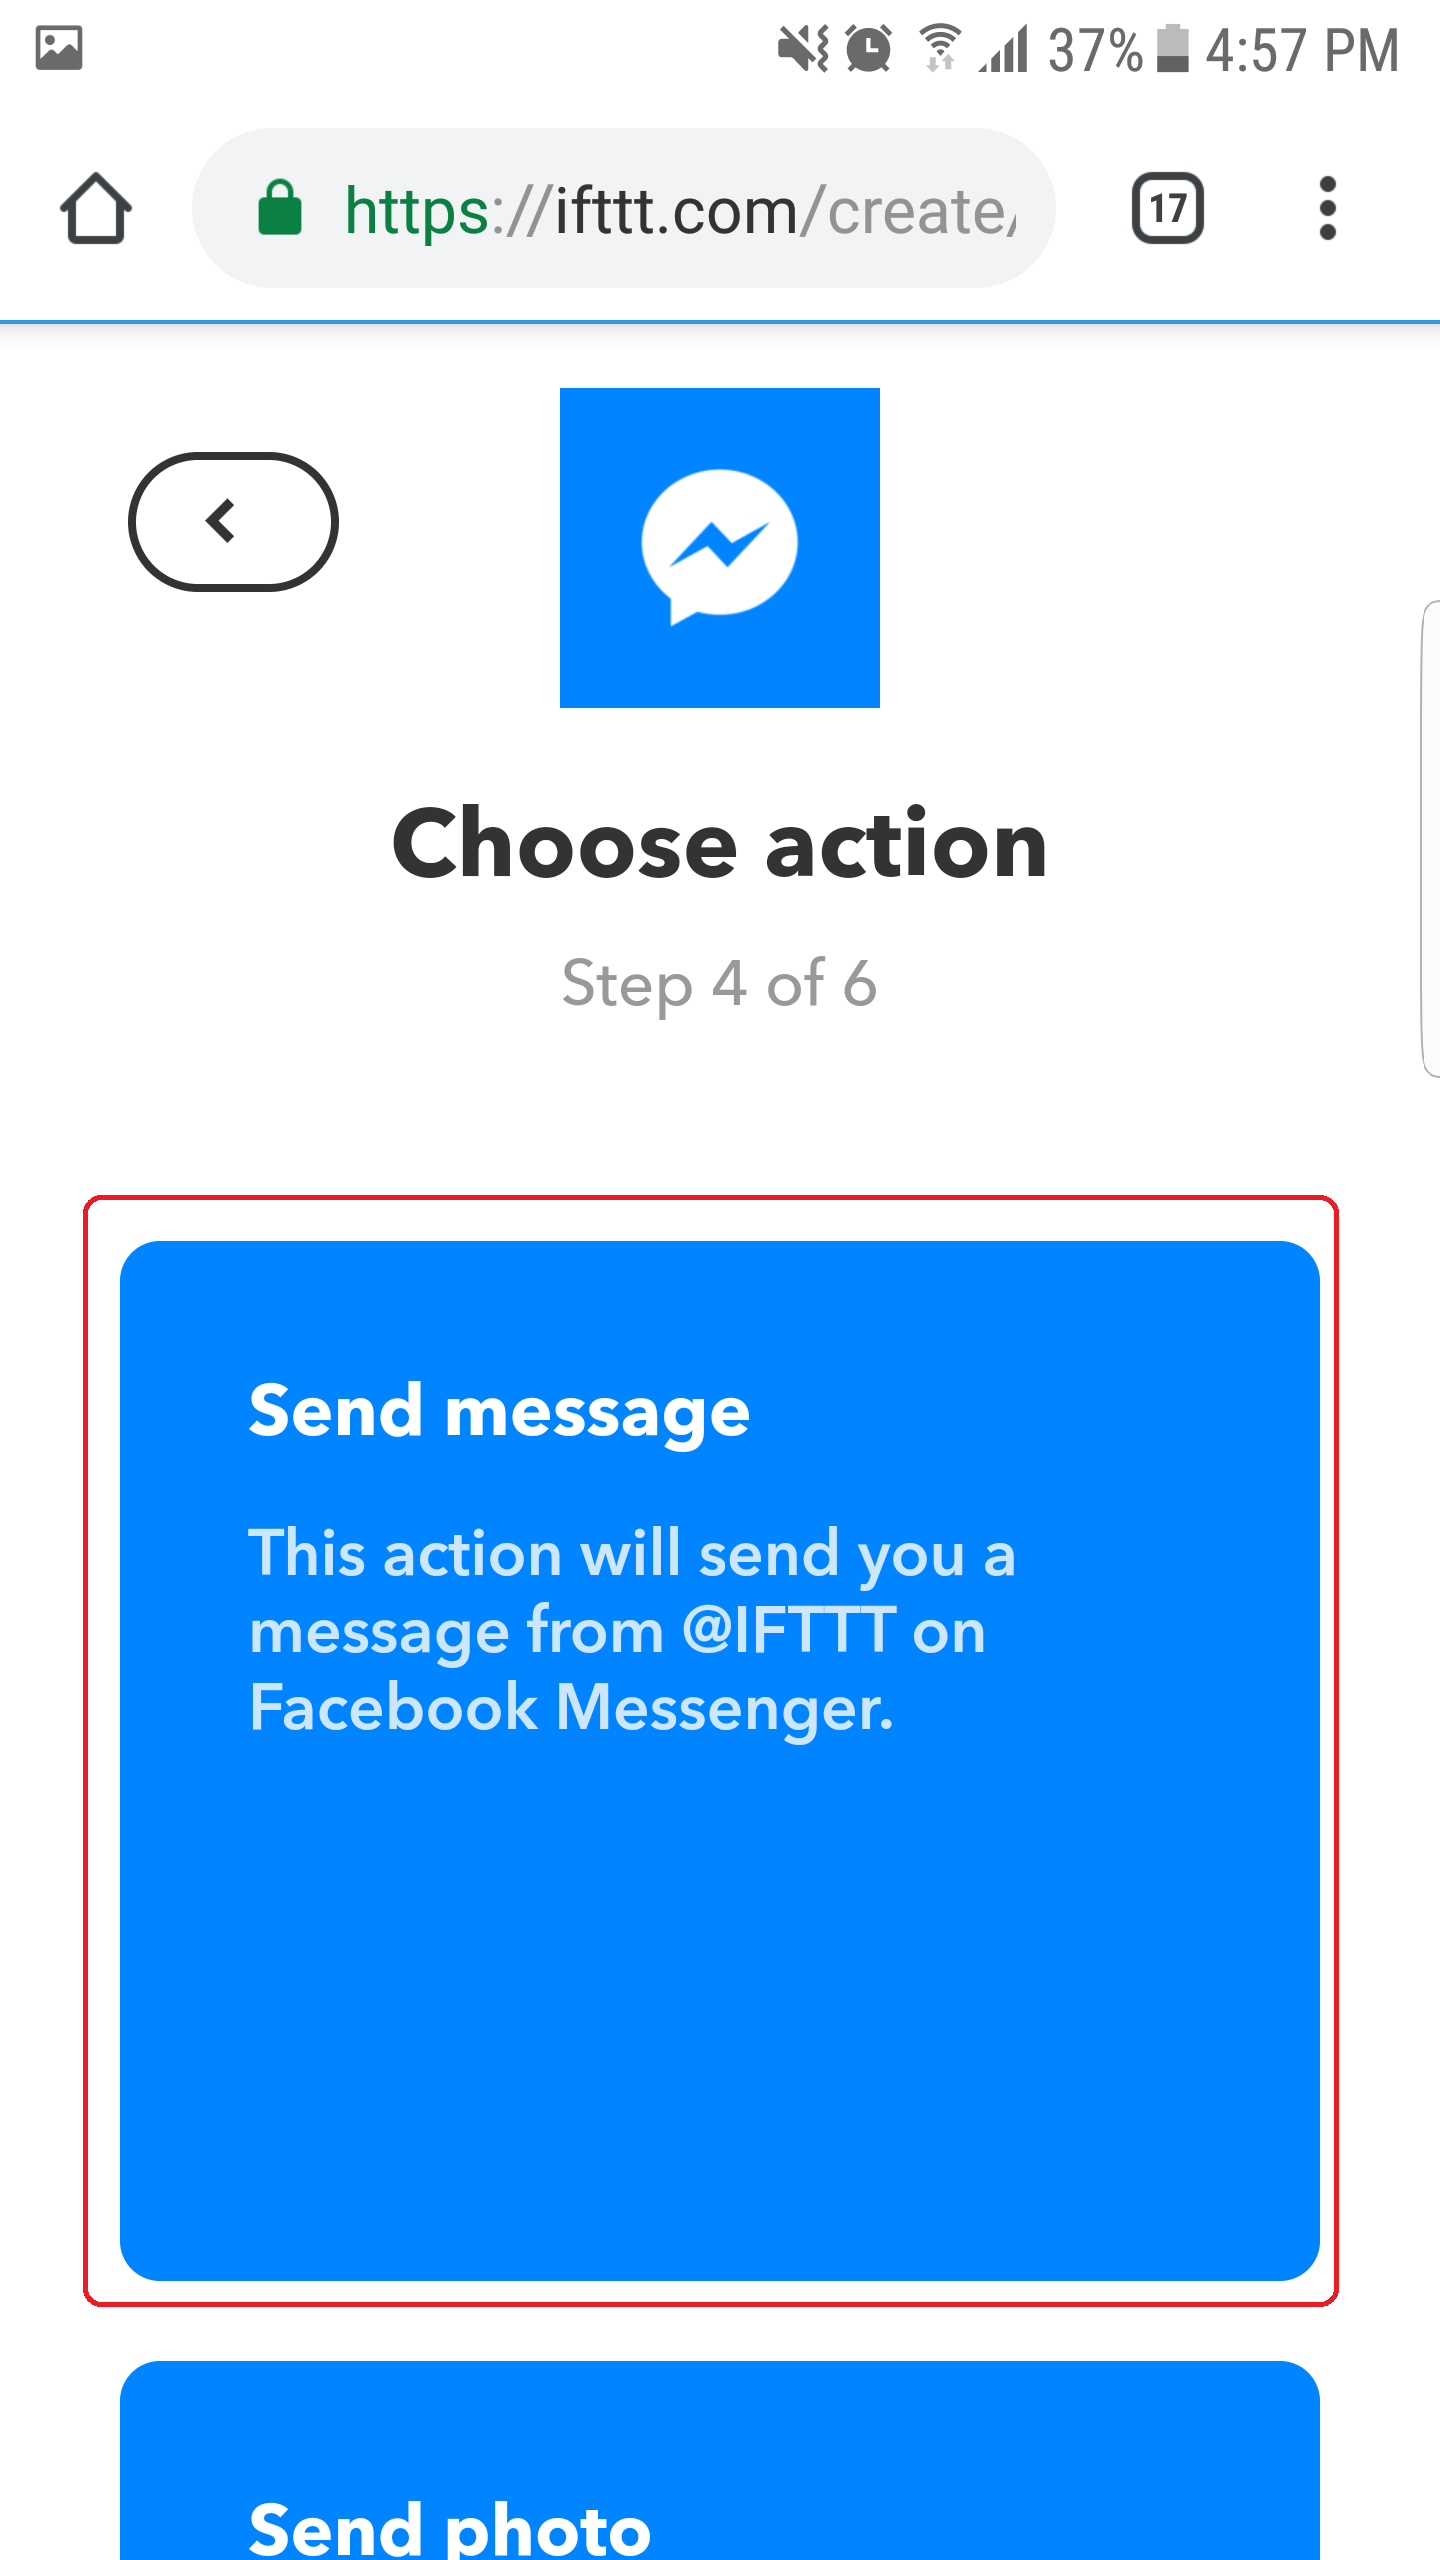
9. 创建消息内容,然后点击“添加成分”按钮。
<人物>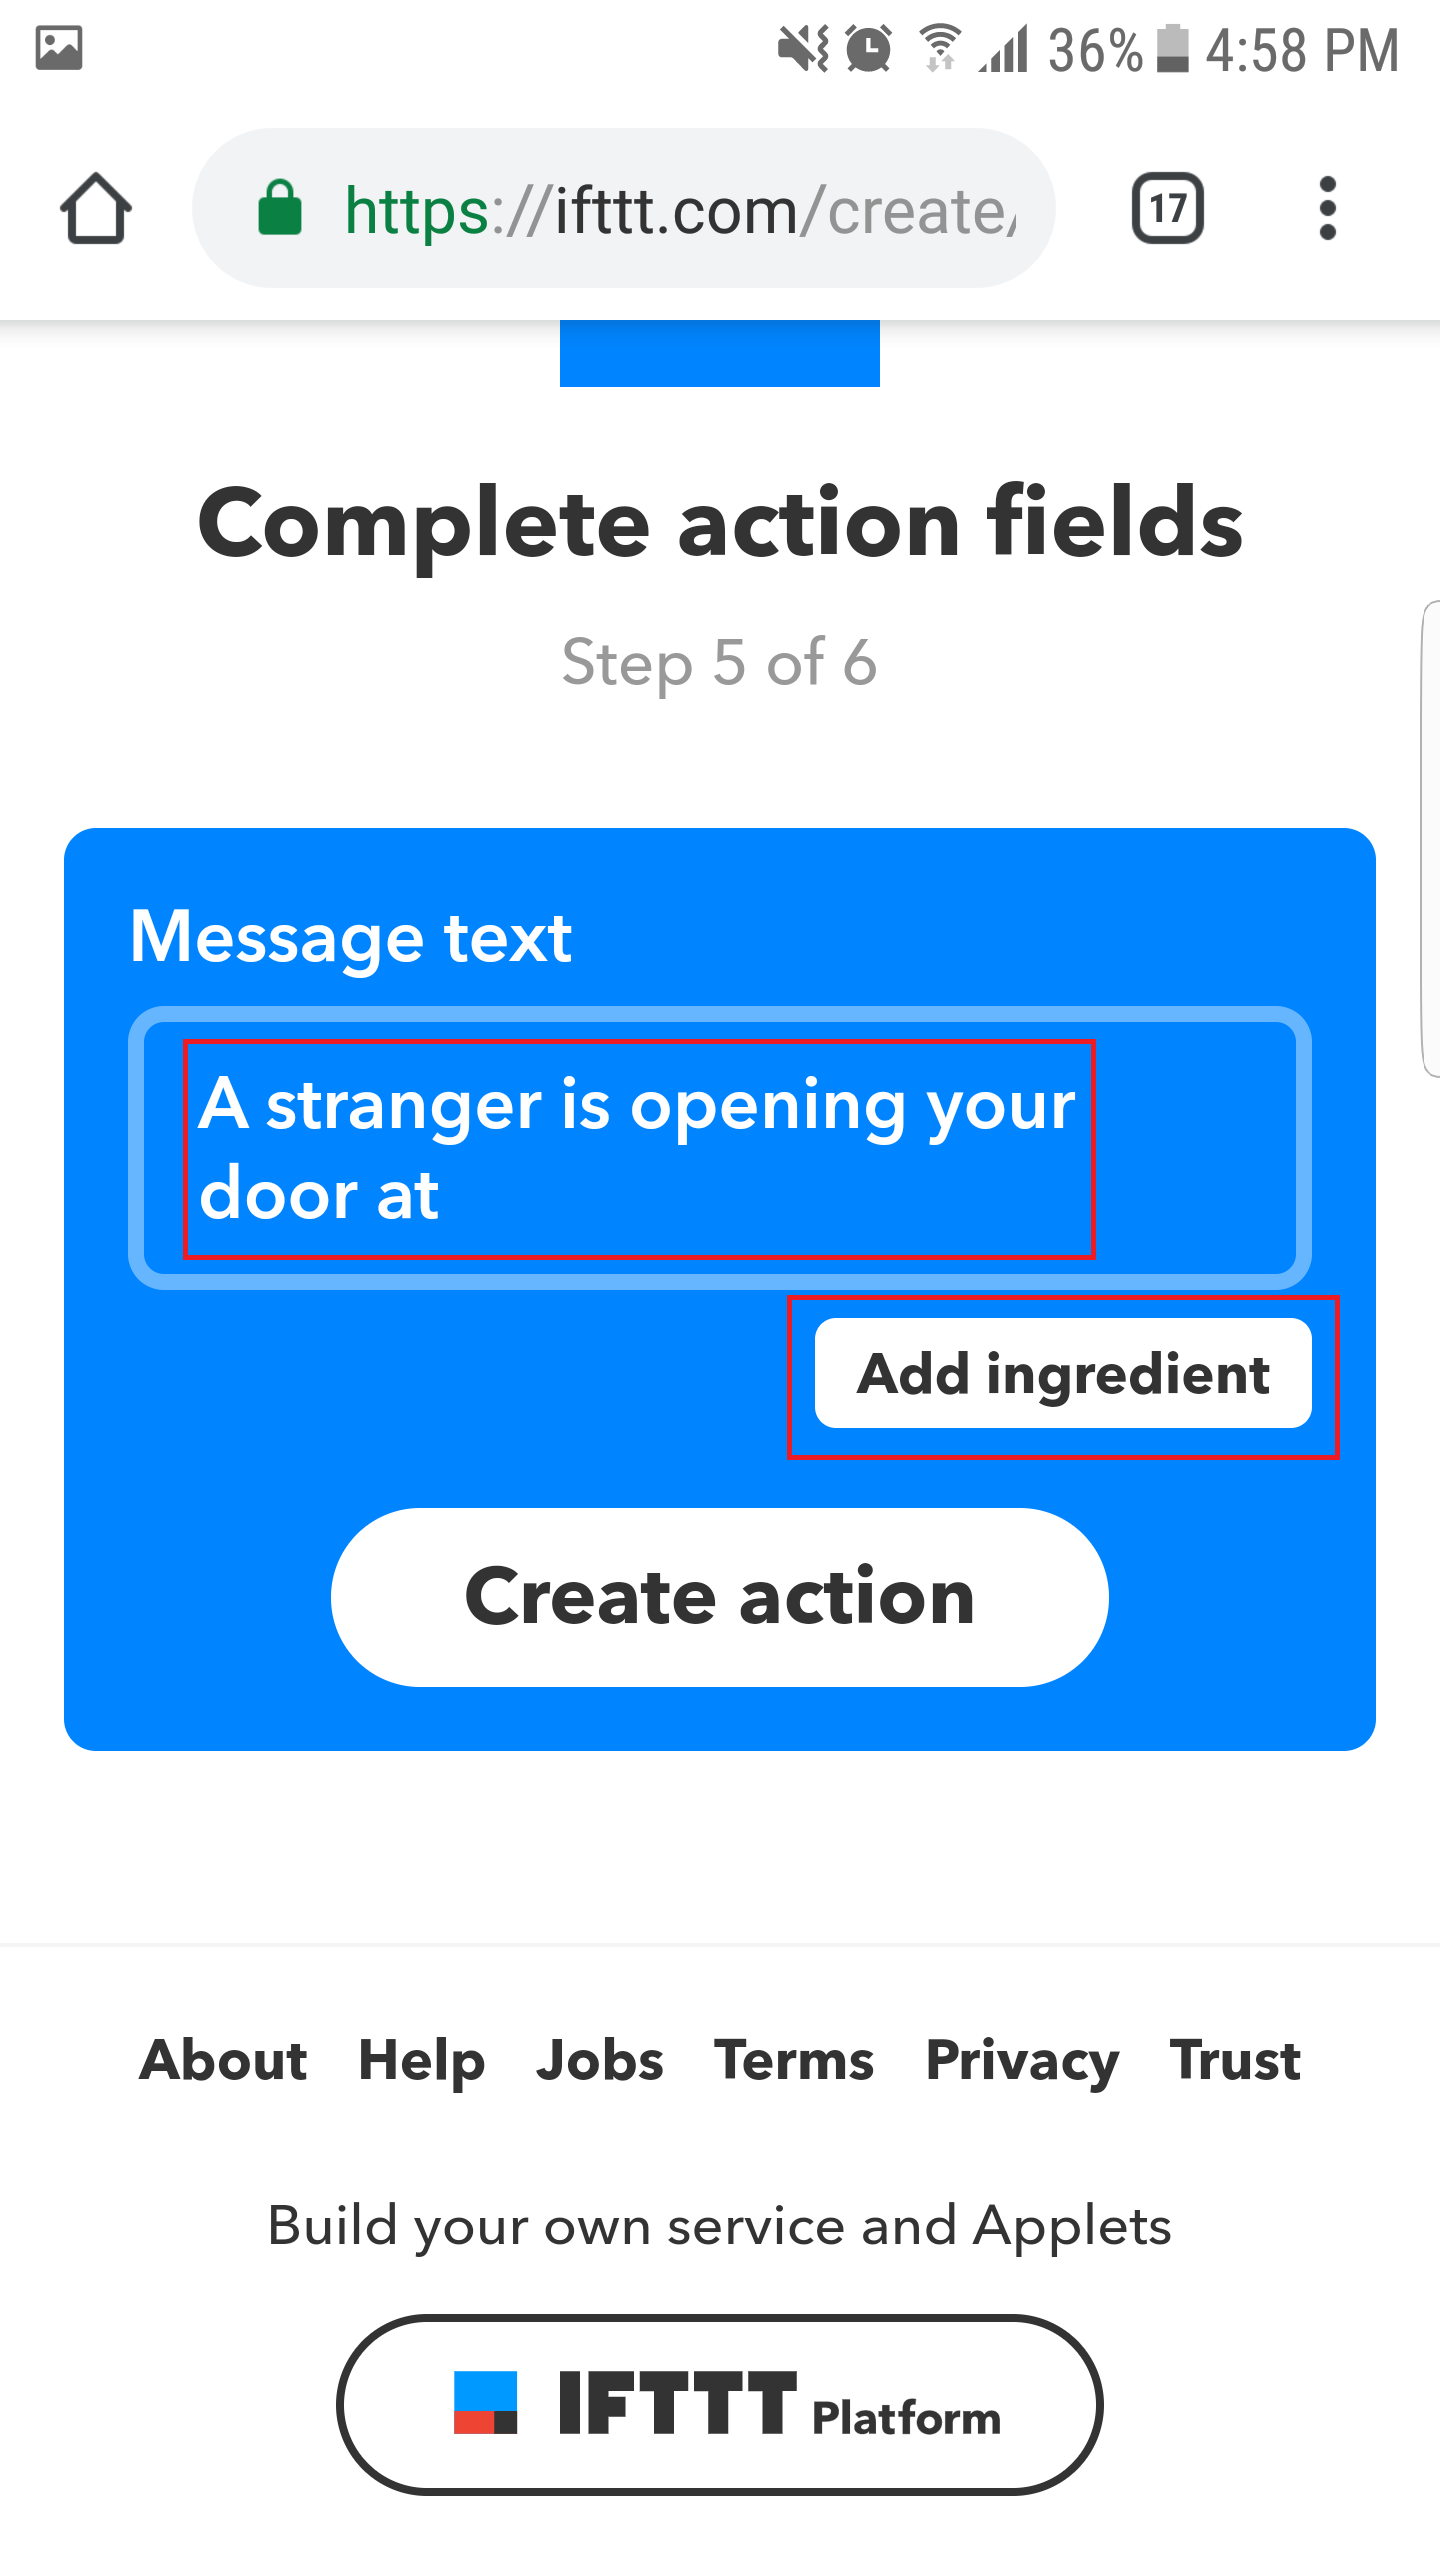
10. 选择“发生在”。这是开门的时间。
<人物>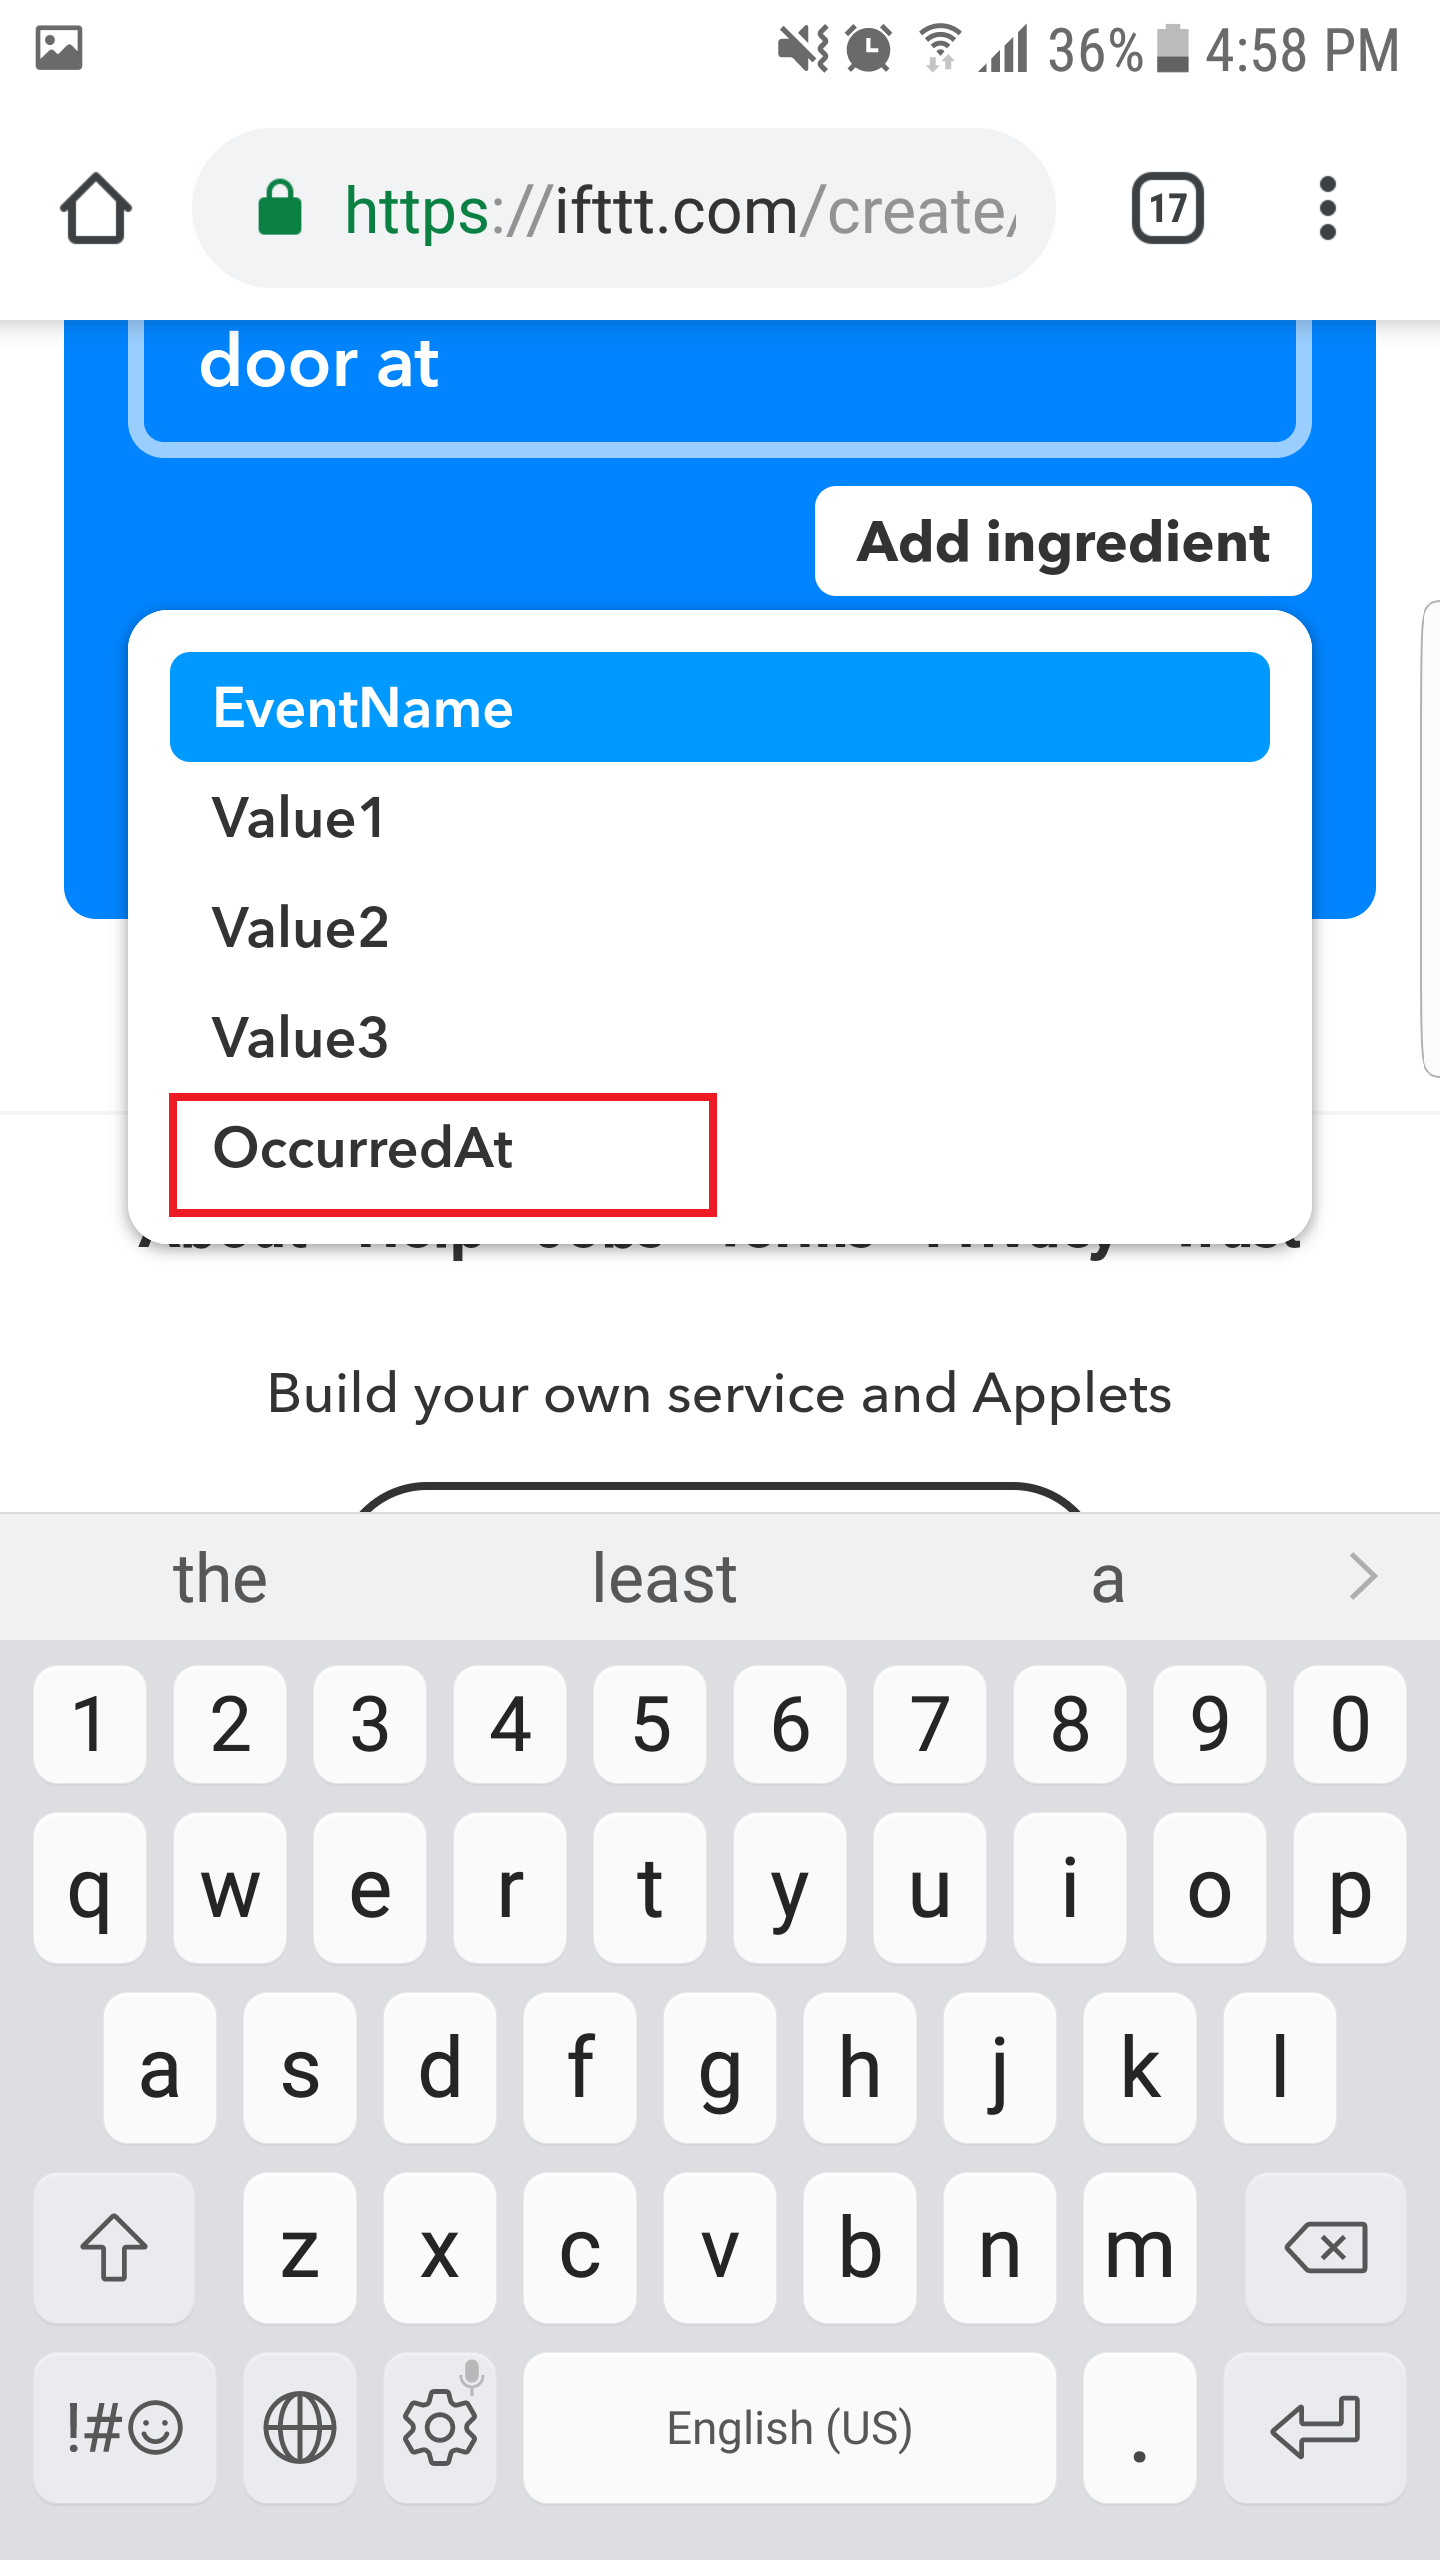
11. 点击“创建动作”按钮。
<人物>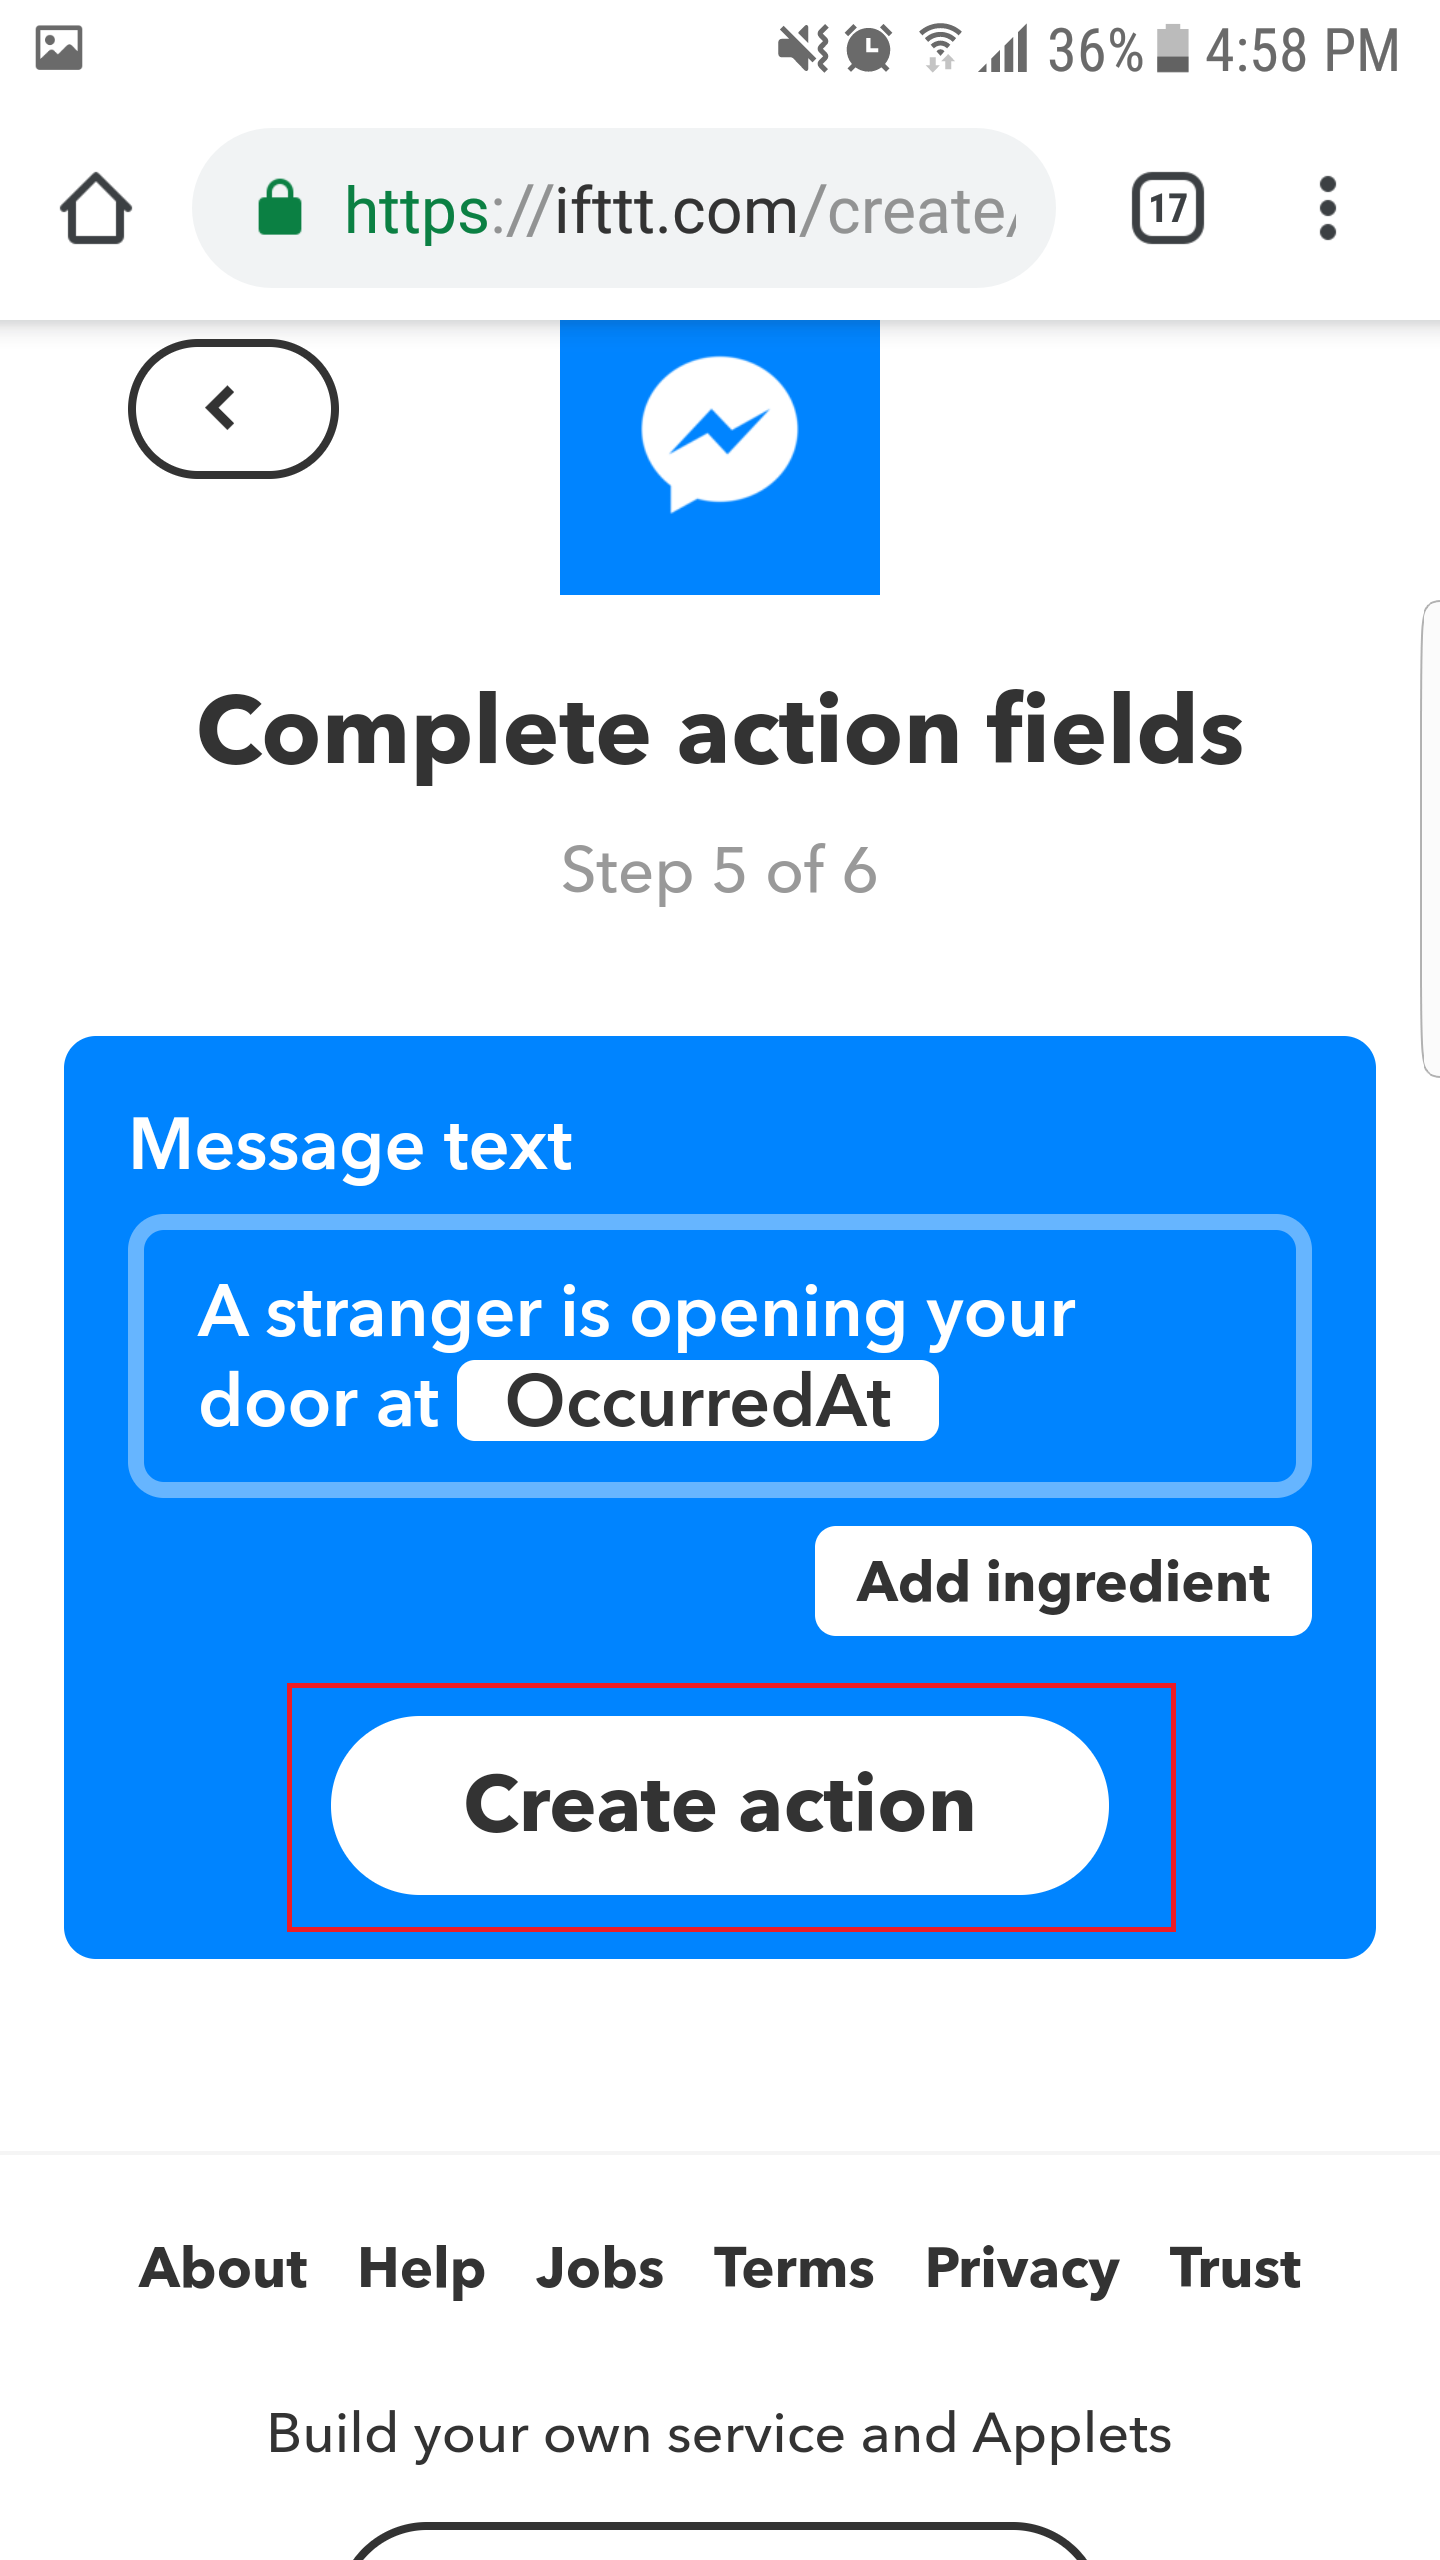
12.点击“完成”按钮
<人物>
现在 Applet 已创建。
获取 Webhooks 密钥
转到此链接 https://ifttt.com/maker_webhooks
单击“文档”以查看 Webhooks 密钥。
<人物>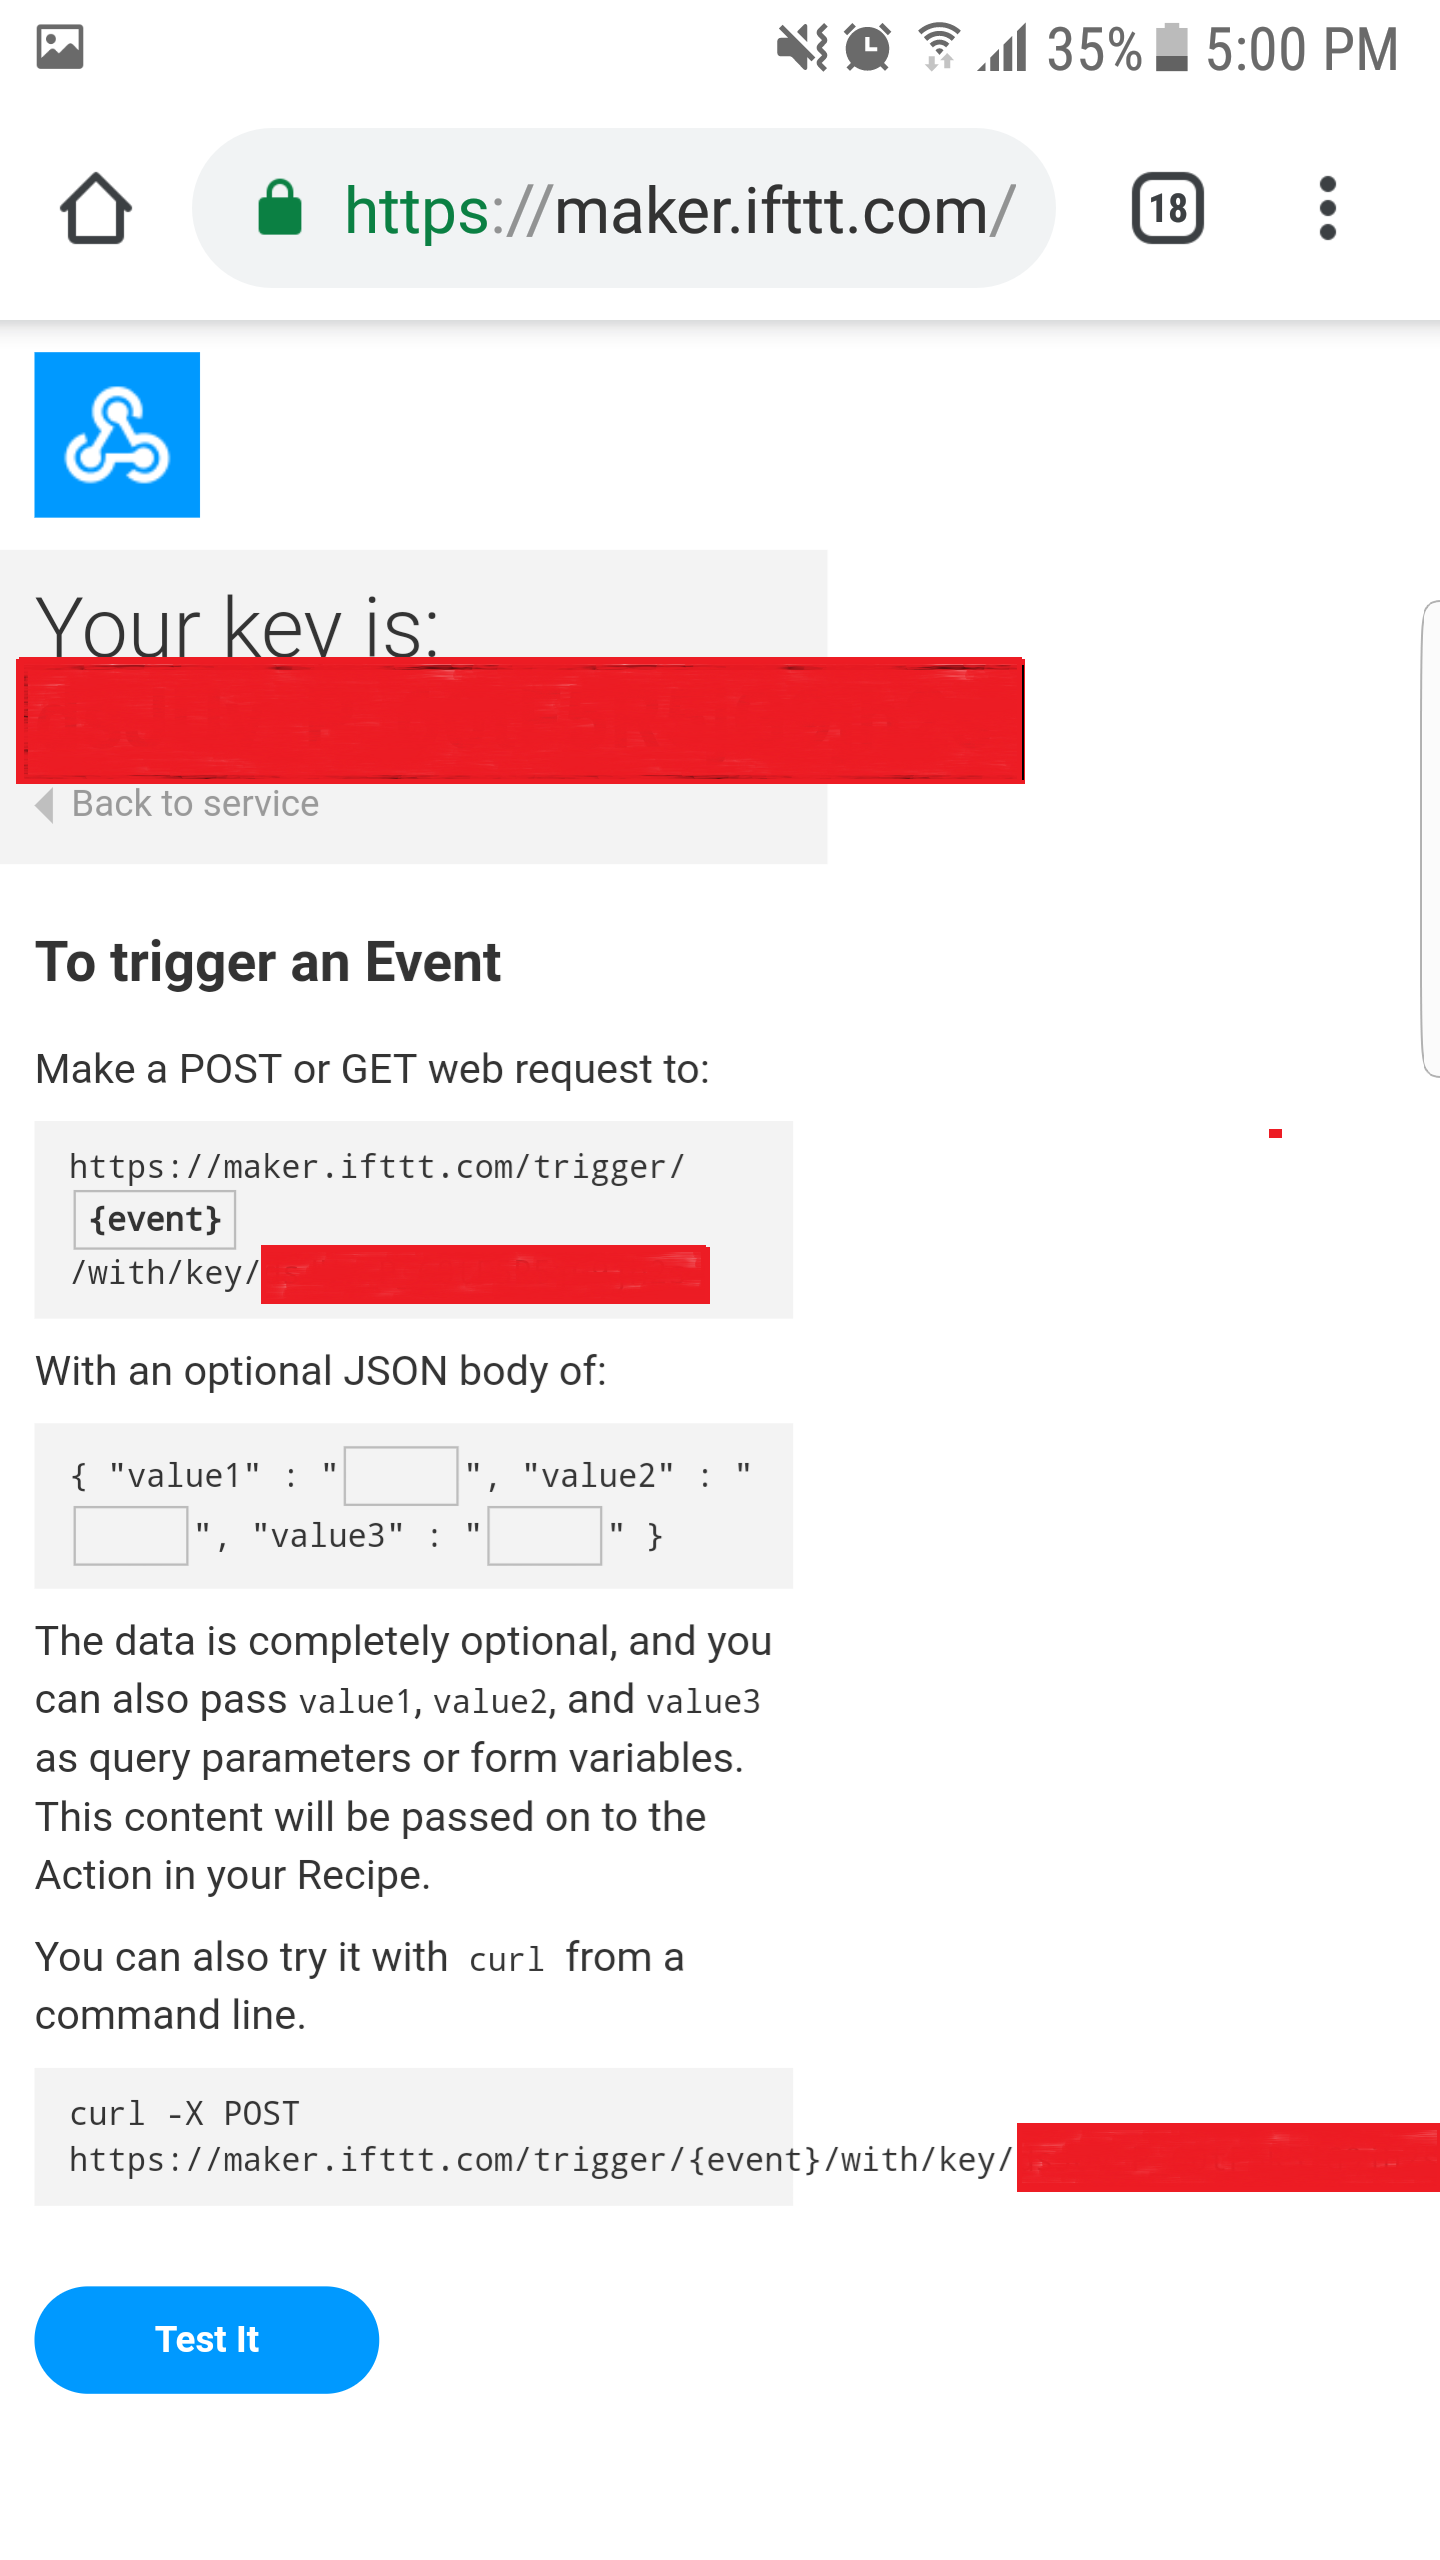
复制 Webhook Key 并放入 Arduino 代码中。
图书馆
下面的代码使用了两个库:PHPoC 和 Button 库
适合初学者的最佳 Arduino 入门套件
如果您正在寻找 Arduino 套件,请参阅适合初学者的最佳 Arduino 套件
函数参考
- Serial.begin()
- Serial.println()
- 延迟()
- millis()
- for 循环
- while 循环
- 否则
- 循环()
- 设置()
- String.toInt()
- String.substring()
- String.indexOf()
- String.remove()
- String.equals()
代码
- MonotorDoorMessenger
MonotorDoorMessengerArduino
// 该示例的教程可在此处获得:// https://forum.phpoc.com/articles/tutorials/1241-arduino-ssl-web-client#include#include String IFTTT_WEBHOOKS_KEY ="xxxxxxxxxxxxxxxxxxxxxx"; // 在此处更改您的 webhooks 密钥char server_name[] ="maker.ifttt.com";PhpocClient client;ezButton button(A0); // 创建连接到引脚 A0 的按钮对象;void sendNotification(){ // 在端口 443 上连接到 Web 服务器:if(client.connectSSL(server_name, 443)) { // 如果已连接:Serial.println("Connected to服务器”); // 发出一个 HTTP 请求:client.println("GET /trigger/door_open/with/key/" + IFTTT_WEBHOOKS_KEY + " HTTP/1.1"); client.println("主机:maker.ifttt.com"); client.println("连接:关闭");客户端打印(); } while(client.connected()) { if(client.available()) { char c =client.read();串行写入(c); Serial.println(); Serial.println("与服务器断开连接。"); client.stop();}void setup() { Serial.begin(9600); // 初始化 PHPoC [WiFi] Shield:Phpoc.begin(PF_LOG_SPI | PF_LOG_NET); button.setDebounceTime(100); // 将去抖动时间设置为 100 毫秒}void loop() { button.loop(); // 必须首先调用 loop() 函数 if(button.isPressed()) { // 如果门被打开... Serial.println("door is opening");发送通知();延迟(100); } else if (button.isReleased()) { // 如果门关闭... Serial.println("door is closed"); }}
示意图
制造工艺