

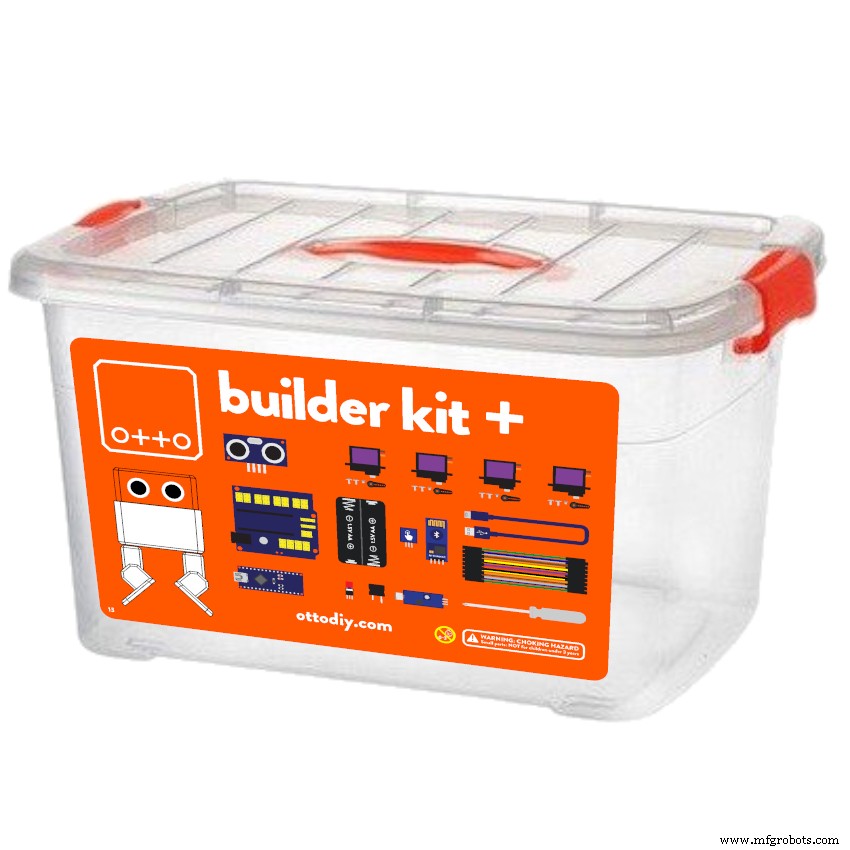
Otto DIY+ Arduino 蓝牙机器人易于 3D 打印
组件和用品
 |
| × | 1 | |||
 |
| × | 1 | |||
| × | 1 | ||||
 |
| × | 1 | |||
| × | 4 | ||||
 |
| × | 1 | |||
| |
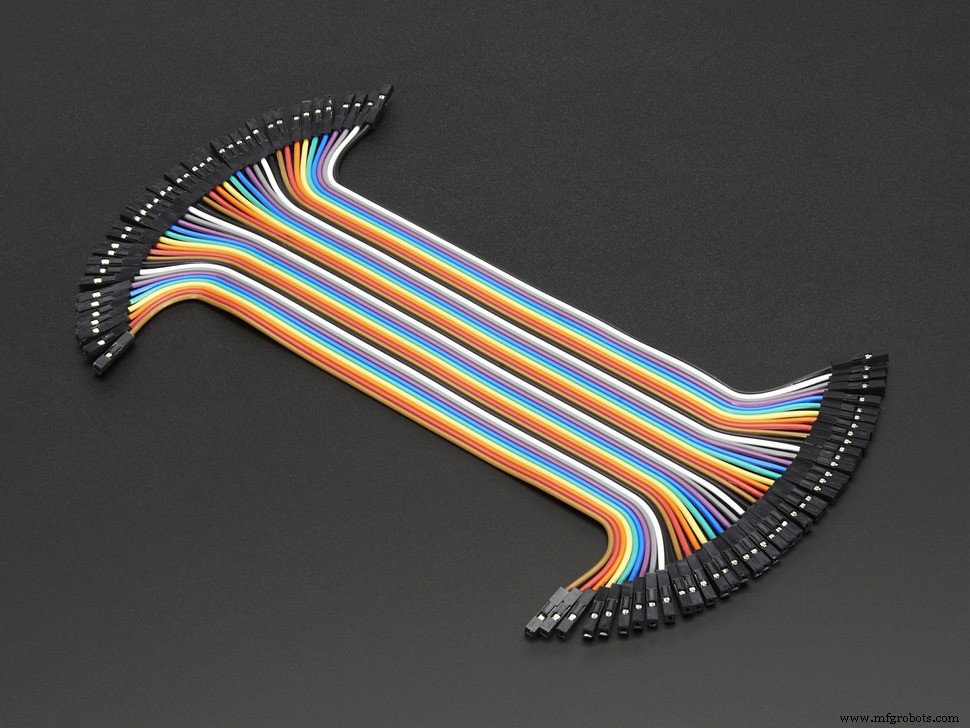
| × | 10 | |||
| × | 1 | ||||
 |
| × | 1 | |||
 |
| × | 1 | |||
 |
| × | 3 | |||
 |
| × | 1 | |||
 |
| × | 4 | |||
 |
| × | 1 |
必要的工具和机器
 |
| |||
 |
| |||
| ||||
 |
|
应用和在线服务
 |
| |||
 |
| |||
 |
| |||
 |
| |||
 |
| |||
 |
|
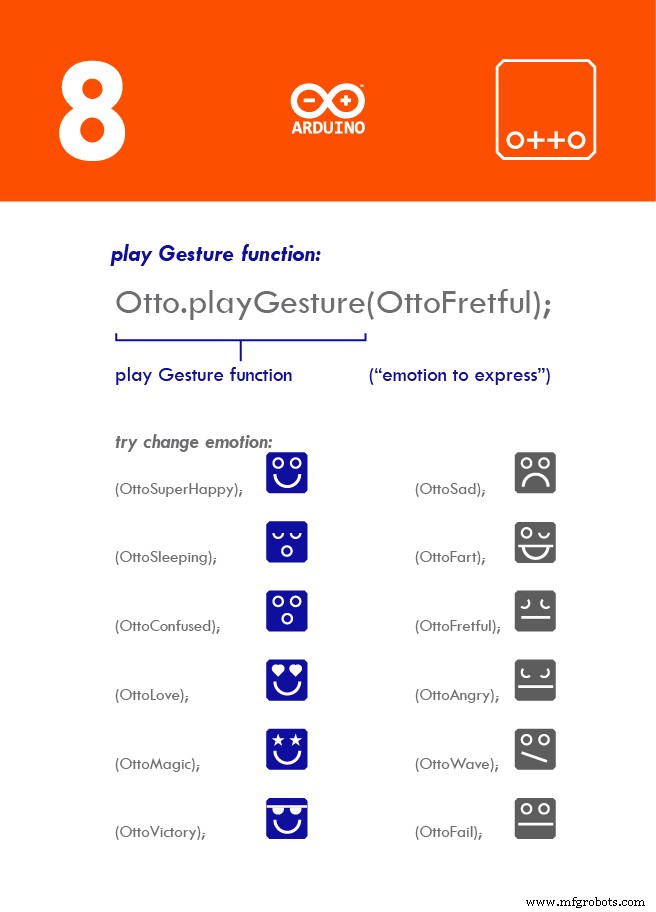
关于这个项目
Otto DIY + 将是原始#OttoDIY 的改进和高级版本,其想法是具有相同的基本功能 DIY 机器人 + 蓝牙控制和编程 + 金属齿轮伺服电机 + 可选充电 + 通过触摸传感器 + 声音传感器 + 改变模式。 ..?
令人兴奋的是,我们正在与世界各地的制造商和黑客进行开放式开发,因此我们对想法持开放态度,不仅来自专家,您还可以加入我们,提供反馈、社交分享、测试或您可能想到的任何其他贡献.
关注我们的实时构建视频!
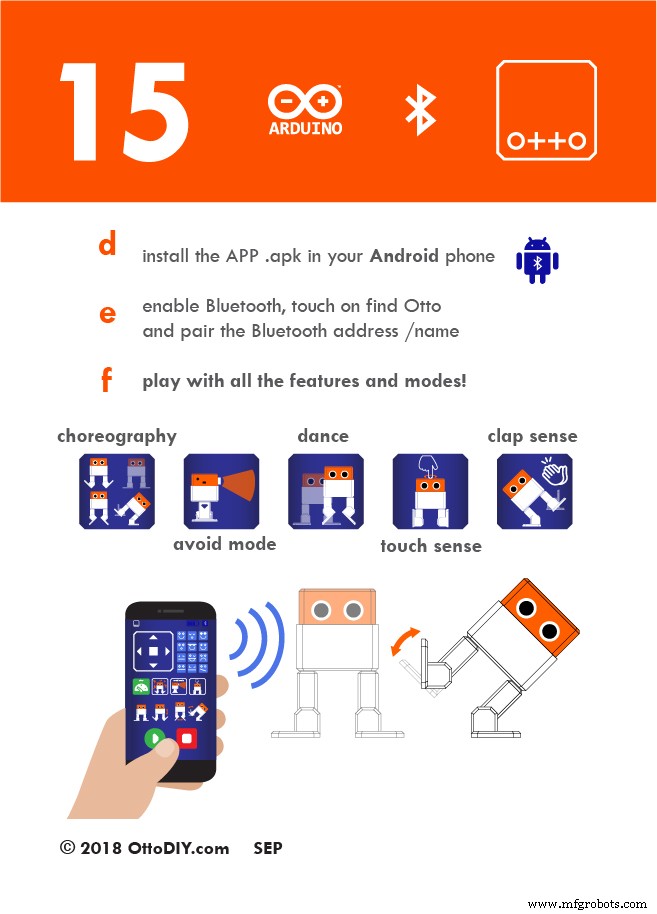
开始玩APP!
编程模块的波特率是 9600 或 19200 或 38400,取决于模块。以及您正在使用的代码
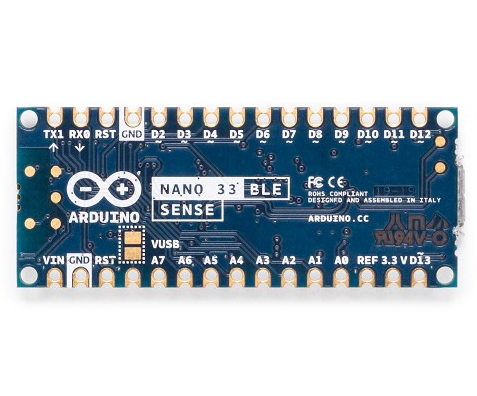
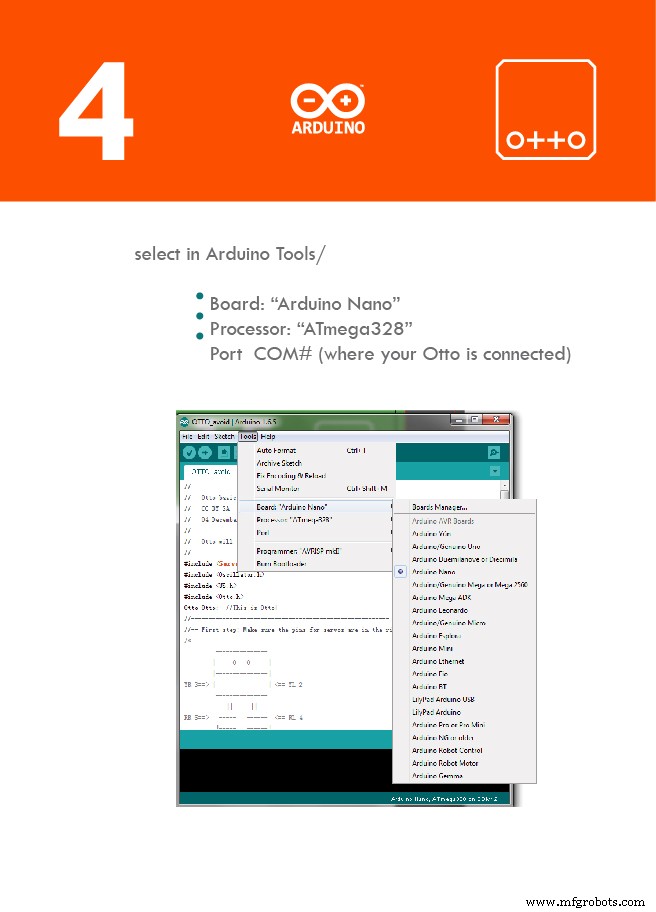
我们APP的BT代码有9600 波特率所以 BT 模块必须匹配该速度才能通过串行接口 (UART) 与 Arduino Nano 通信。
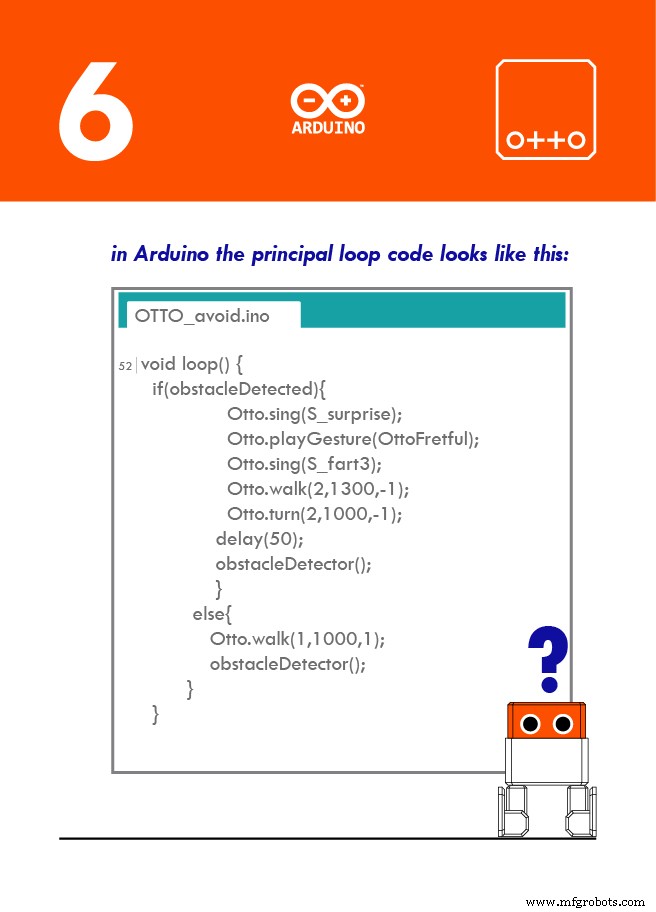
主要代码:
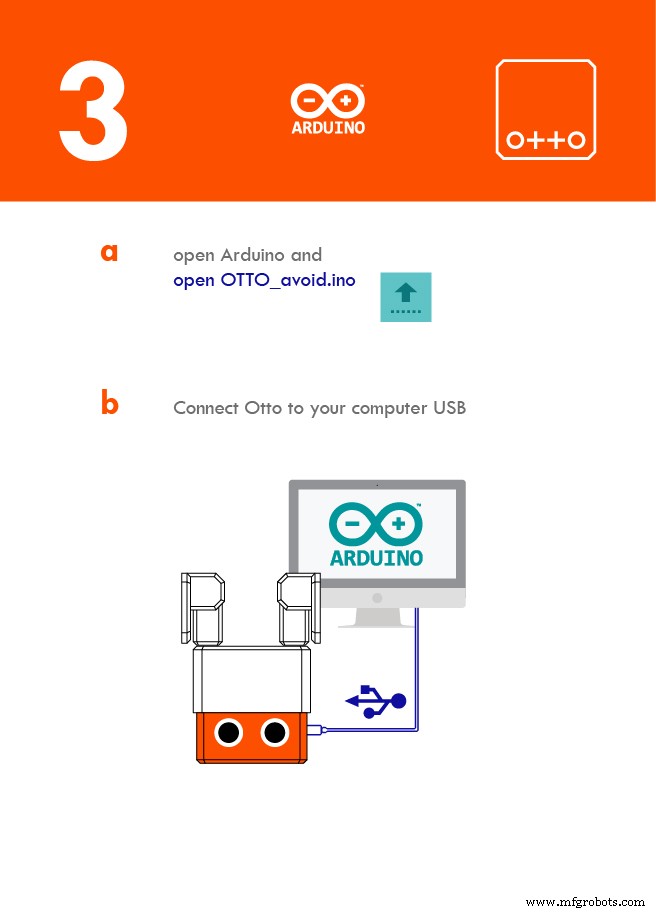
上传此代码蓝牙模块断开
https://wikifactory.com/+OttoDIY/otto-diy-plus
上传成功后连接蓝牙模块,即可与手机配对。
安卓应用:
Android 版可在此处免费下载。
在这里免费下载 iOS。
如果APP不工作,可能是蓝牙模块自带的波特率不是9600bpm,需要自己设置或者改代码。
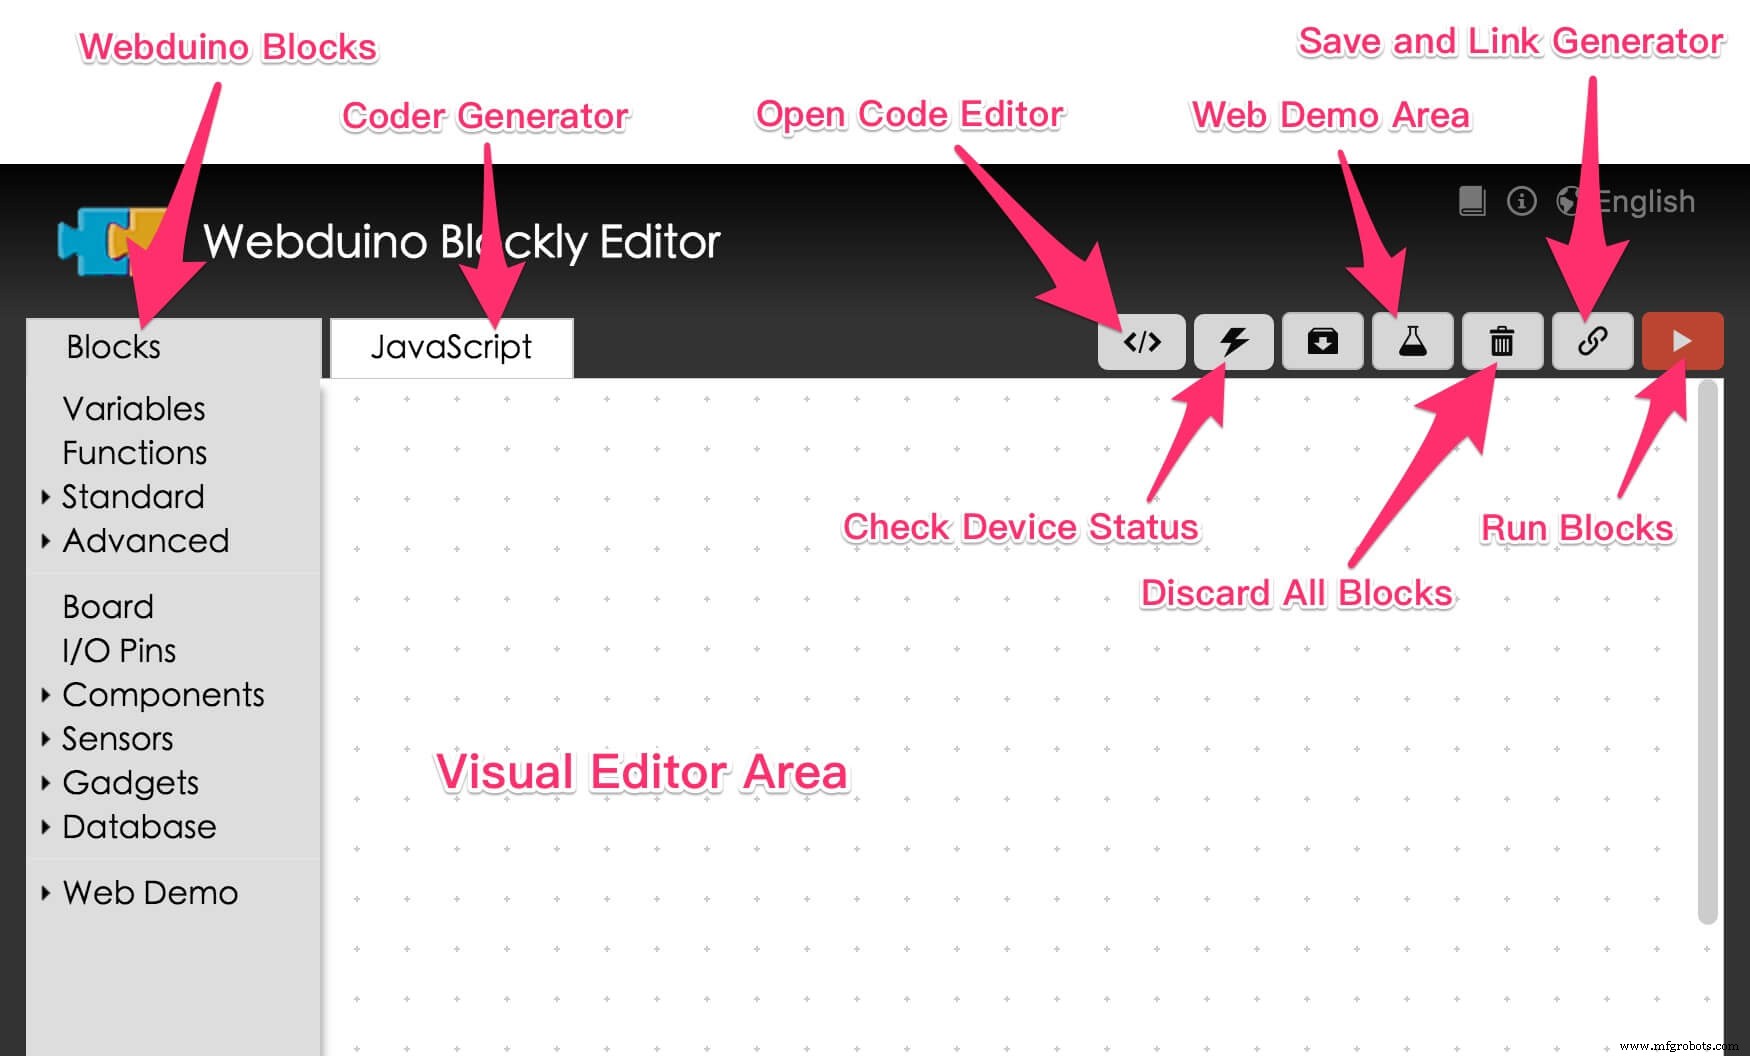
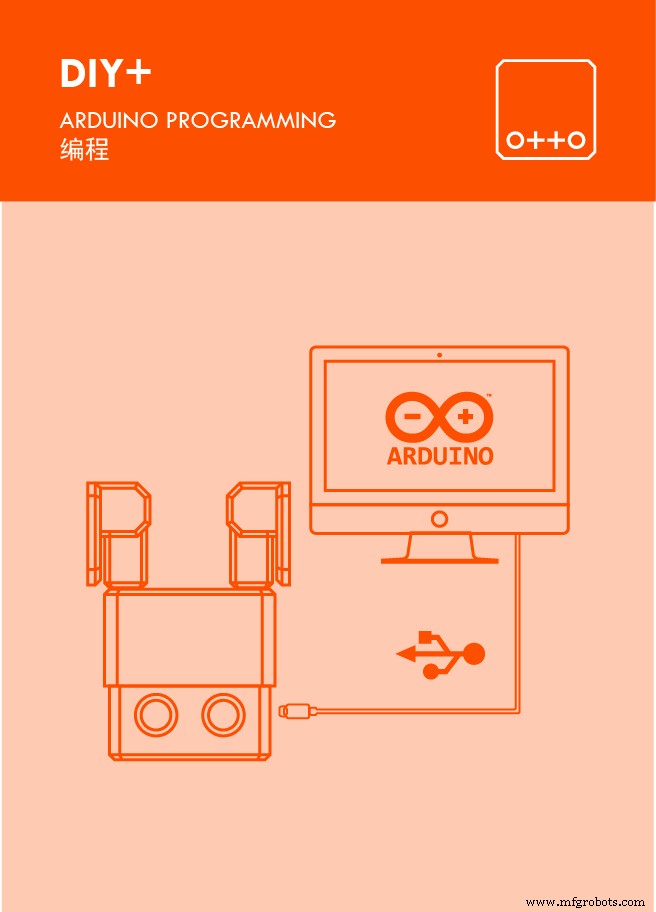
代码 与 块
编写您自己的 Otto 的最简单方法是使用我们基于 Blockly 的软件之一。
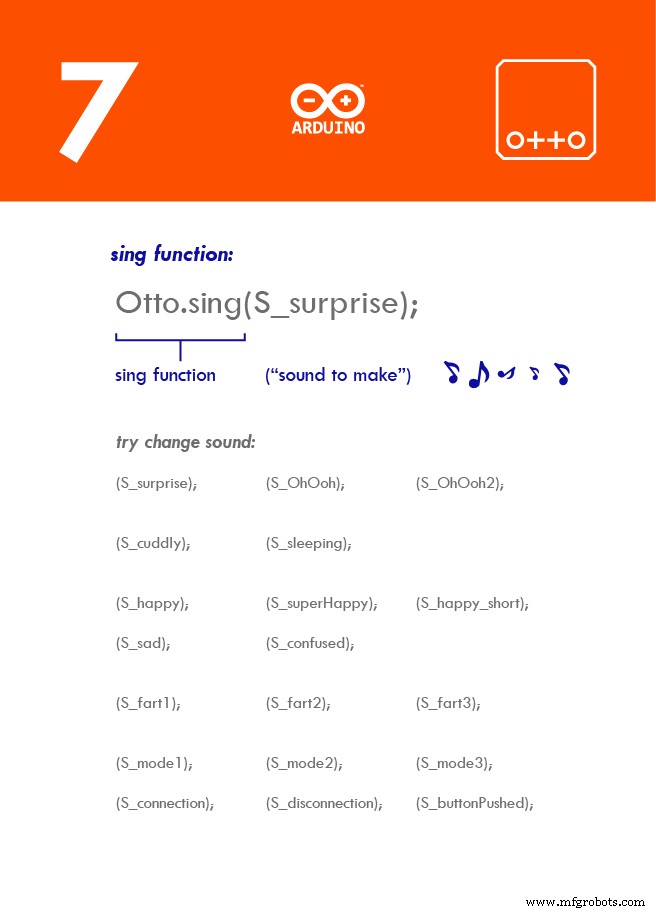
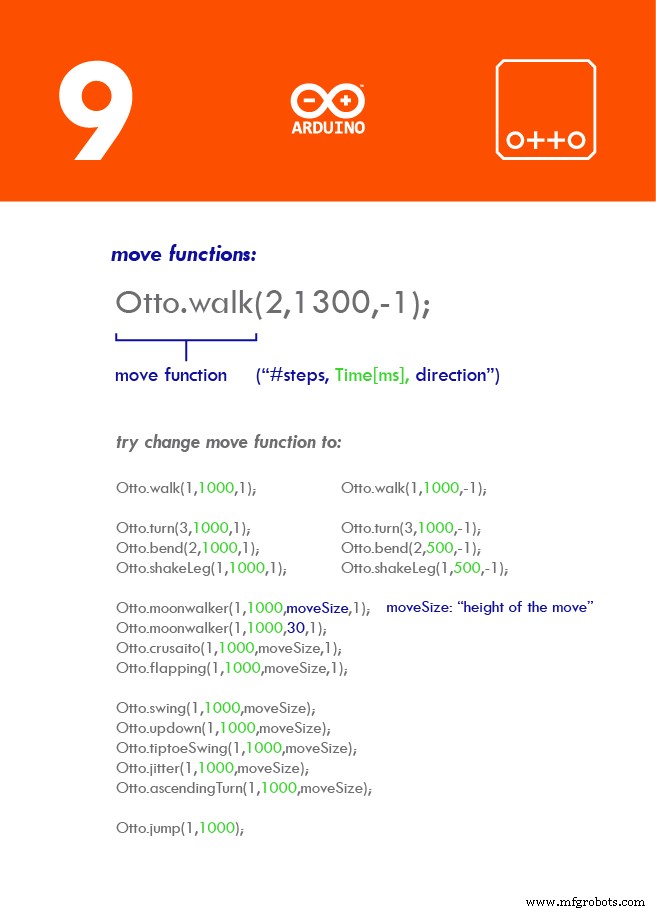
对于更高级的编码,这里有一些使用 Arduino IDE 的基本编程:

在这里,您可以找到一些免费的教程,供初学者快速开始使用 Arduino 的每个组件:
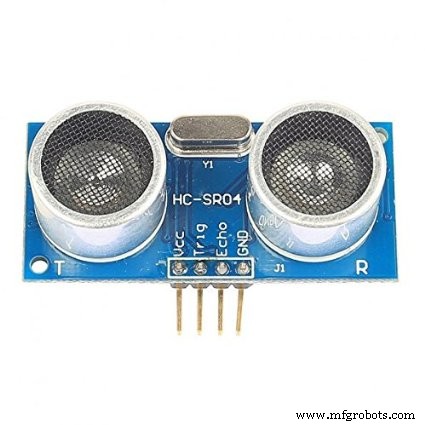
- 伺服电机教程:https://arduinogetstarted.com/tutorials/arduino-servo-motor - 超声波传感器教程:https://arduinogetstarted.com/tutorials/arduino-ultrasonic-sensor
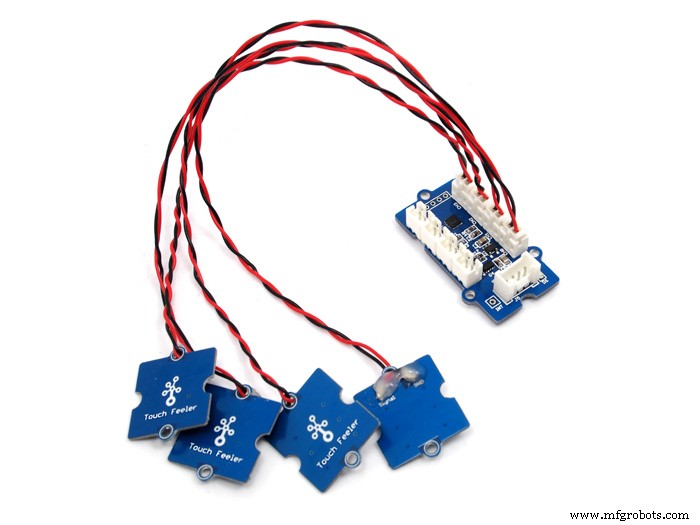
- 触摸传感器教程:https://arduinogetstarted.com/tutorials/arduino-touch-sensor
- 蜂鸣器教程:https://arduinogetstarted.com/tutorials/arduino-piezo-buzzer
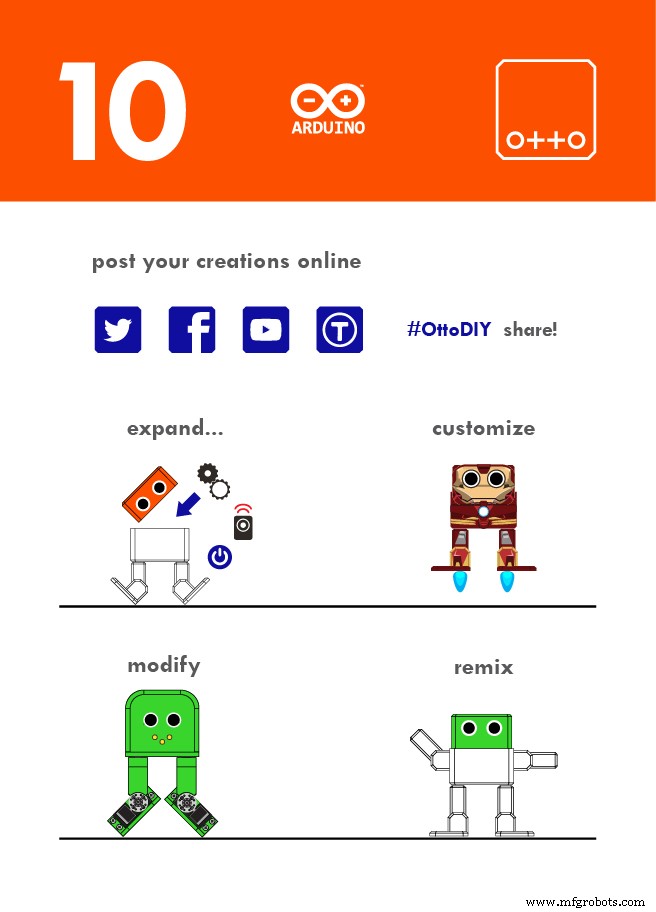
在 Otto Builder 社区中发布您的混音和修改。
https://wikifactory.com/+OttoDIY
https://www.facebook.com/groups/ottodiy/
代码
主 Github
https://github.com/OttoDIY/libraries定制零件和外壳
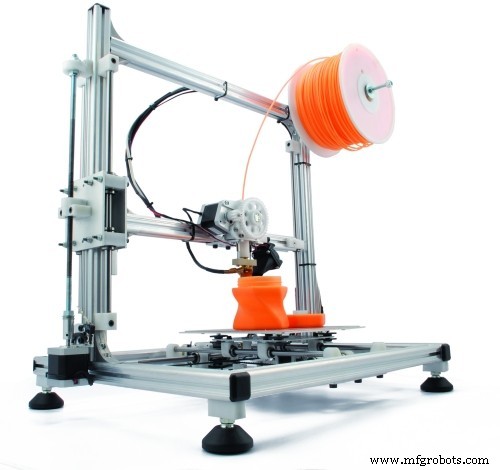
Thingiverse .STL 3D 可打印文件
thingiverse.com 上的 CAD 文件示意图
请注意,在 Autodesk Circuit 中制造的超声波缺少一根电缆,https://circuits.io/circuits/1749080-otto-circuit/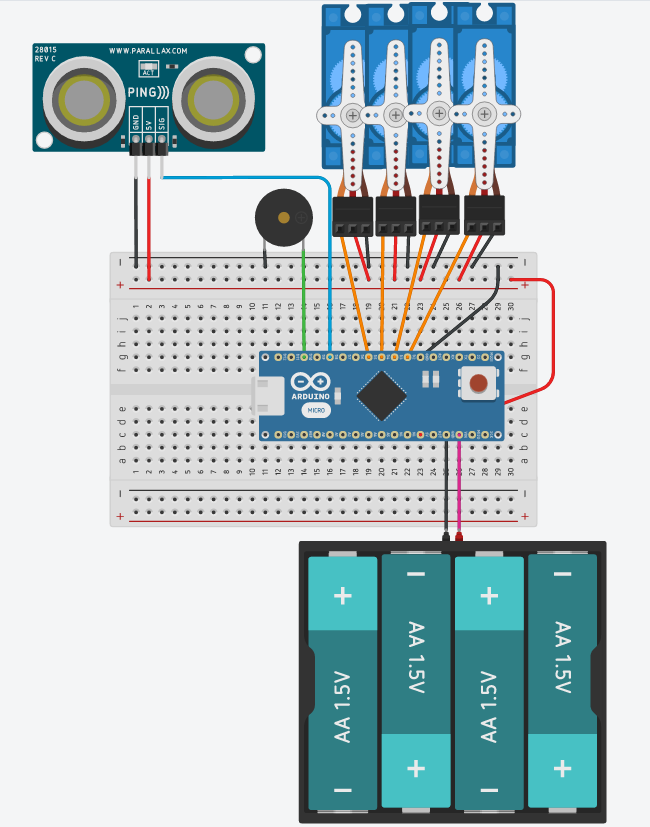
制造工艺