


向礼貌司机表达感谢:车载可编程 LED 显示屏
组件与材料
| 组件 | 数量 |
|---|---|
| Arduino MKR1000 | 1 |
| SparkFun BlueSMiRF Silver 蓝牙模块 | 1 |
| Adafruit 4 通道 I2C 安全双向电平转换器 (BSS138) | 1 |
| Adafruit 柔性 DotStar 矩阵 8×32 (256 RGB LED) | 1 |
| Adafruit 4 针 JST SM 插头+插座线缆 | 1 |
| DC 2.1mm 圆筒插头 | 1 |
| AC 电源适配器 5V 4A | 1 |
| 公排针 4P (2.54mm) | 1 |
| 面包板 | 1 |
| 项目盒 | 1 |
| 1/4″ × 4.5″ × 15″ 波罗的海桦木胶合板 | 1 |
| 木工双面胶带 1″ × 50′ | 1 |
所需工具
- 电烙铁
- 热熔胶枪
- 福斯纳钻头
- 电钻
- 砂纸 (120 目)
软件与服务
- Arduino IDE
- Virtual Shield for Arduino
- Adafruit DotStar 库
项目简介
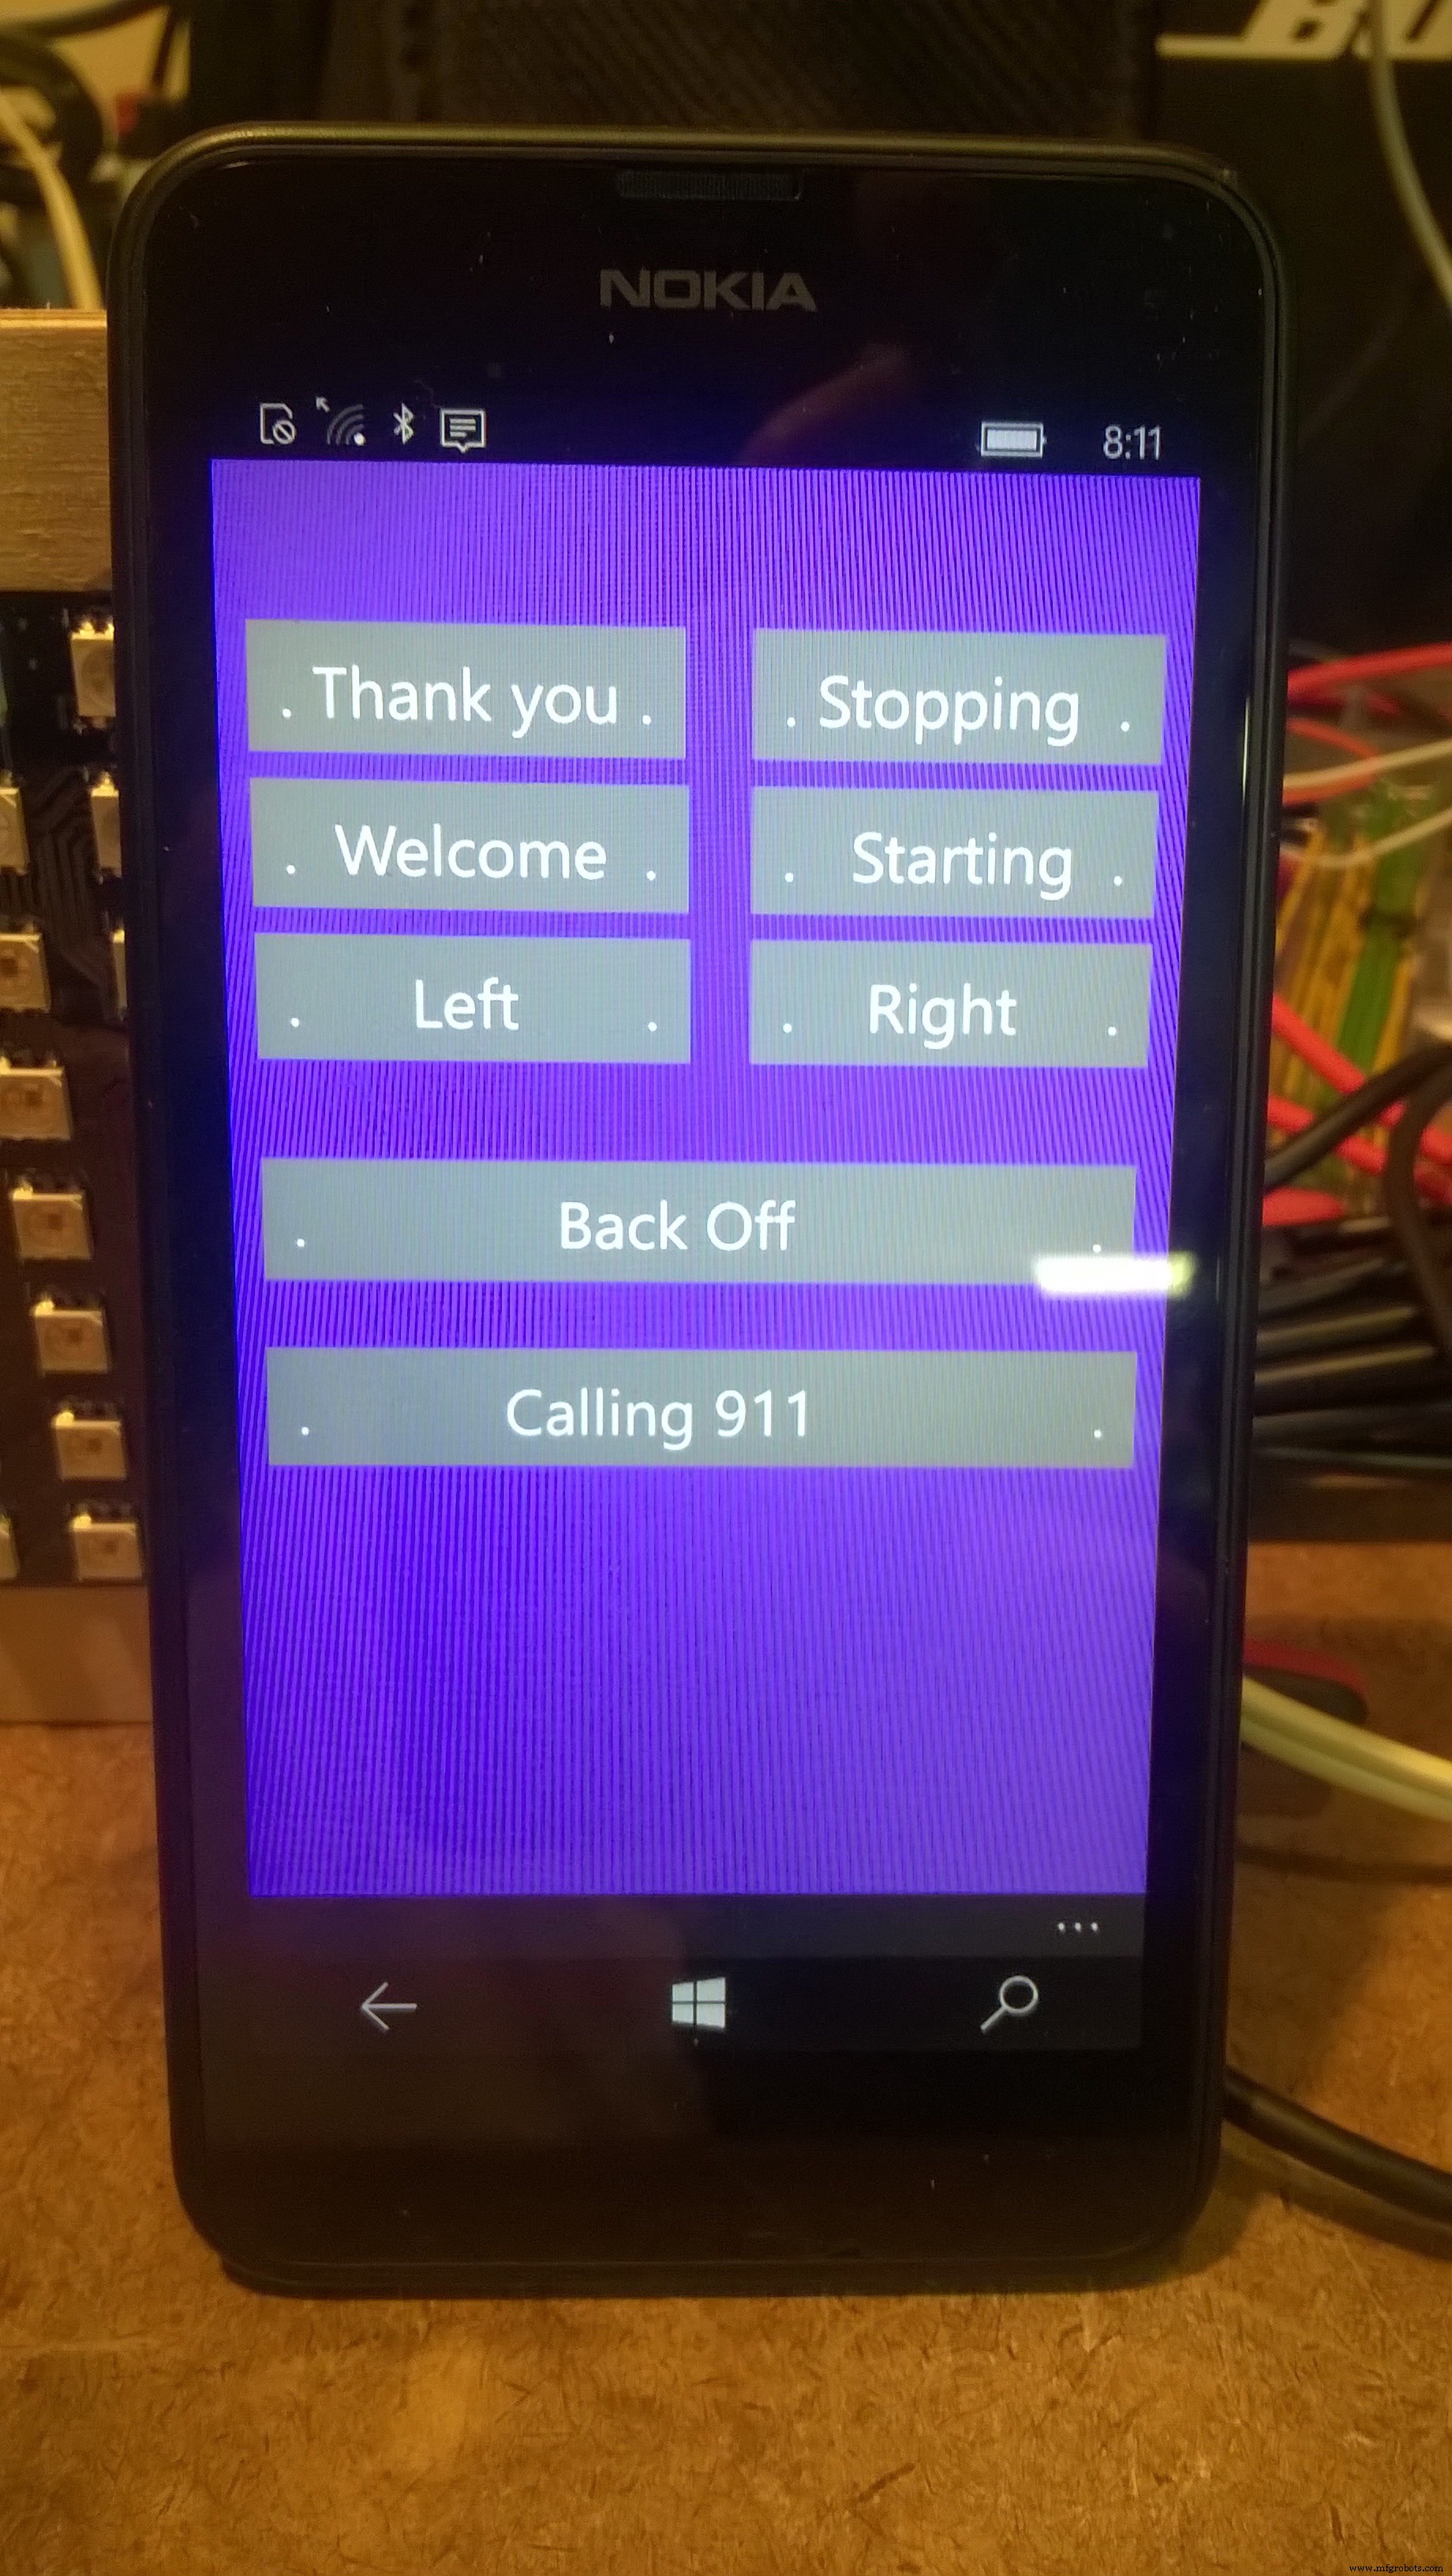
驾驶多年,我一直想与周围车辆进行更有意义的交流。闪灯、挥手、鸣笛、急刹车都太原始。灵感来自 007 电影开场:邦德的阿斯顿·马丁后窗显示文字。我想在后窗显示具体文字,如“谢谢”、“请让道”等。
核心挑战:MKR1000 预发布板
MKR1000 当时为预发布版,文档缺失。参考 Hackster 入门指南:Arduino MKR1000 Getting Started。经过一天调试,成功编程并驱动所有外设。
使用 Arduino IDE 1.6.9 Hourly Build,通过板卡管理器安装驱动,库管理器安装:Adafruit DotStar、DotStarMatrix、GFX、ArduinoJson、Windows Virtual Shields for Arduino。
电压兼容性
MKR1000 为 3.3V 逻辑,不确定是否 5V 容忍。蓝牙模块和 DotStar 矩阵需要 5V 逻辑,因此必须使用 4 通道双向电平转换器(BSS138),切勿直接连接 5V 设备。
分步验证组件
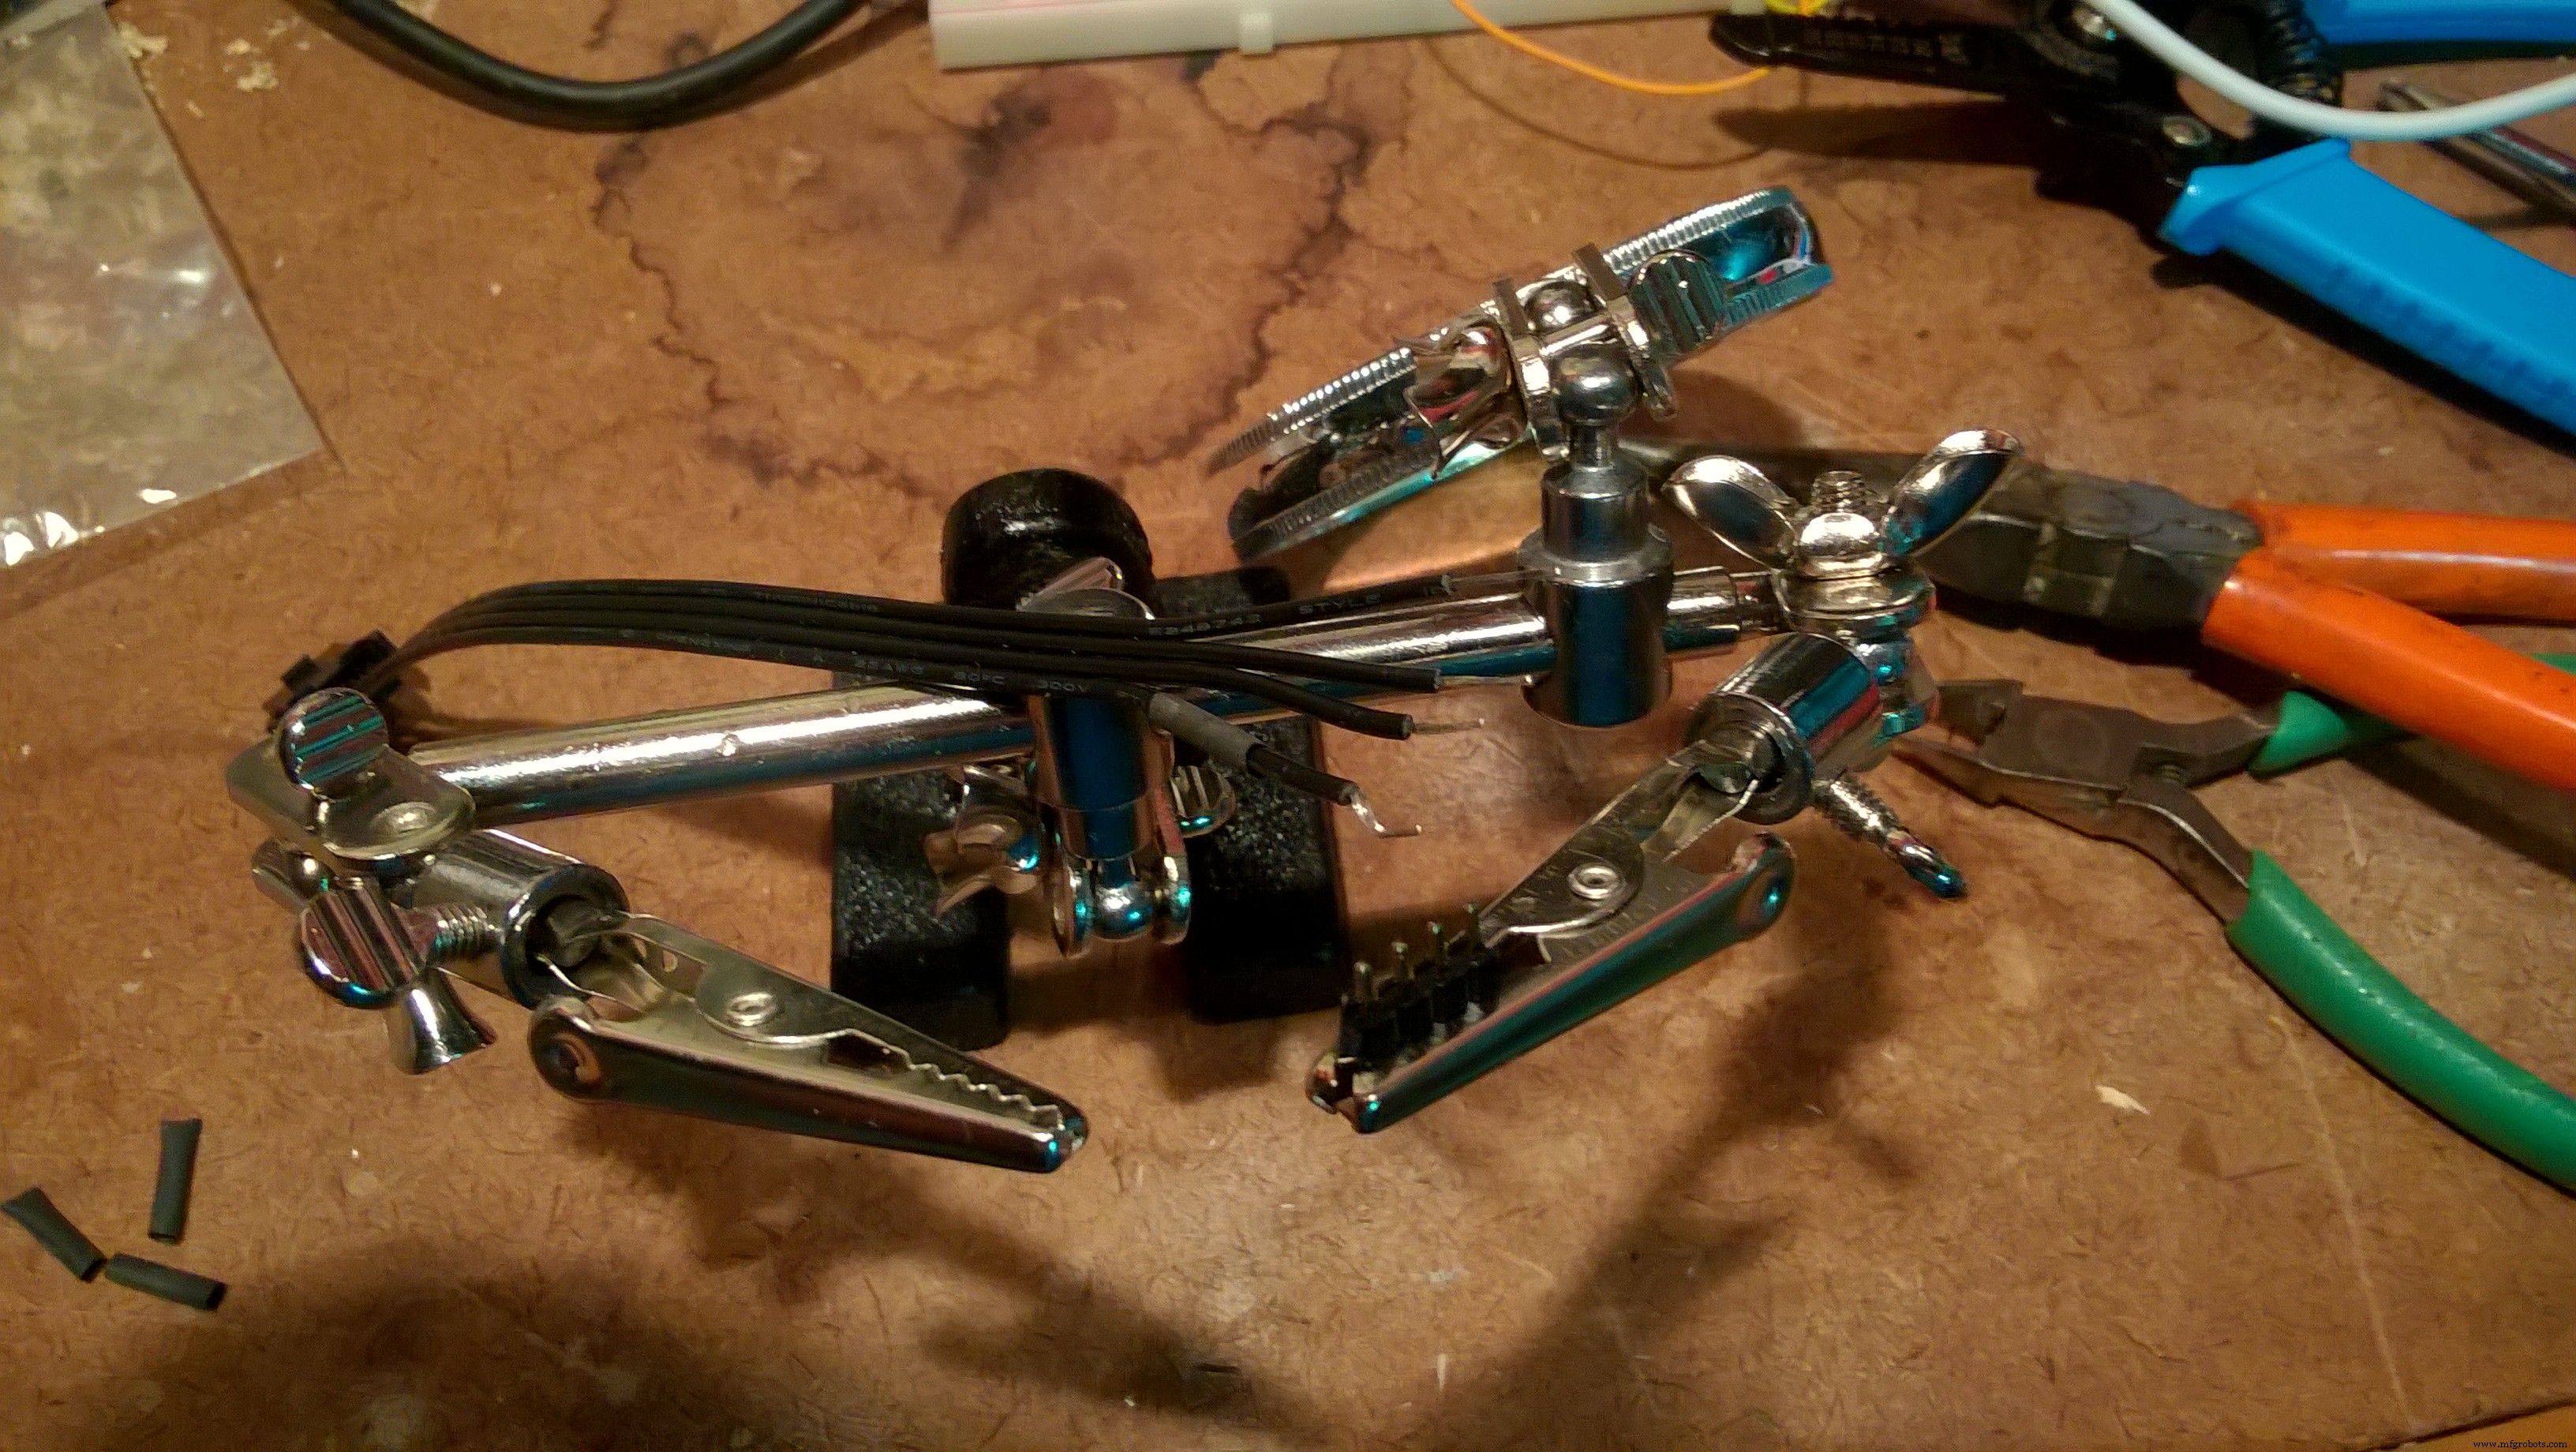
- DotStar 矩阵:焊接排针固定连接,Data/Clock 接 SPI 引脚 (SDA/SCL),运行
matrixtest例程,调整DATAPIN=11,CLOCKPIN=12后正常显示。 - 蓝牙 + Virtual Shield:按 GitHub 说明 接线,TX/RX 对应引脚 14/13。新版 IDE 无需拔除 TX/RX 即可上传代码。
代码走读
核心包含
#include <SPI.h>
#include <Adafruit_GFX.h>
#include <Adafruit_DotStarMatrix.h>
#include <Adafruit_DotStar.h>
#include <ArduinoJson.h>
#include <VirtualShield.h>
#include <Text.h>
#include <Graphics.h>
#include <Recognition.h>
#include <Colors.h>
矩阵与 Shield 初始化
Adafruit_DotStarMatrix matrix = Adafruit_DotStarMatrix(
  32, 8, DATAPIN, CLOCKPIN,
  DS_MATRIX_TOP + DS_MATRIX_LEFT + DS_MATRIX_COLUMNS + DS_MATRIX_ZIGZAG,
  DOTSTAR_GBR
);
const uint16_t colors[] = {
  matrix.Color(255,0,0), matrix.Color(0,255,0), matrix.Color(0,0,255),
  matrix.Color(255,0,255), matrix.Color(255,0,106), matrix.Color(255,255,255)
};
VirtualShield shield;
Graphics screen = Graphics(shield);
Recognition speech = Recognition(shield);
setup()
void setup() {
  matrix.begin();
  matrix.setTextWrap(false);
  matrix.setBrightness(40);
  matrix.setTextColor(colors[0]);
  DisplayText("Initializing...", 4, 10);
  shield.setOnRefresh(refresh);
  speech.setOnEvent(onSpeech);
  screen.setOnEvent(screenEvent);
  shield.begin(); // 115200 波特率
  DisplayText("Initializing...finished", 3, 10);
}
loop()
void loop() {
  shield.checkSensors(); // 处理蓝牙事件回调
}
refresh() - 蓝牙连接时绘制按钮
void refresh(ShieldEvent* shieldEvent) {
  screen.clear(ARGB(123,86,204));
  thanksId = screen.addButton(10, 50, " Thank you ");
  welcomeId = screen.addButton(10, 100, " Welcome ");
  turnLeftId = screen.addButton(10, 150, " Left ");
  stoppingId = screen.addButton(175, 50, " Stopping ");
  startingId = screen.addButton(175, 100, " Starting ");
  turnRightId = screen.addButton(175, 150, " Right ");
  backoffId = screen.addButton(10, 225, " Back Off ");
  calling911Id = screen.addButton(10, 290, " Calling 911 ");
}
screenEvent() - 按钮触发显示文字
void screenEvent(ShieldEvent* shieldEvent) {
  if(screen.isPressed(thanksId)) DisplayText("Thank You", 5, 100);
  if(screen.isPressed(welcomeId)) DisplayText("You're welcome", 2, 100);
  if(screen.isPressed(backoffId)) DisplayText("Please back off", 4, 100);
  if(screen.isPressed(stoppingId)) DisplayText("...stopping...", 0, 100);
  if(screen.isPressed(startingId)) DisplayText("...starting...", 1, 100);
  if(screen.isPressed(turnLeftId)) DisplayText("Turning LEFT", 3, 100);
  if(screen.isPressed(turnRightId)) DisplayText("Turning RIGHT", 3, 100);
  if(screen.isPressed(calling911Id)) DisplayText("Calling 911", 0, 100);
}
DisplayText() - 矩阵滚动显示
void DisplayText(String message, int colorIndex, int currDelay) {
  int x = matrix.width();
  int maxX = -1 * (message.length() * 6);
  matrix.setTextColor(colors[colorIndex]);
  while(x > maxX) {
    matrix.fillScreen(0);
    matrix.setCursor(x, 0);
    matrix.print(message);
    --x;
    matrix.show();
    delay(currDelay);
  }
}
外壳制作
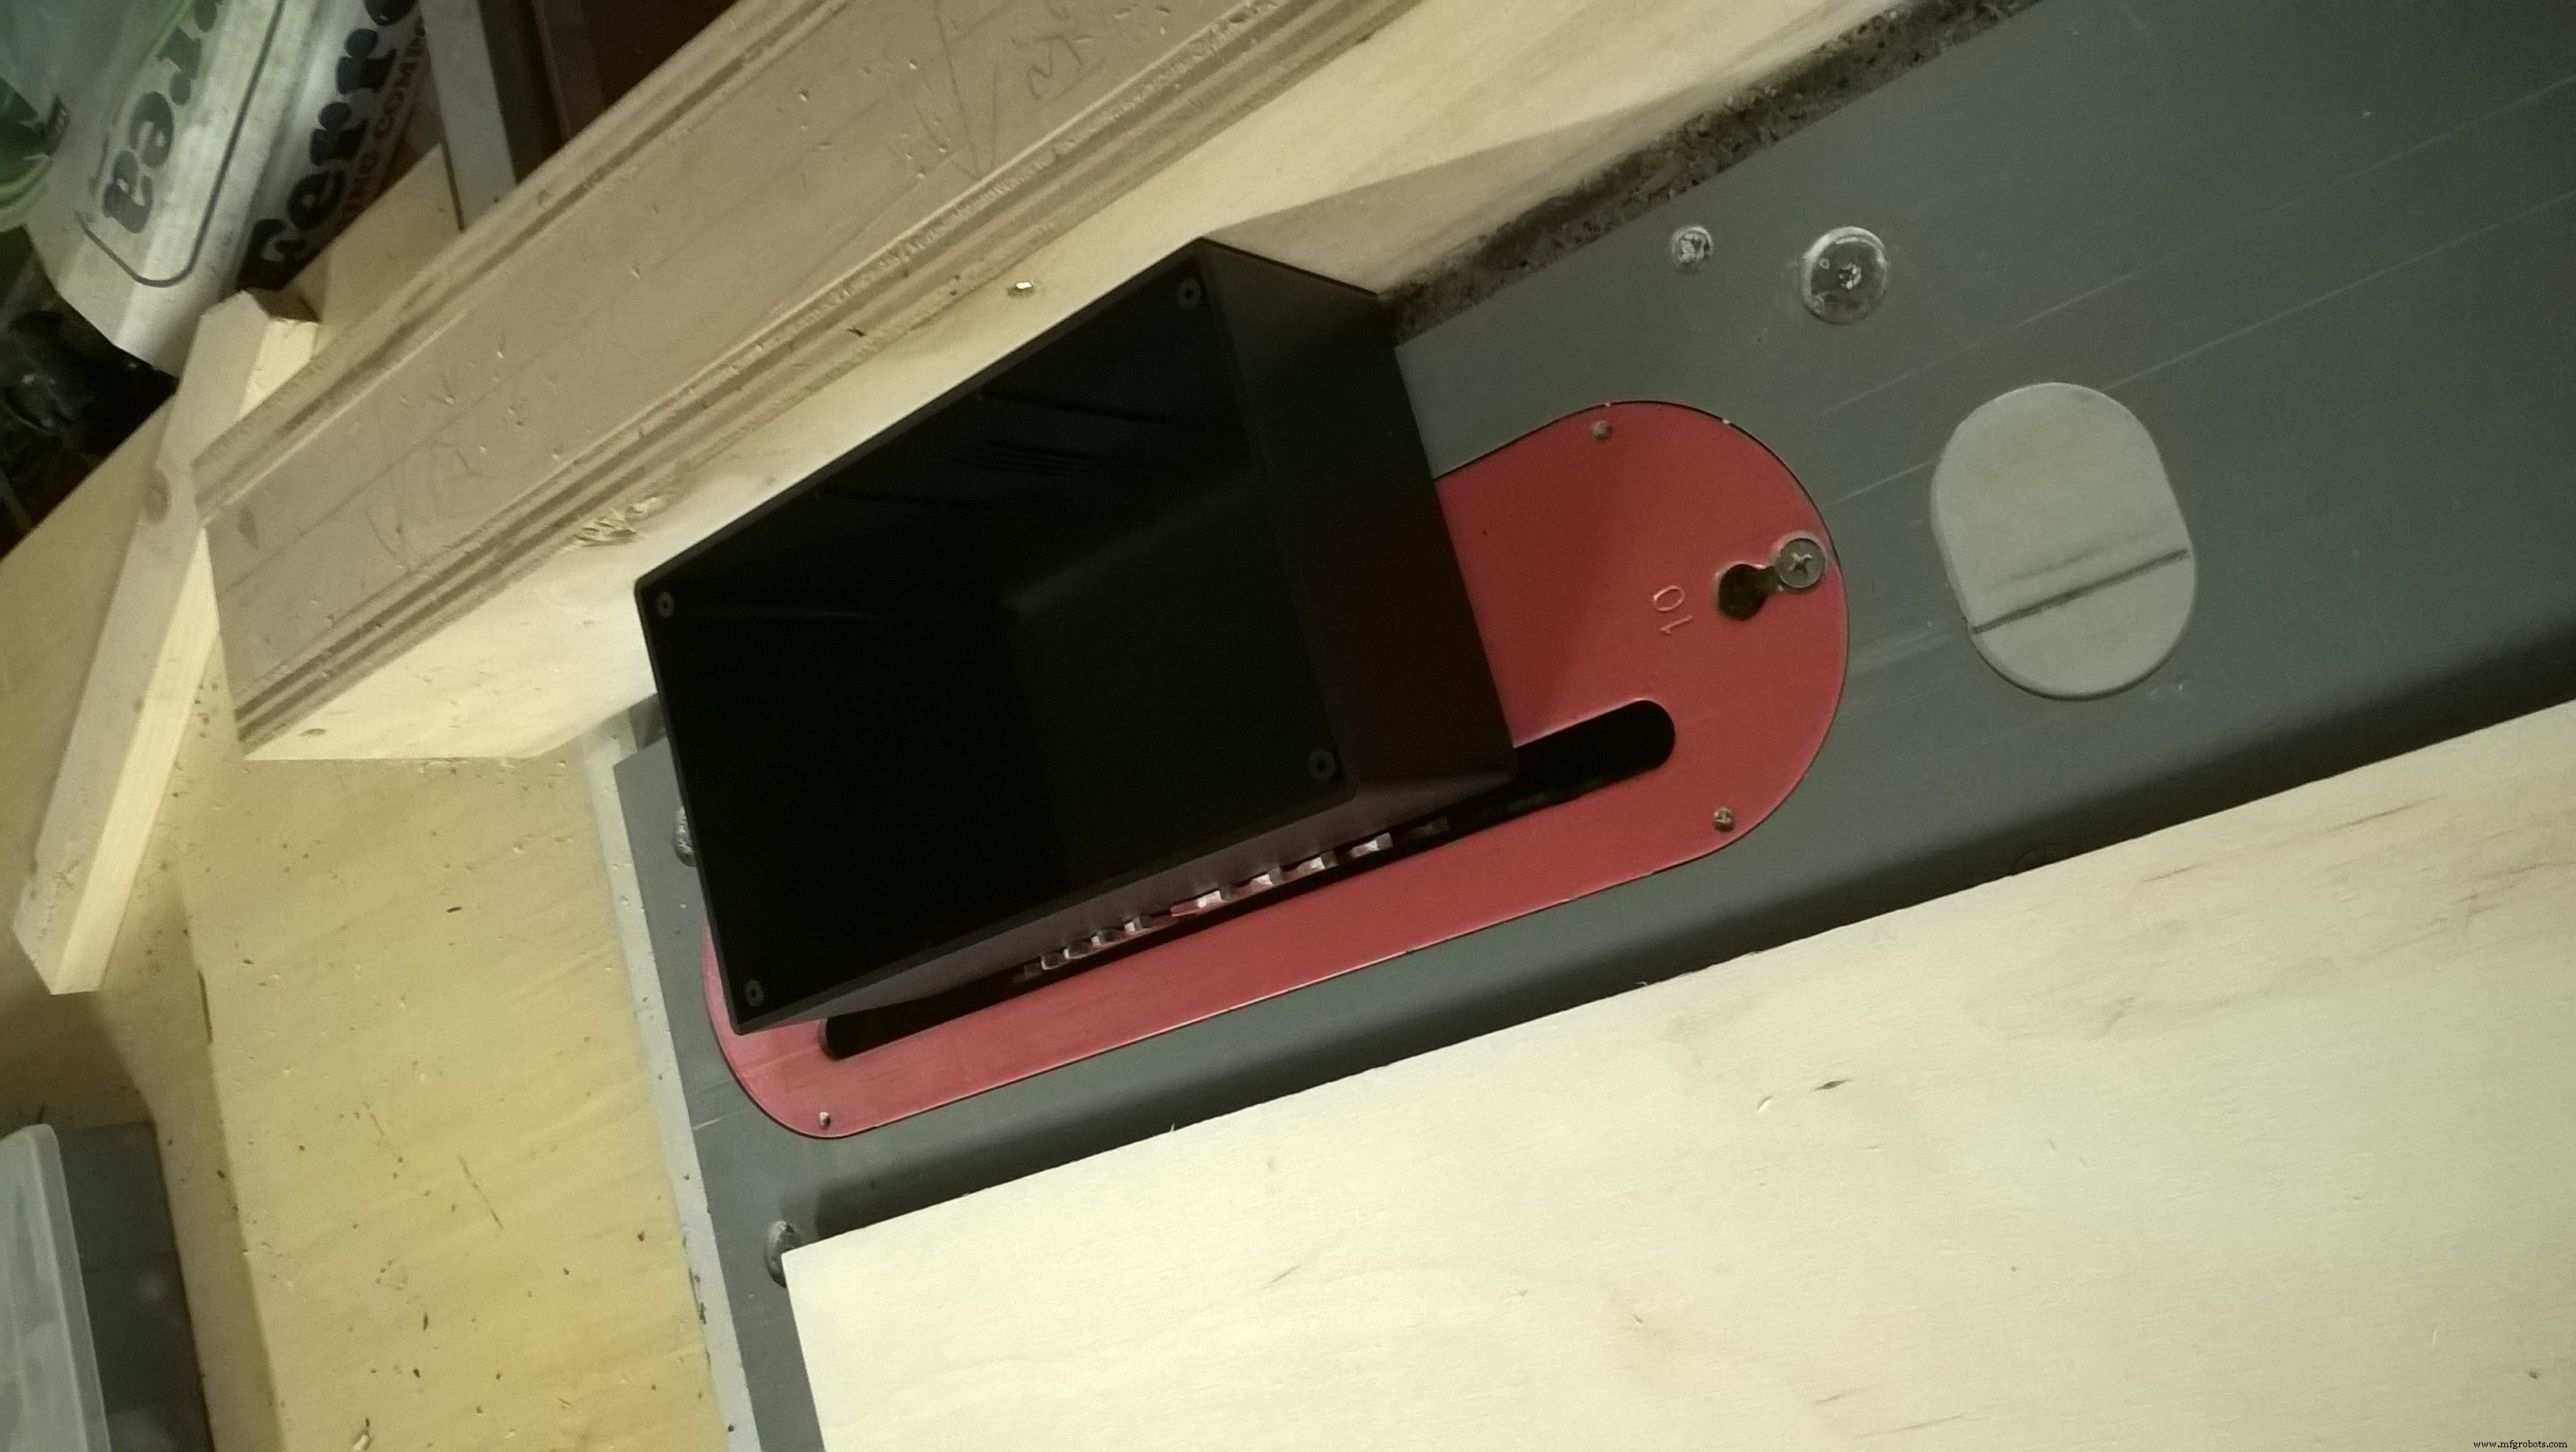
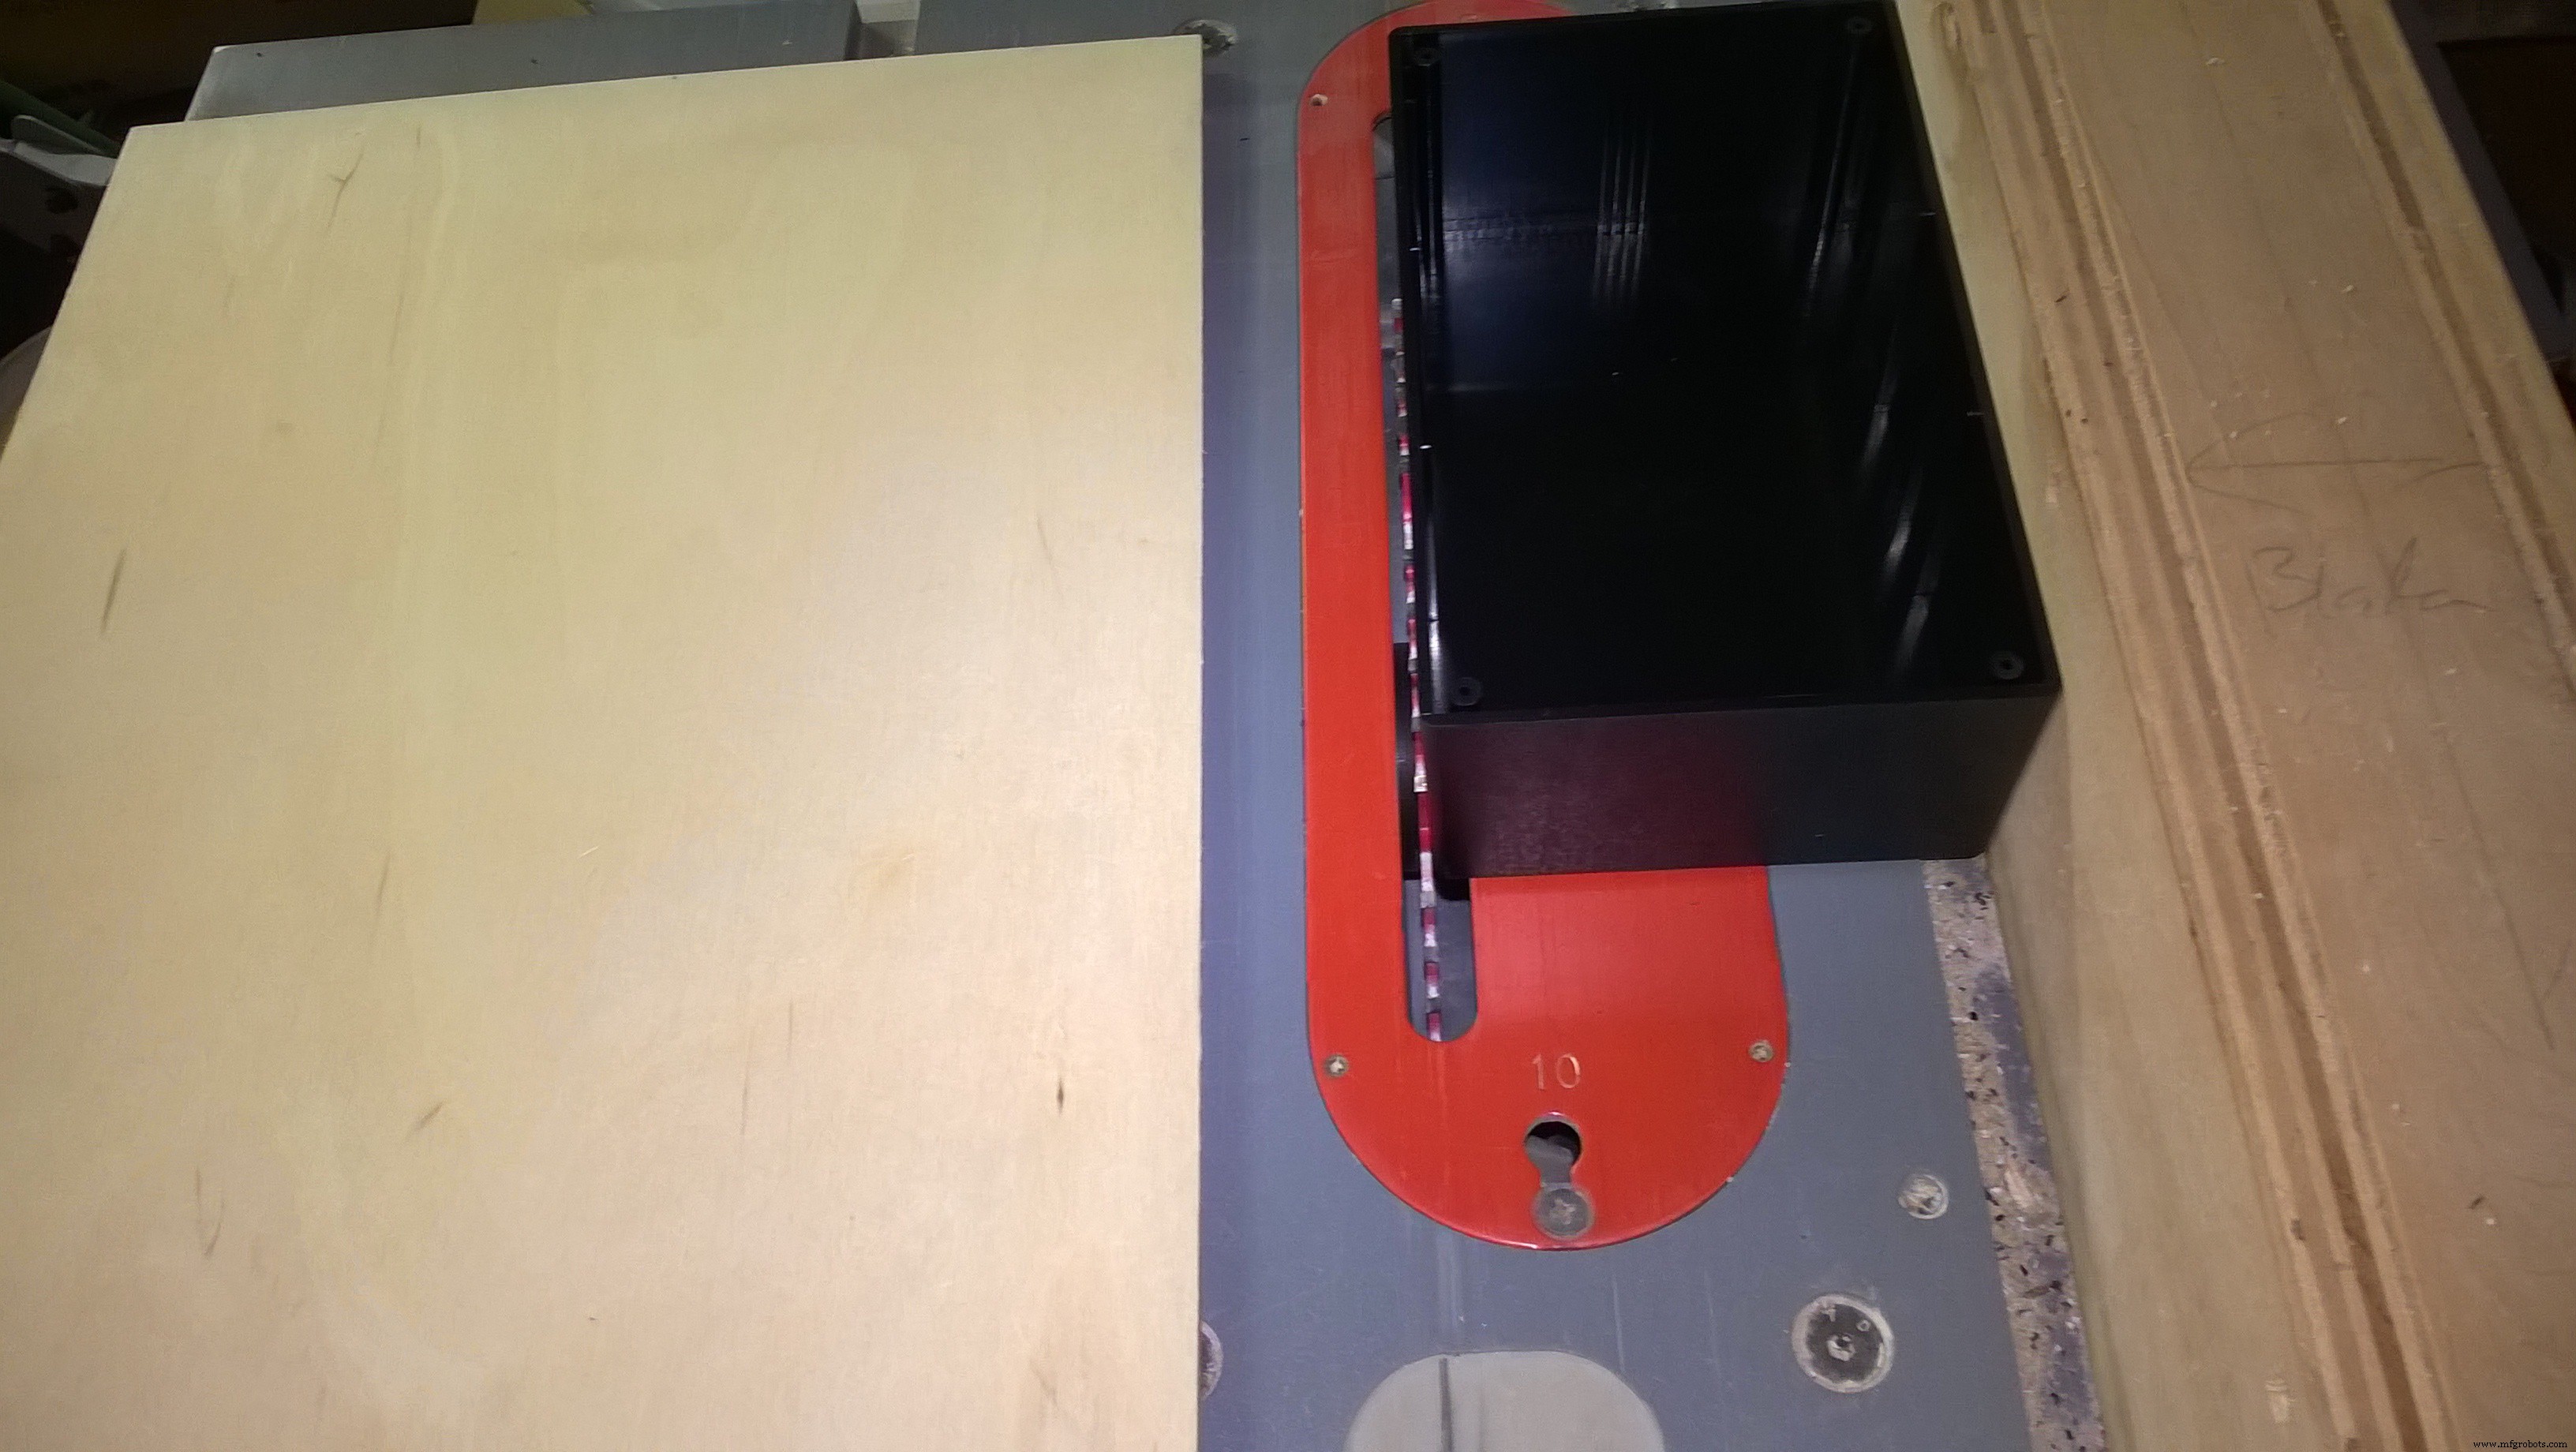
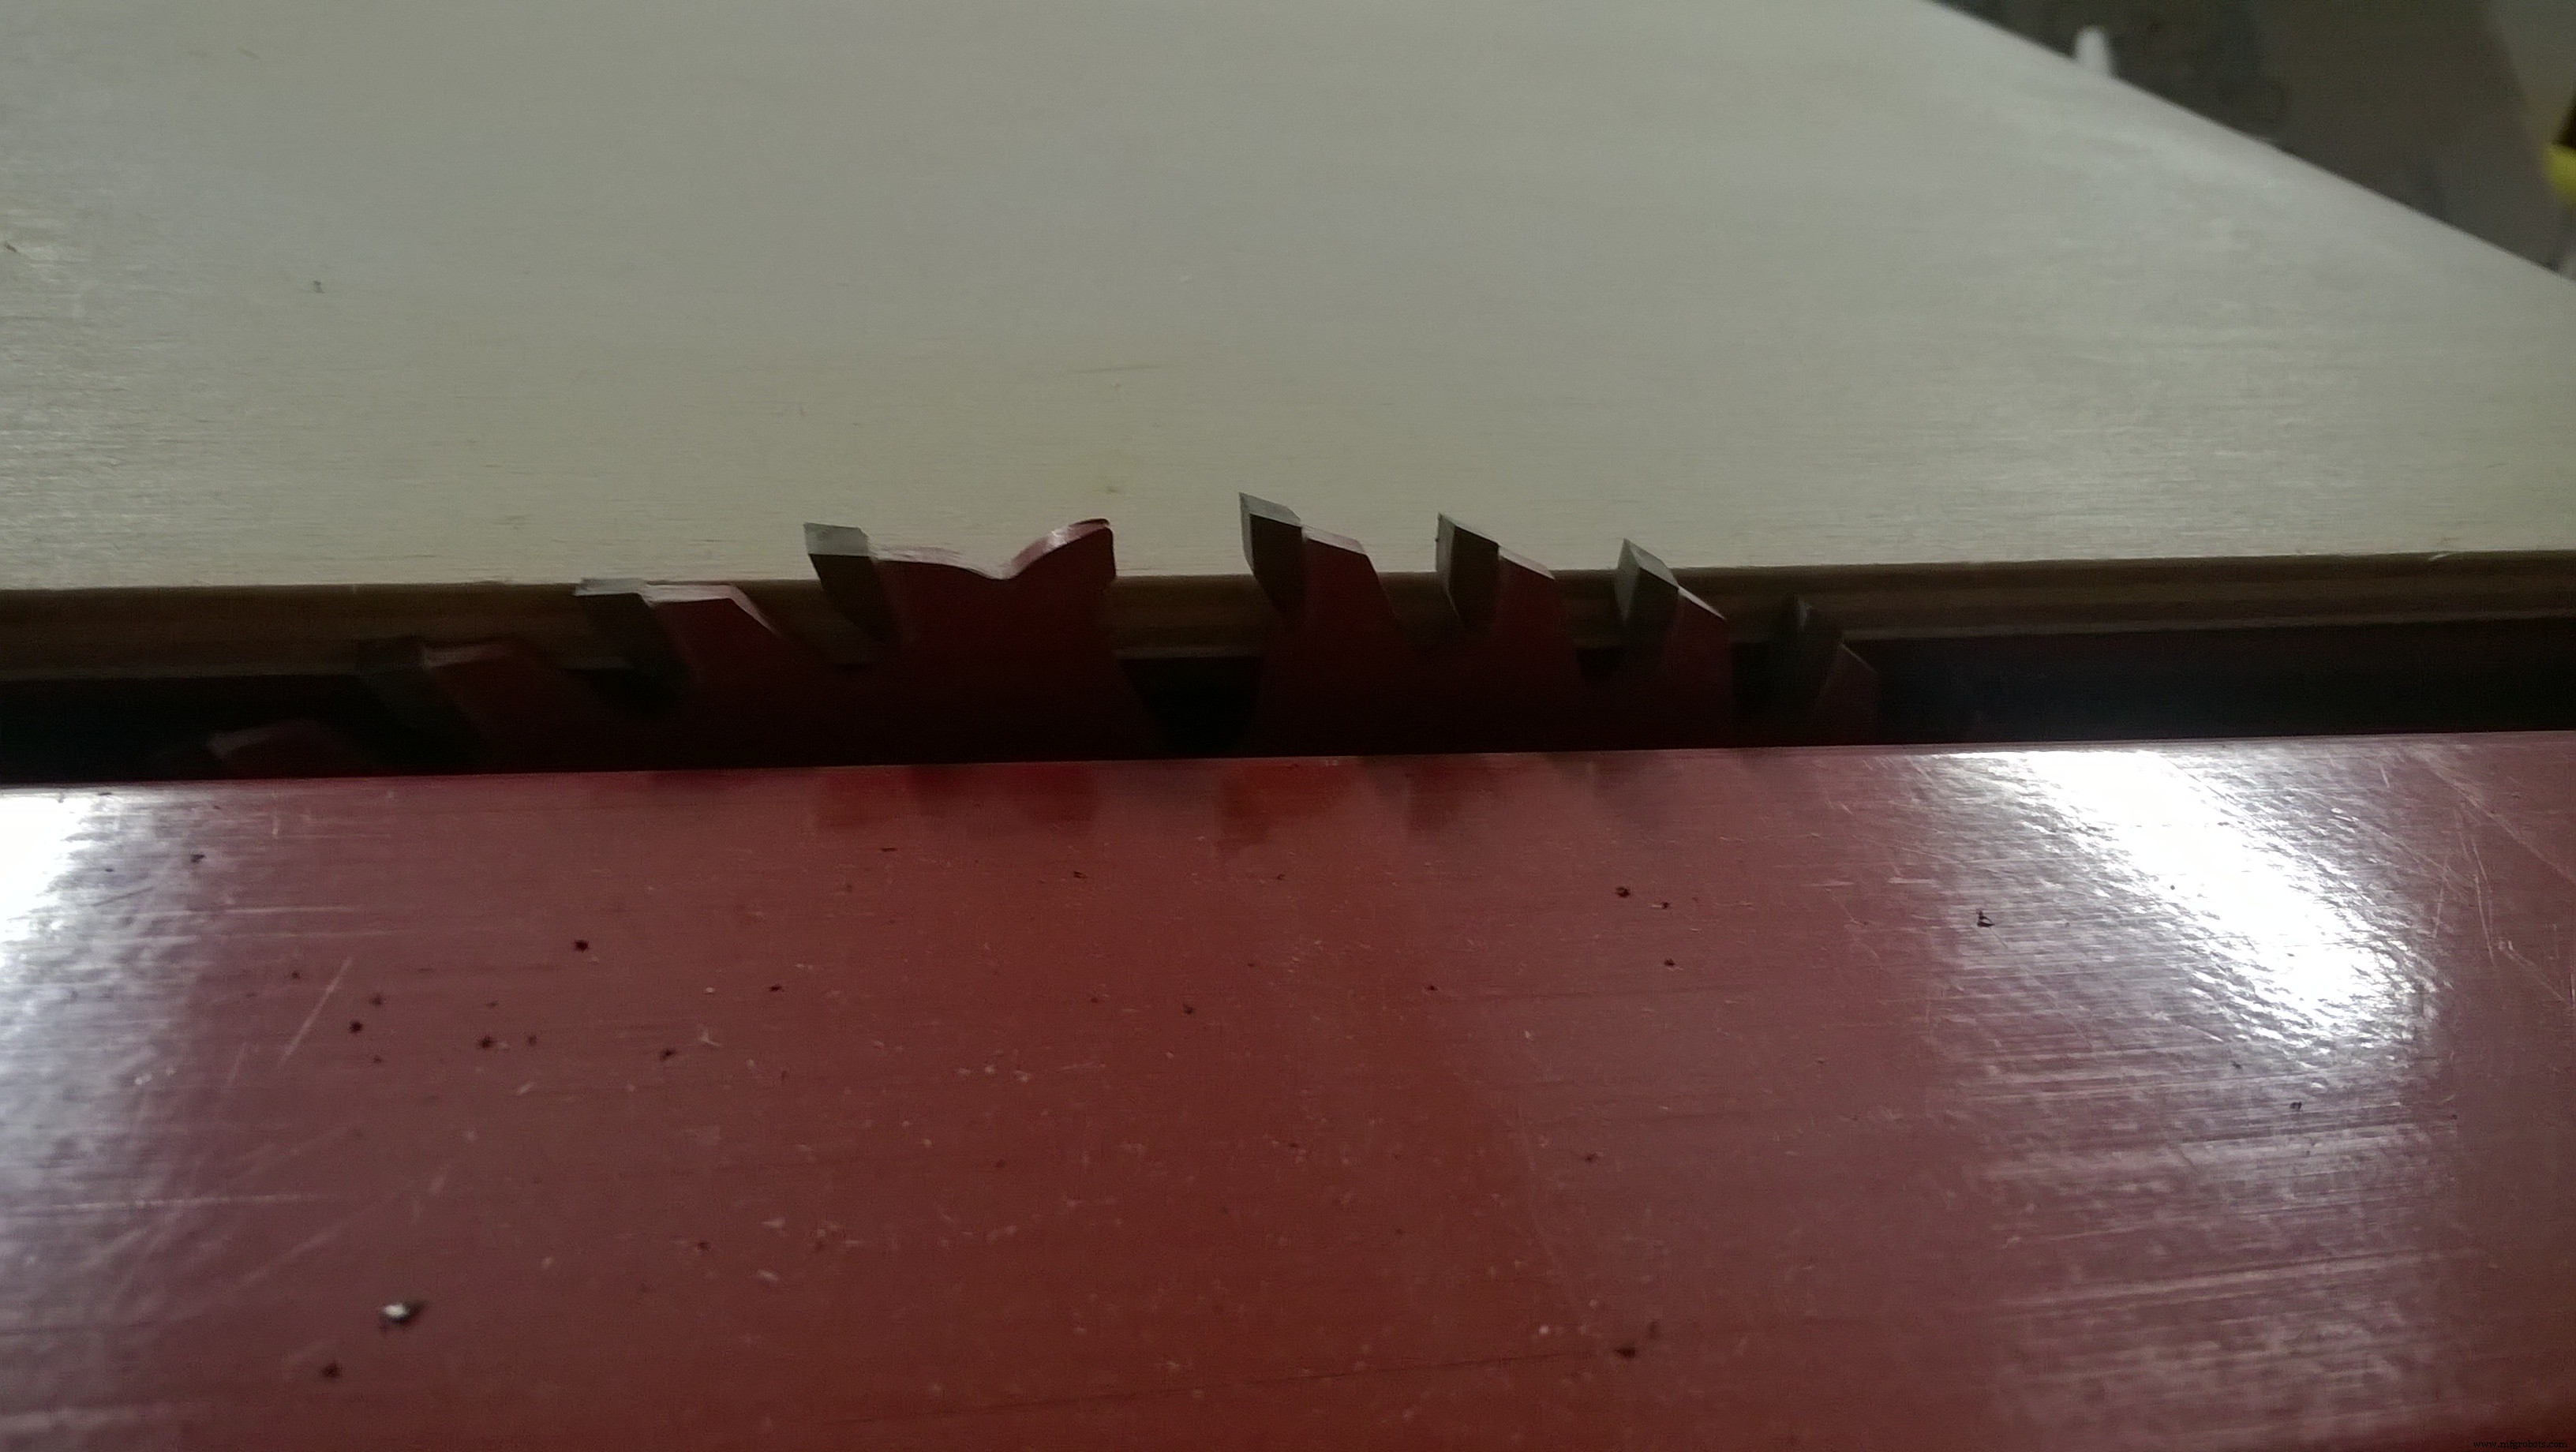
- 选用合适项目盒,切割桦木胶合板做面板。
- 用福斯纳钻头钻孔(比麻花钻更干净),打磨倒角。
- 双面胶带固定盒子于面板,压重 24 小时。
- 安装矩阵、穿线、热熔胶固定。
供电设计
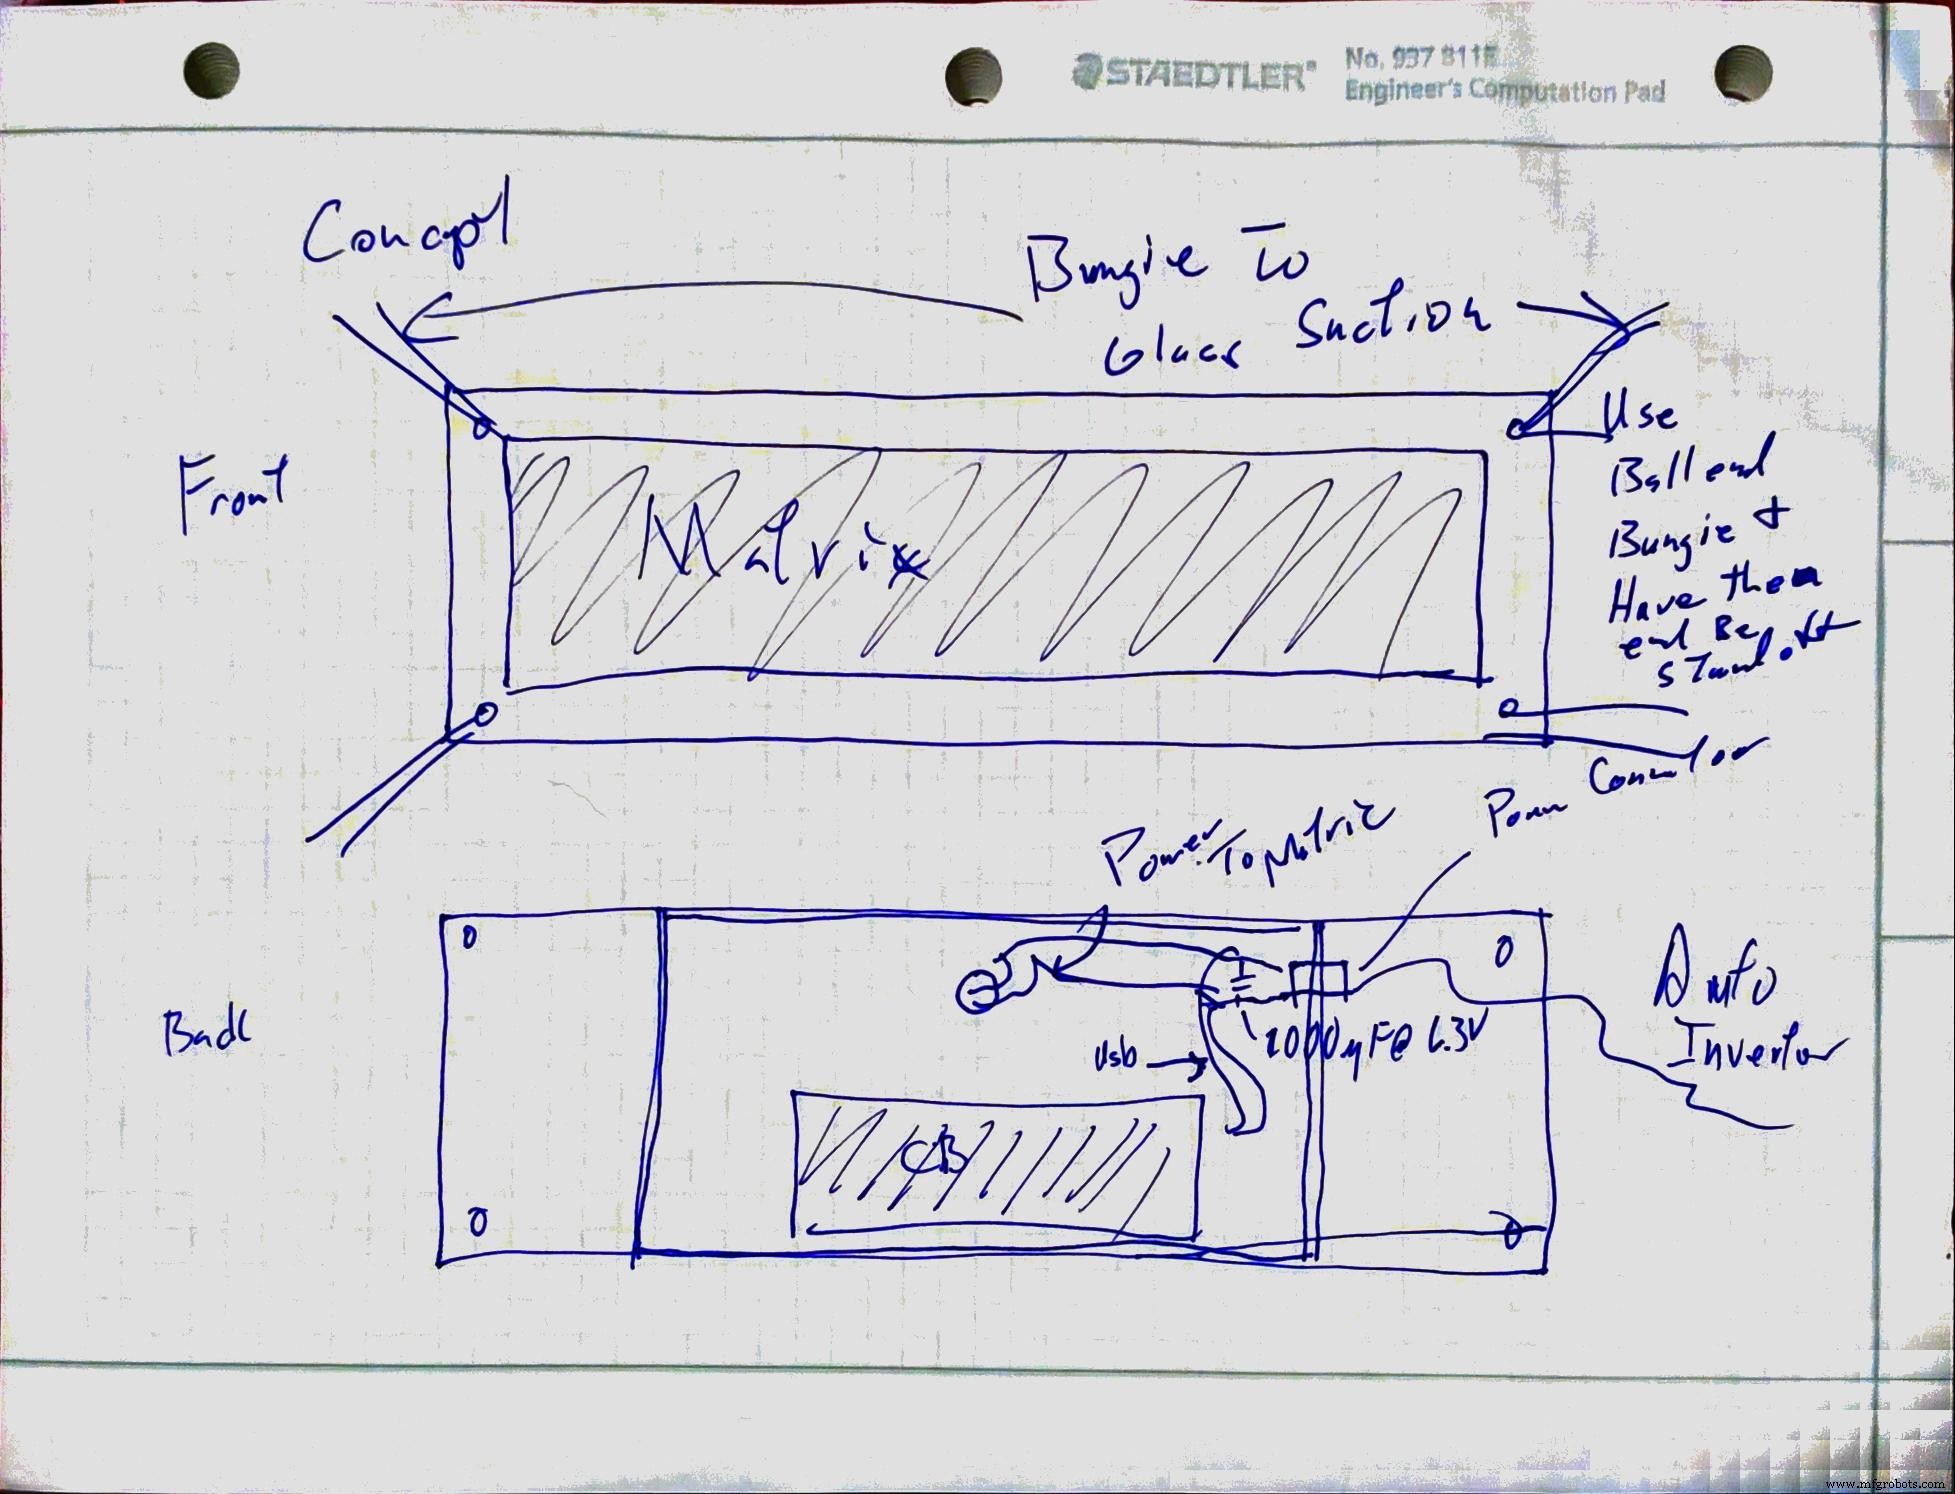
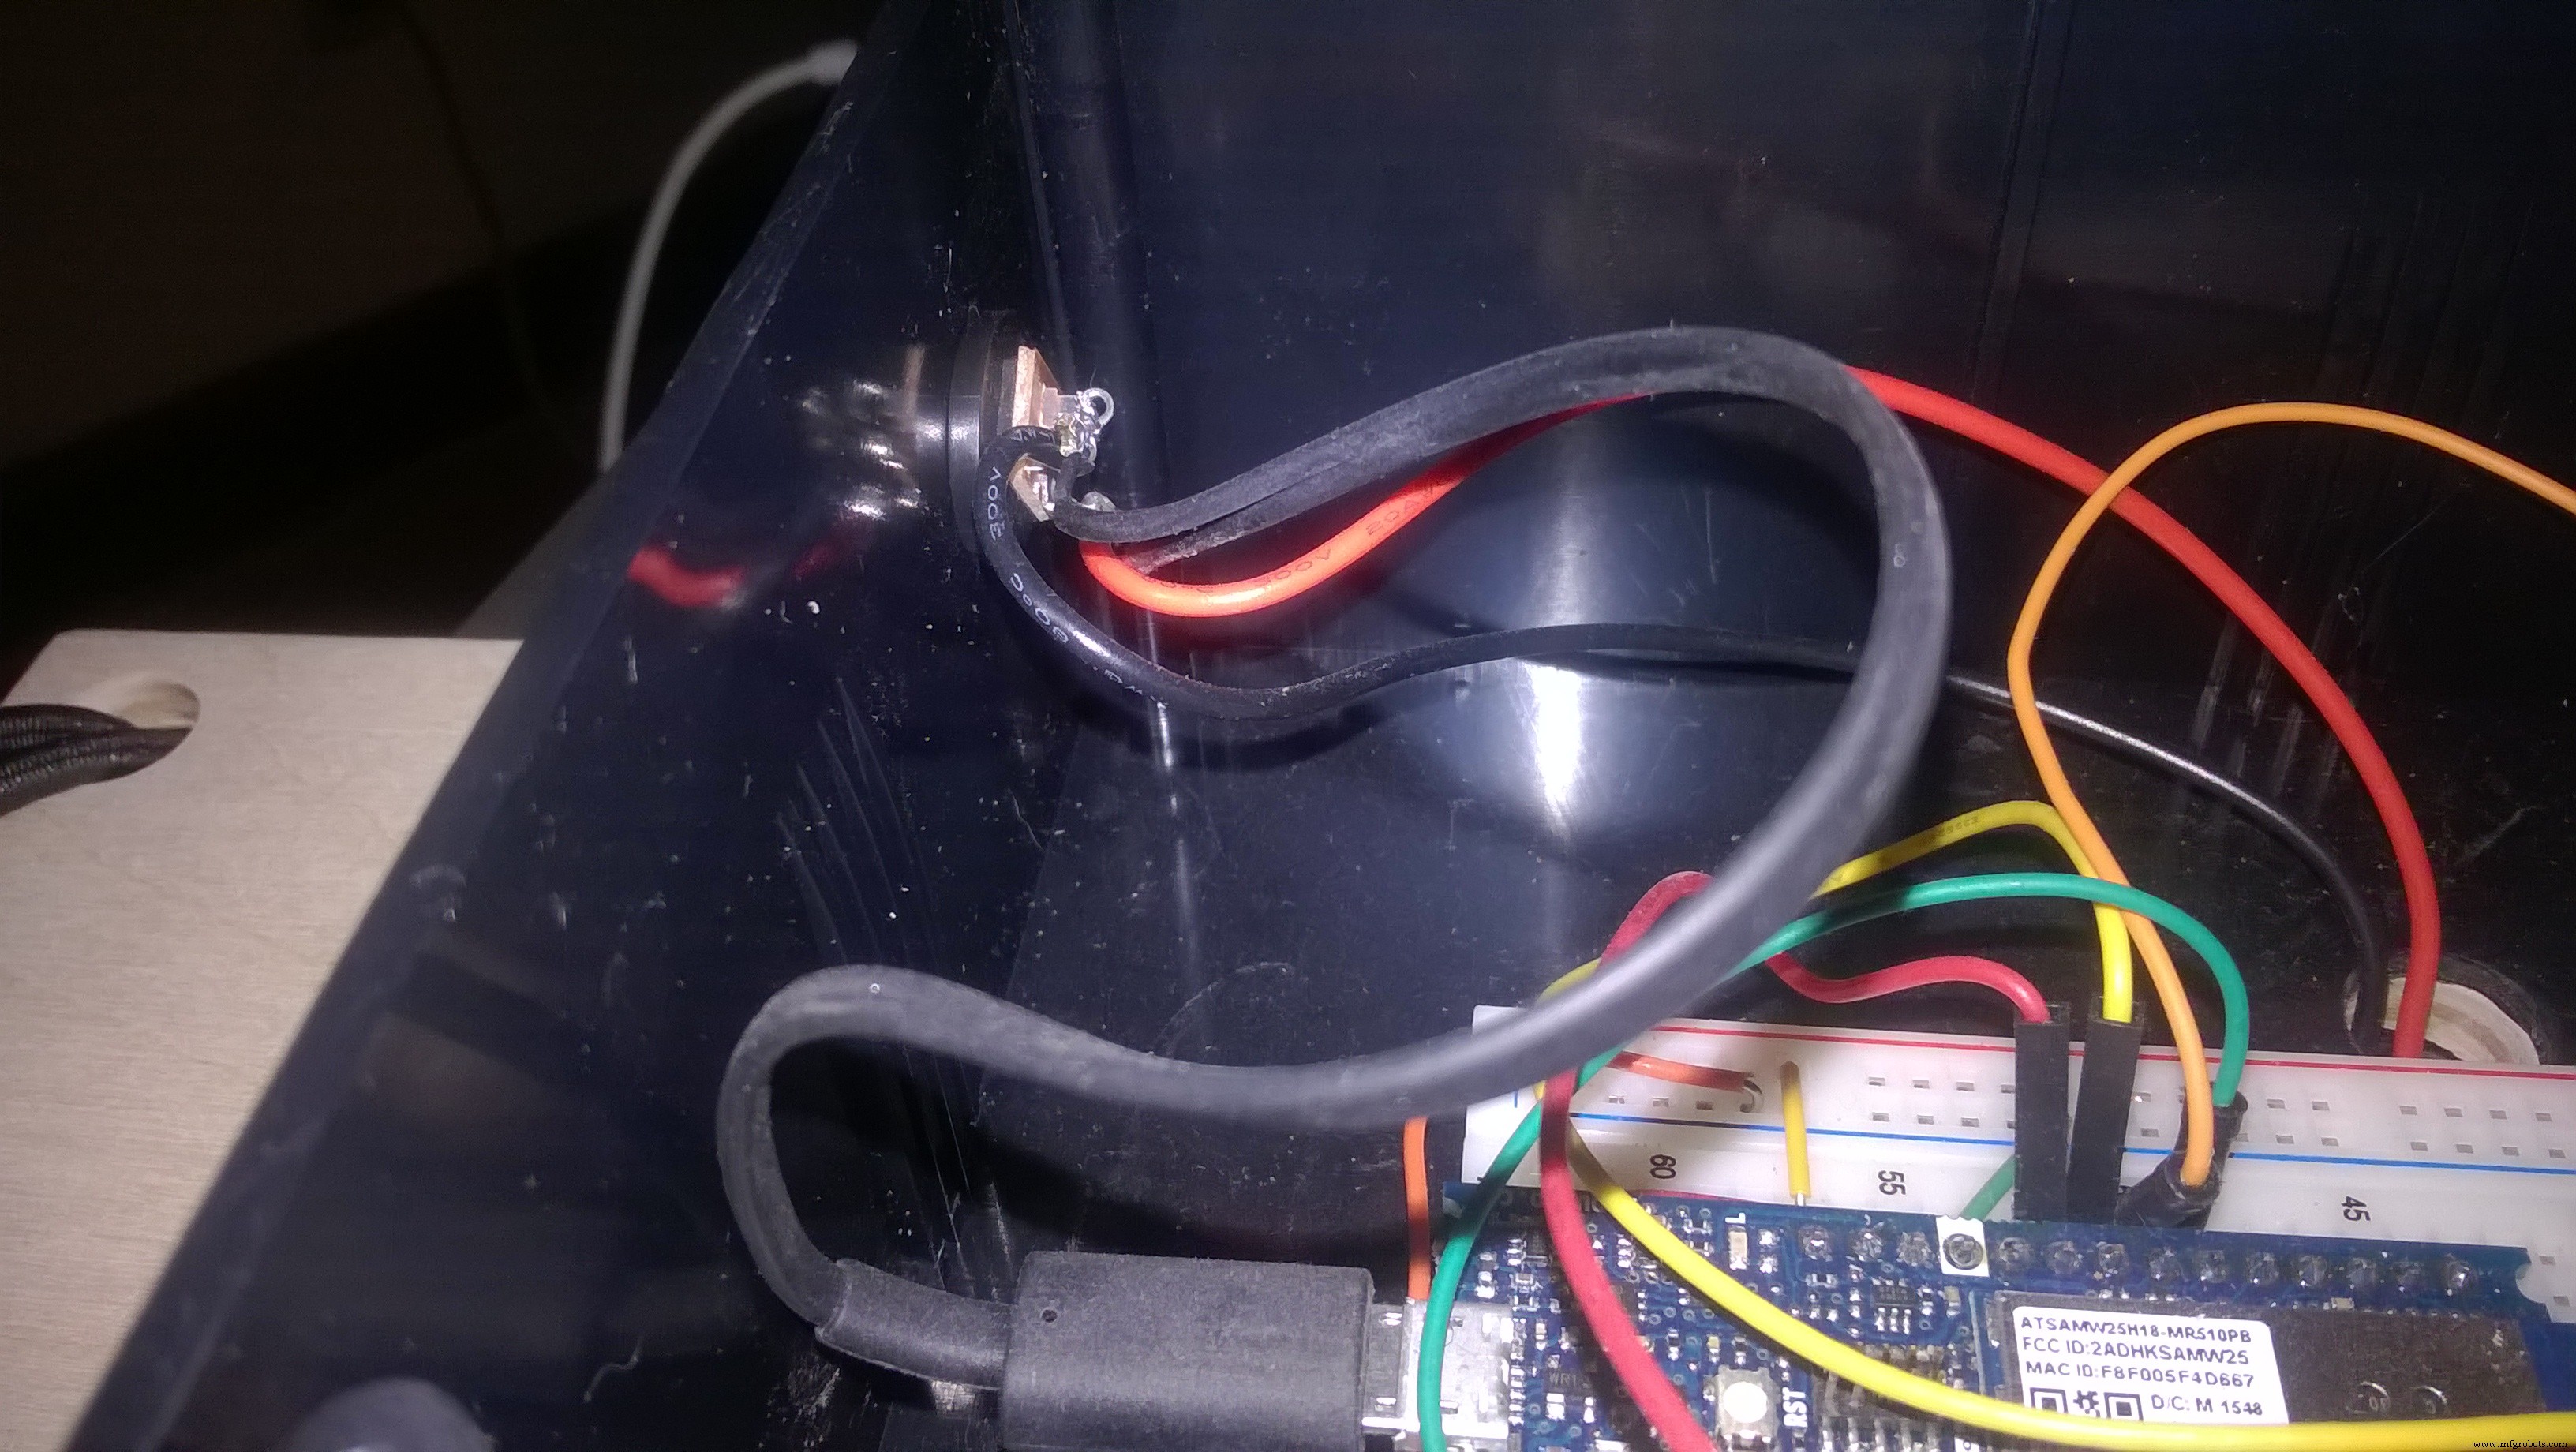
256 LED 全亮约 7.5A,但实际滚动显示电流远小。使用 5V 4A 电源适配器 + 车载逆变器,比自制降压模块更简单可靠。MKR1000 单独由 5V USB 供电。
安装固定
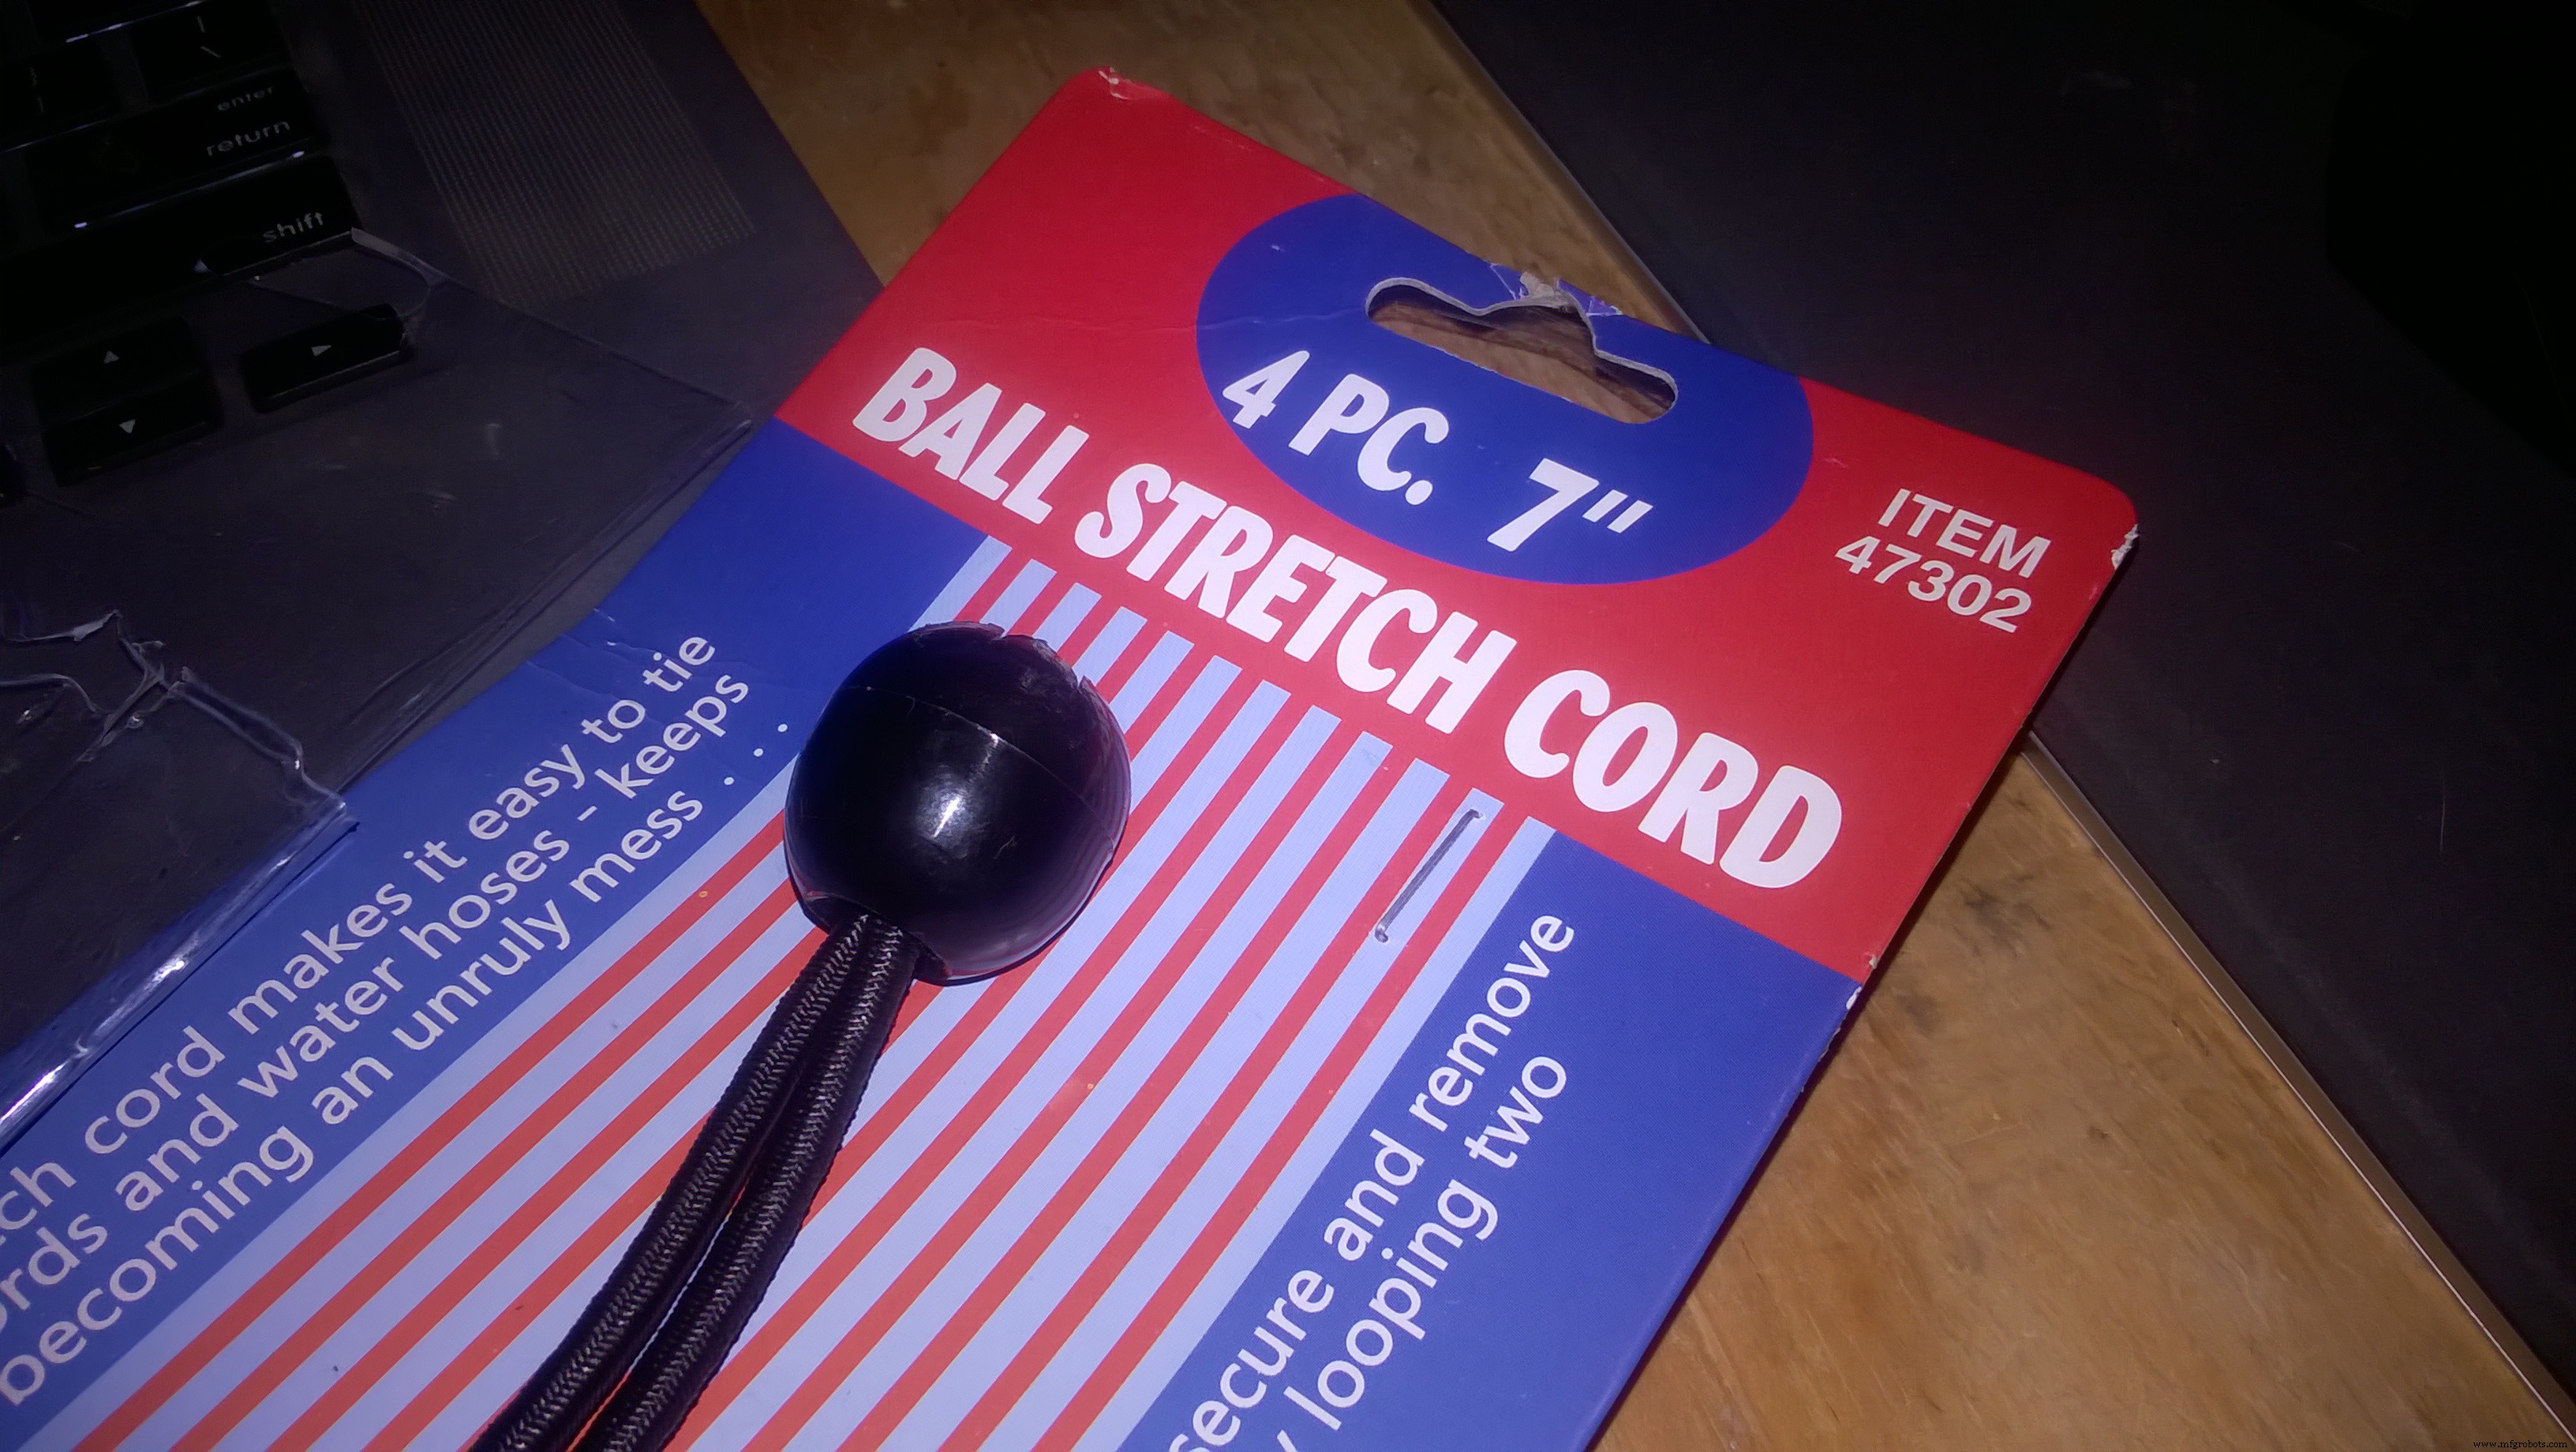
计划用弹力绳+吸盘固定后窗,仍需优化。
代码仓库
https://github.com/pulcher/mkr1000_challenge
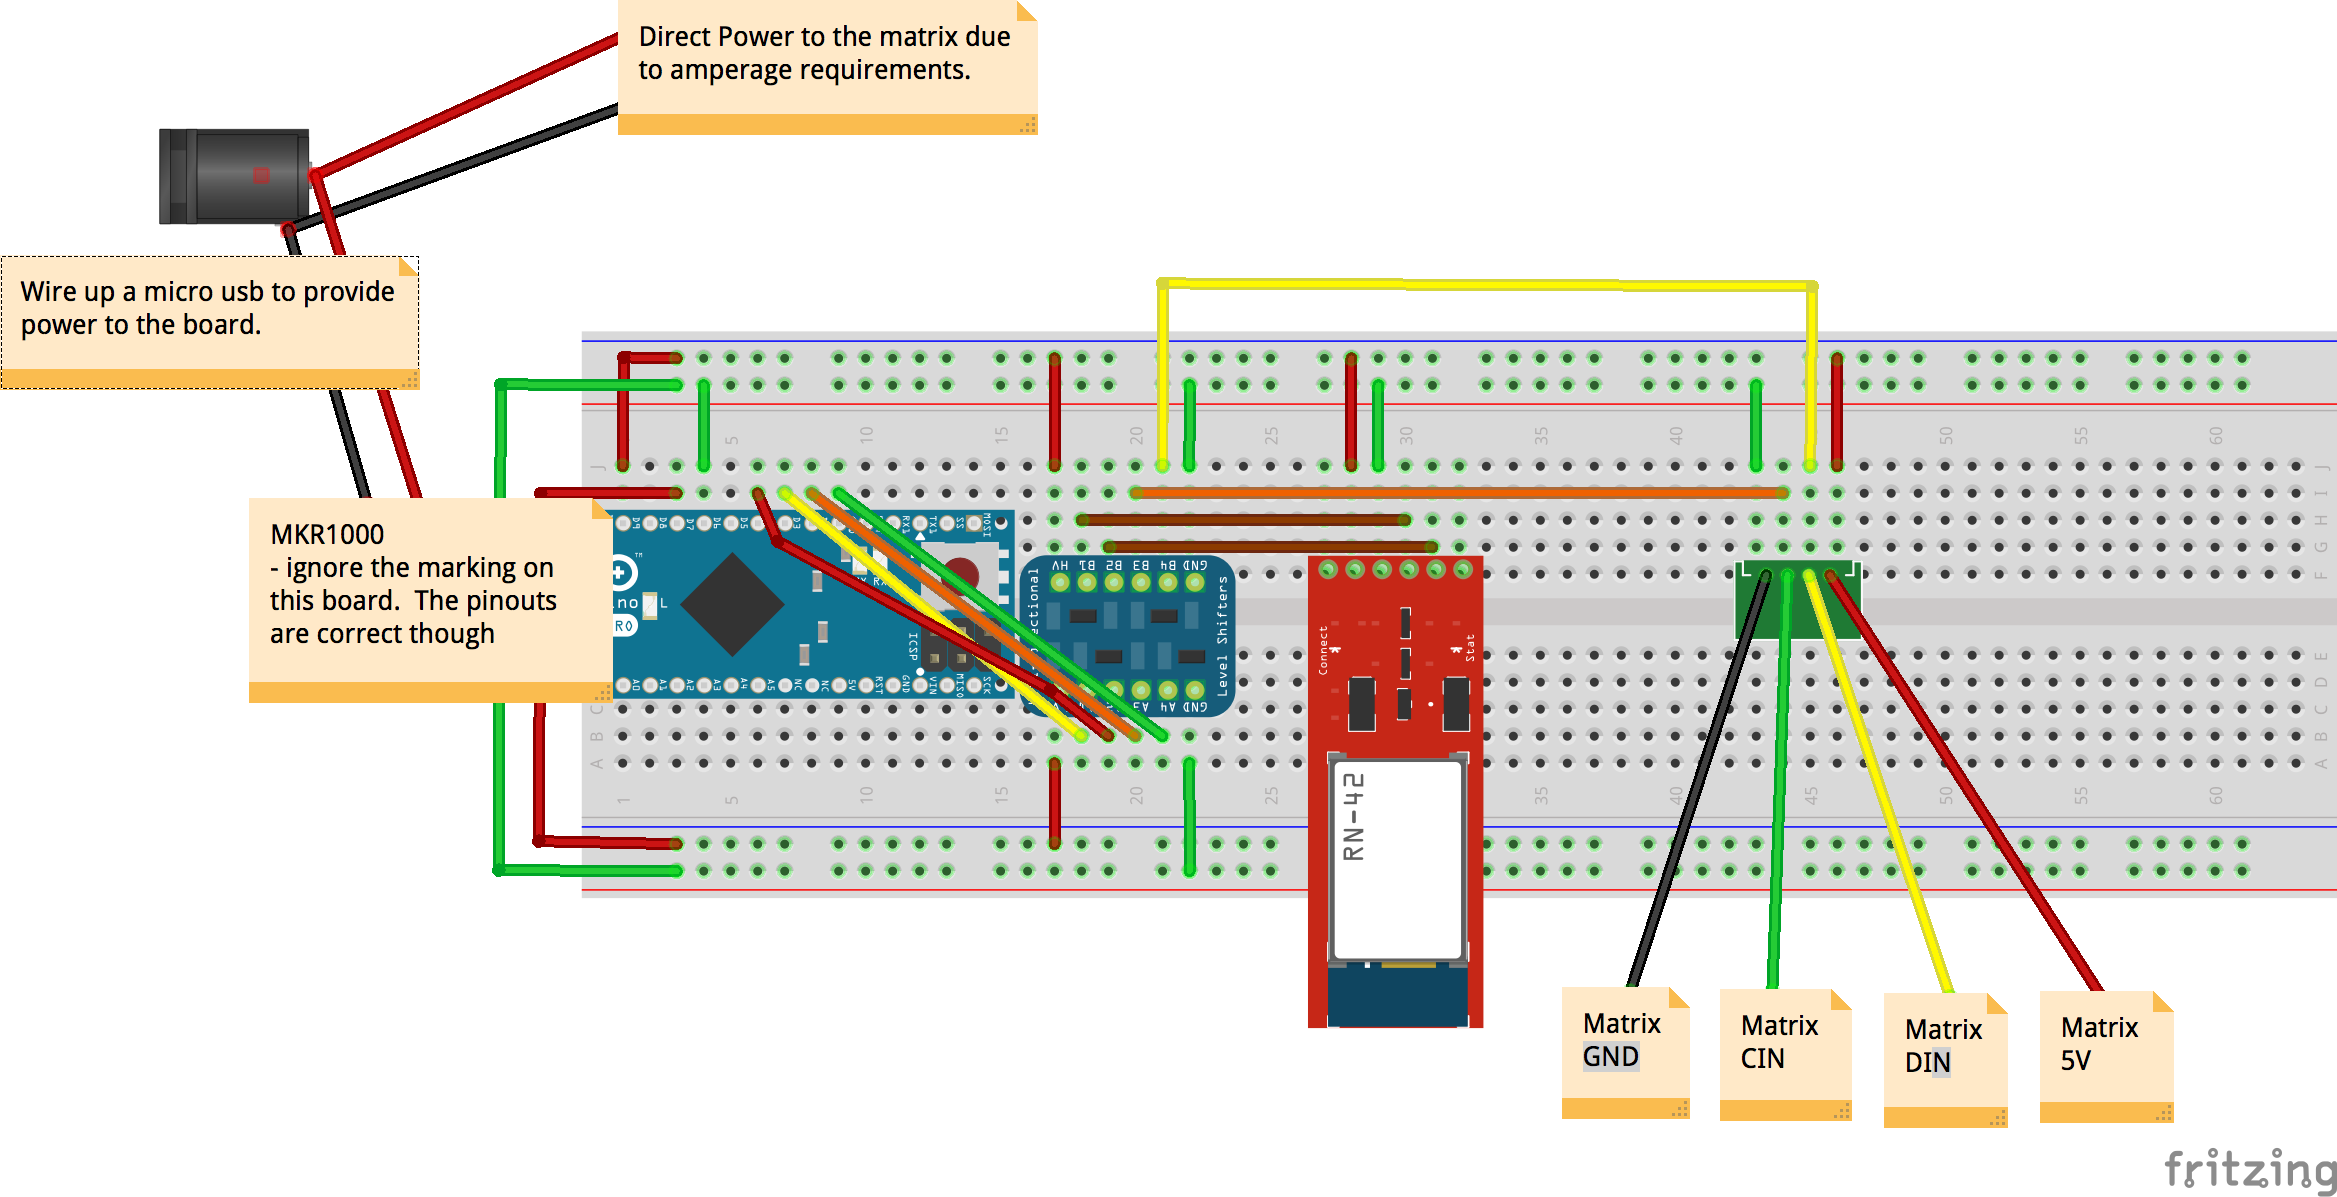
原理图
MKR1000 尚未正式发布,原理图仅示意连接。
制造工艺
- UnifiedWater v1 — 基于 Arduino MKR GSM 1400 的完整水质监测套件
- 便携式 GSM 投票箱:基于 Hologram + IFTTT 实现云端数据采集
- 智能配对墨镜:Arduino 101 + tinyTILE BLE 实现眼神交流信号
- DIY 打地鼠街机游戏(按键版)——Arduino Mega 2560 实现
- 现代复古点唱机:Raspberry Pi + Arduino NeoPixel 声控灯光音乐播放器
- DIY Arduino 智能手表:打造属于你的 Apple Watch 风格腕表
- DIY全波段Arduino收音机:Si4730模块实现LW/MW/SW/FM接收
- Wi-Fi 红外复制器:远程控制家电设备
- 智能分药器:精准用药管理系统
- PCB 表面处理工艺全解析:HASL、沉锡、OSP、ENIG 优劣势与选型指南
- EDM 电火花加工技术深度解析:原理、方法、应用与装备
- 法兰轴承全攻略:类型、特性与应用场景