

蓝牙控制车
组件和用品
 |
| × | 1 | |||
| × | 2 | ||||
| × | 1 | ||||
 |
| × | 1 | |||
 |
| × | 1 | |||
 |
| × | 1 |
应用和在线服务
 |
|
关于这个项目
你好!
任何可以控制的都是伟大的。不是吗?我们人类喜欢控制事物,这就是自动化和机器人技术如此迷人的原因。
本教程将教您如何创建自己的蓝牙控制汽车。那么让我们开始吧。
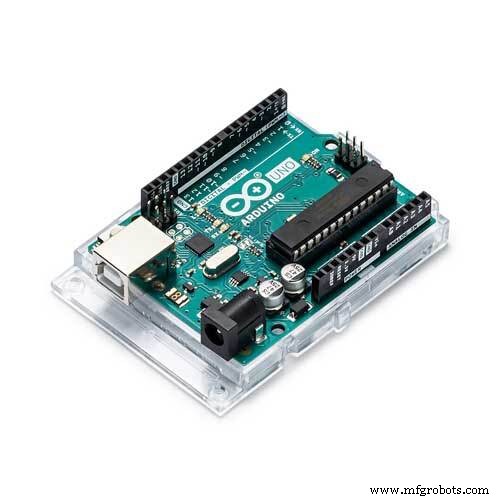
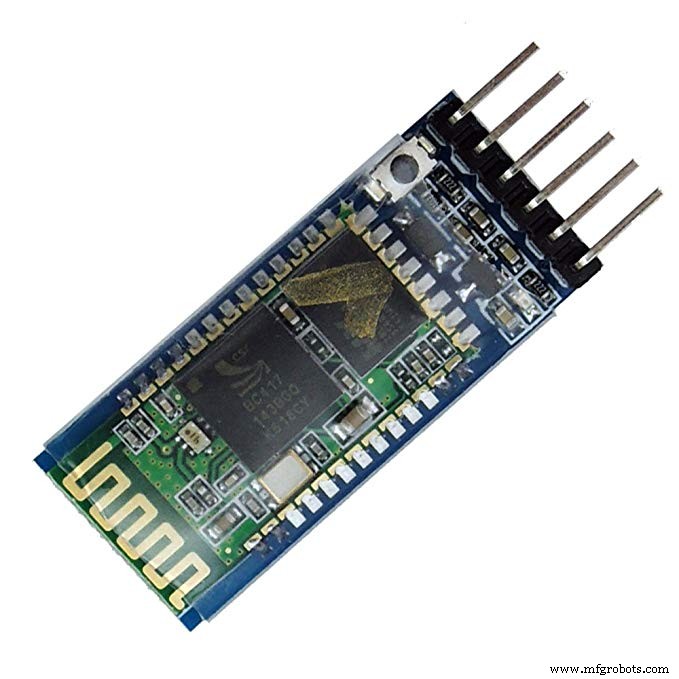
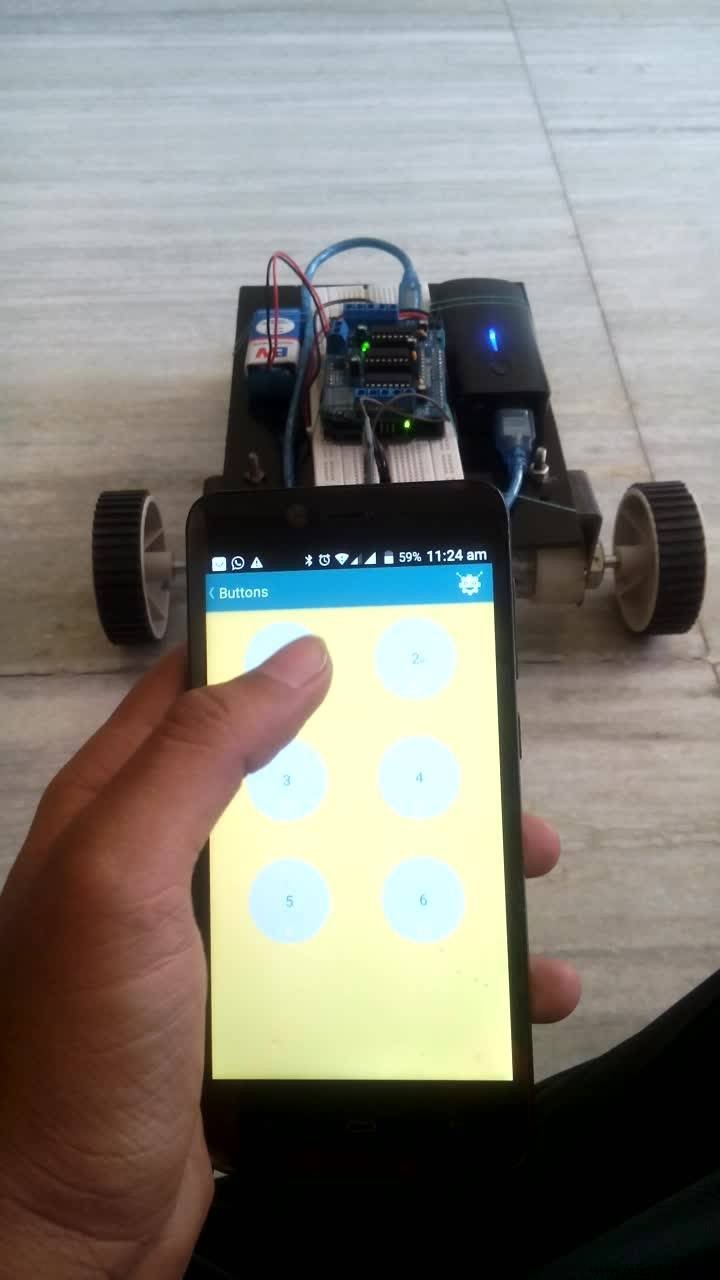
这将是一个蓝牙控制的汽车,所以在这个项目中我们将使用HC-05蓝牙模块来接收控制数据包。
我们还需要一个 android 应用程序,它将控制数据包发送到蓝牙模块。为此,我们将使用第三方应用程序(点击此处下载)。
- -> 好的伙计们!让我们构建硬件。
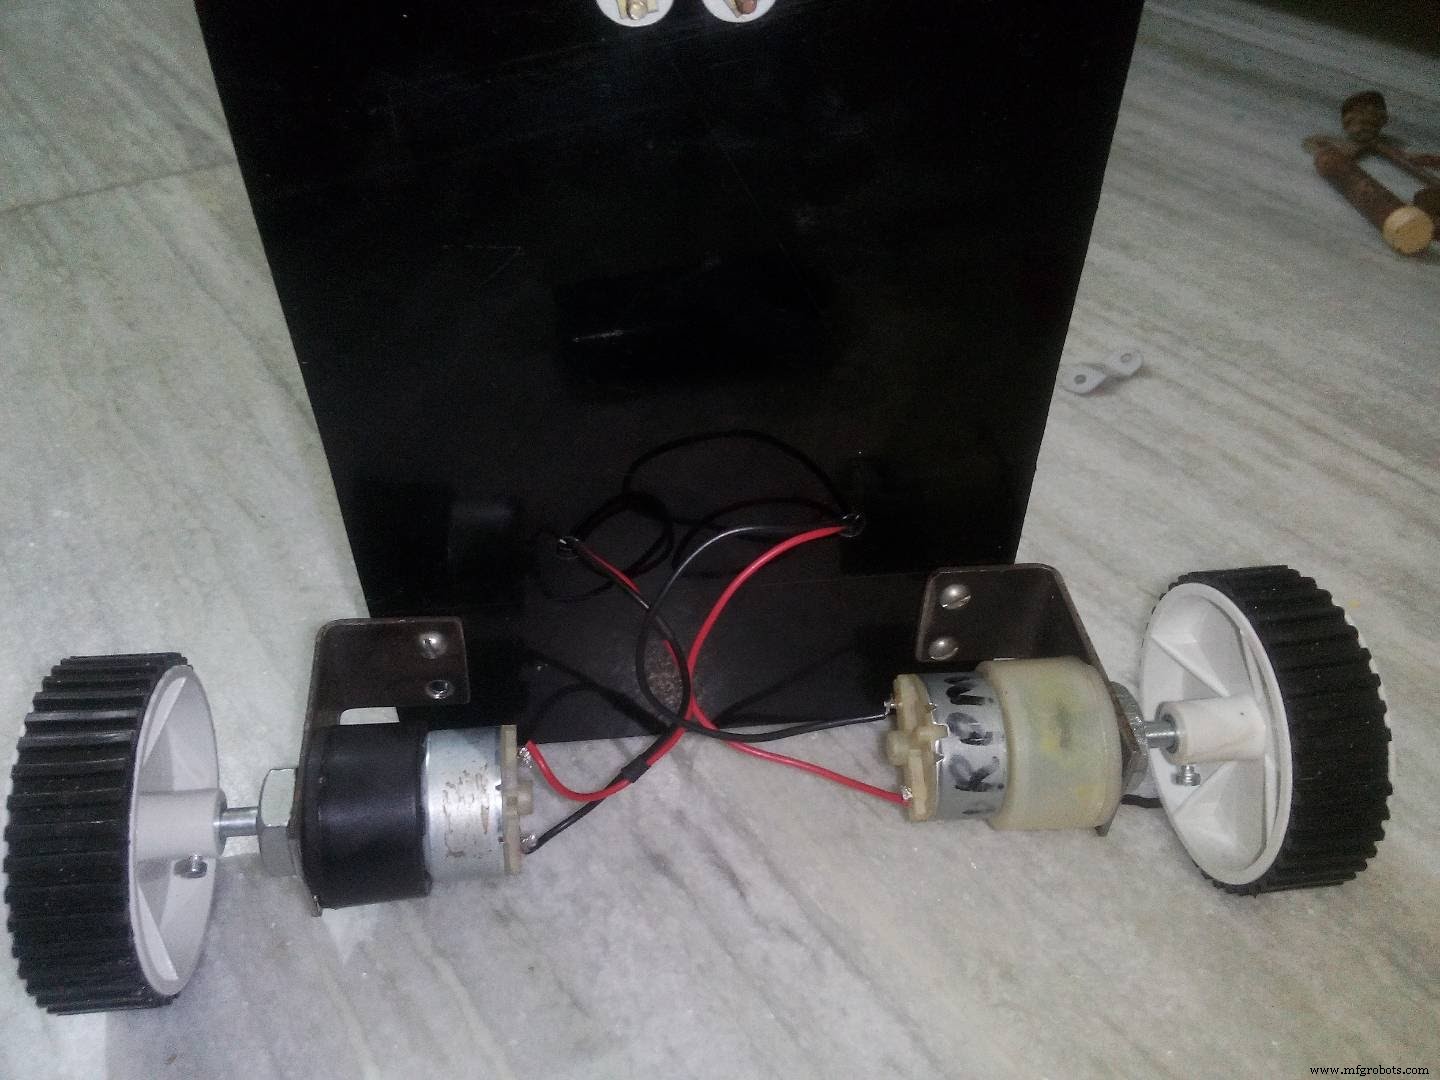
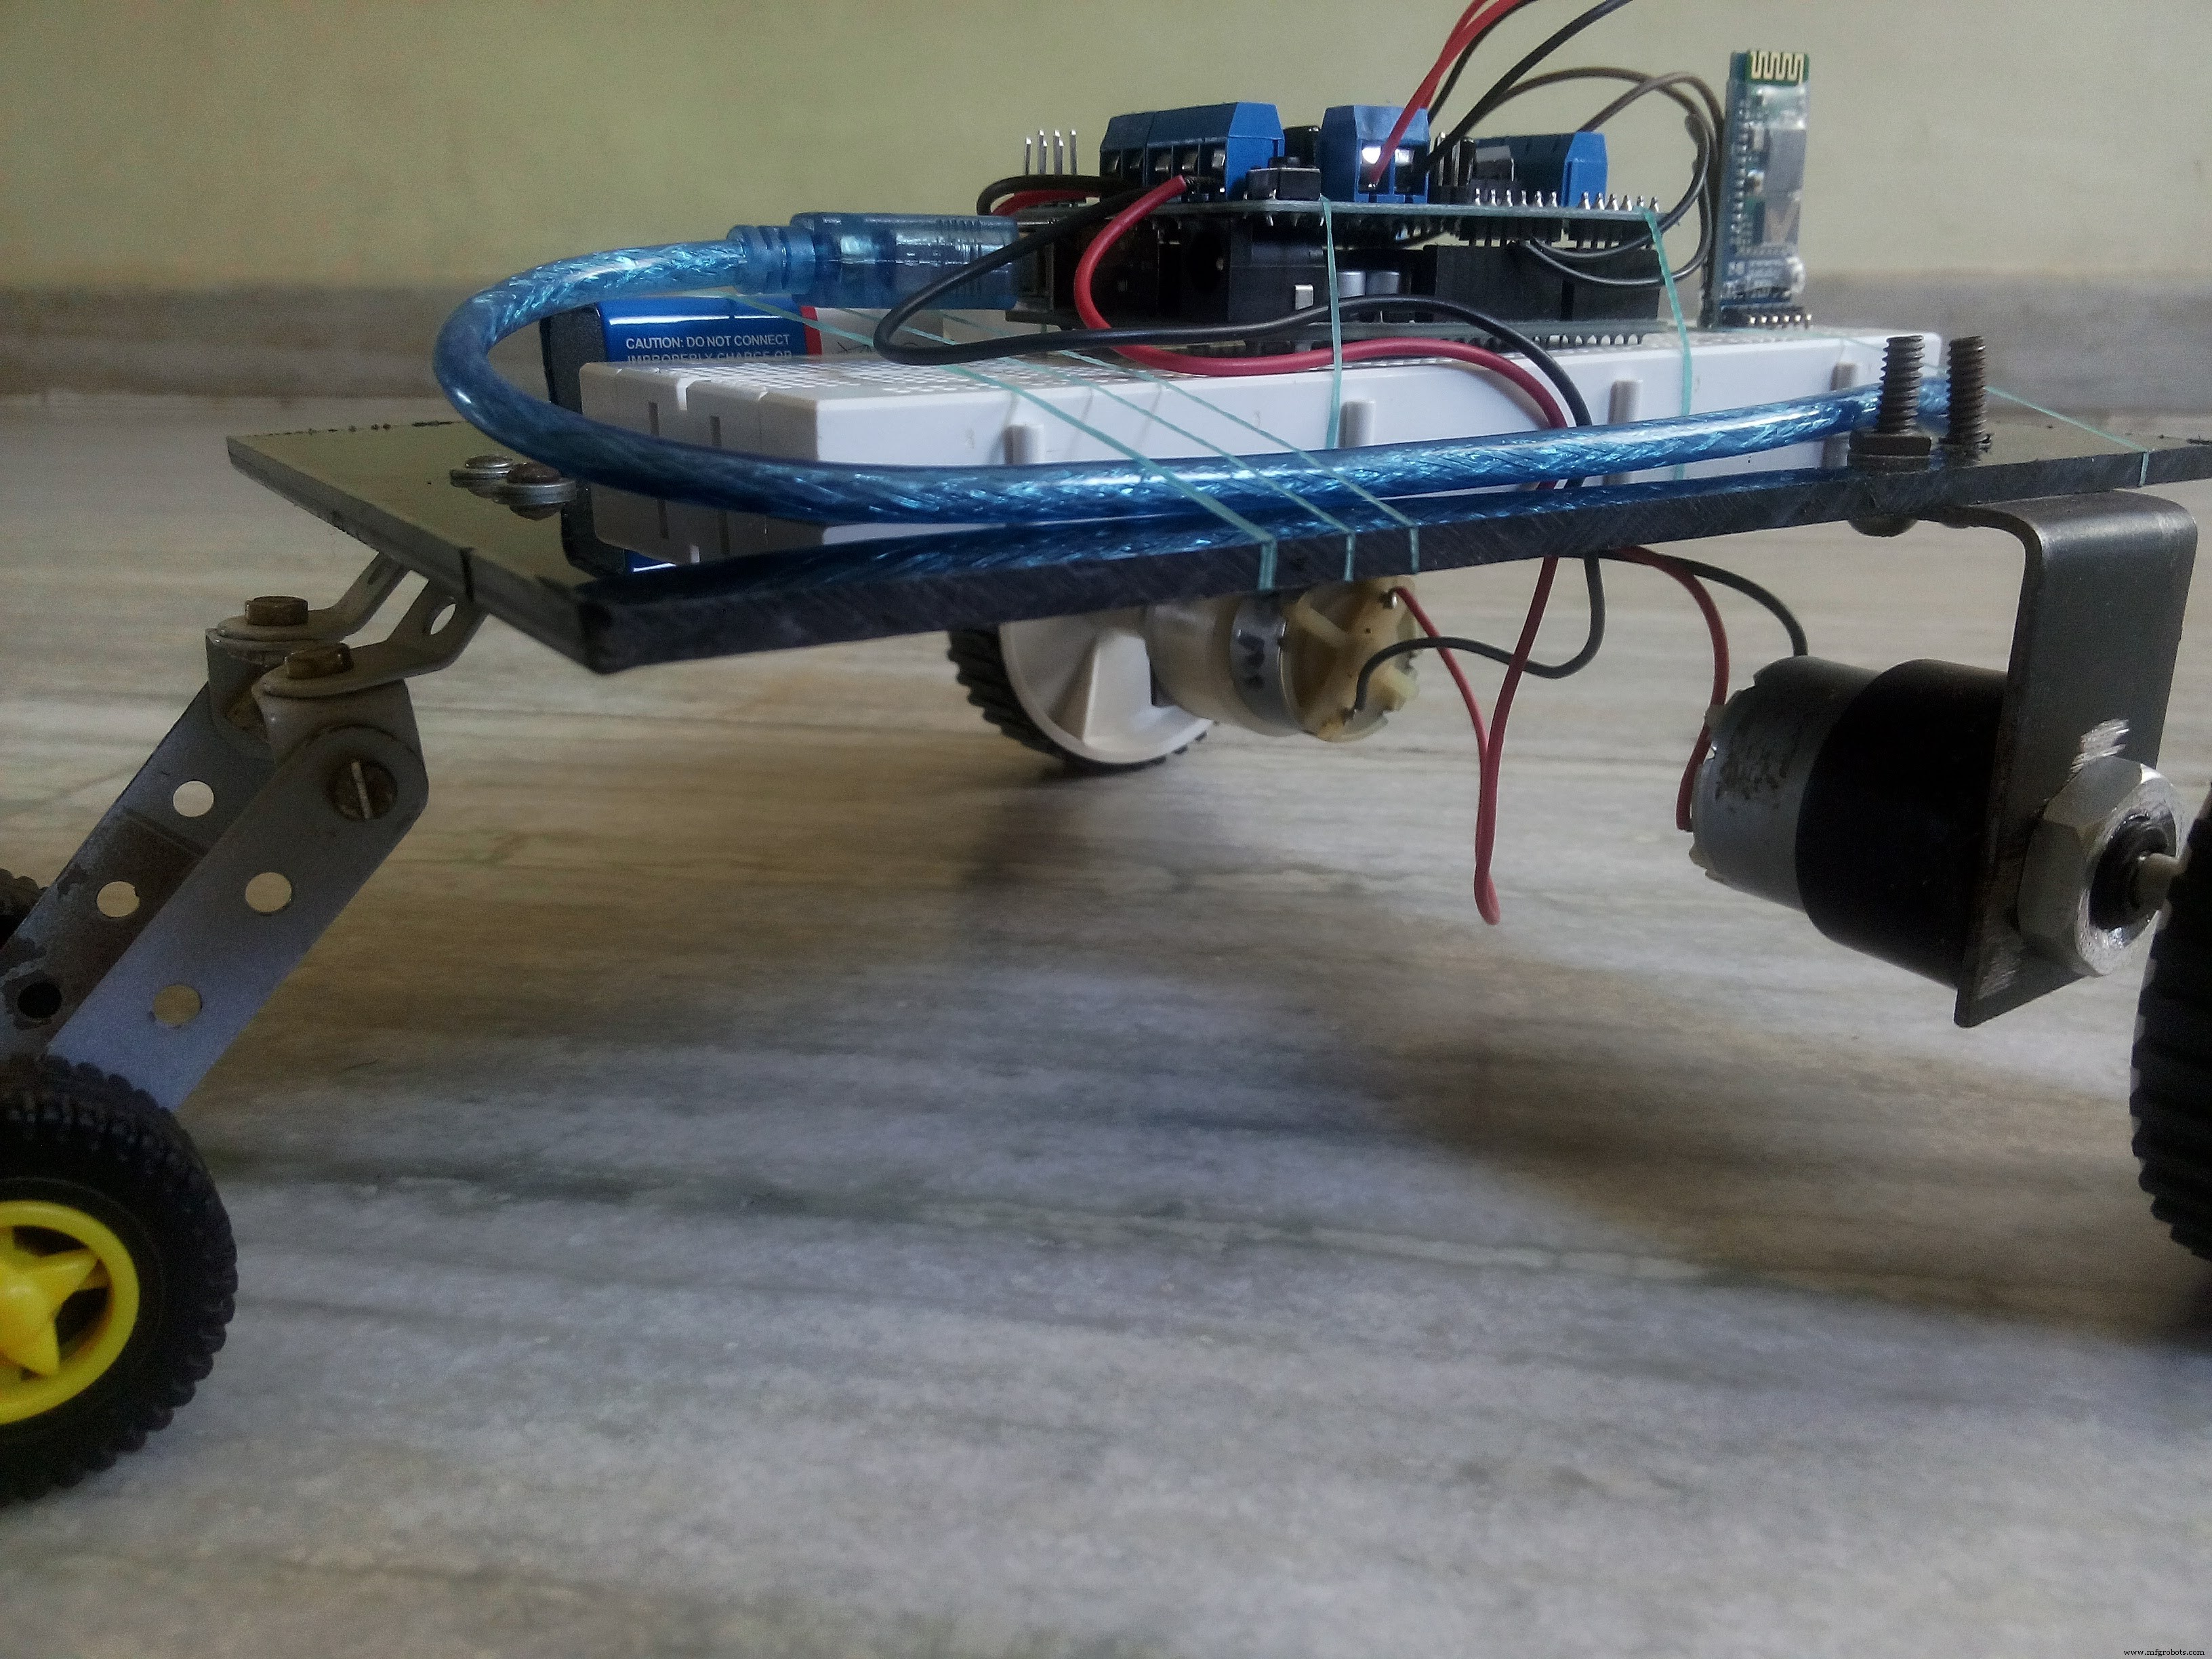
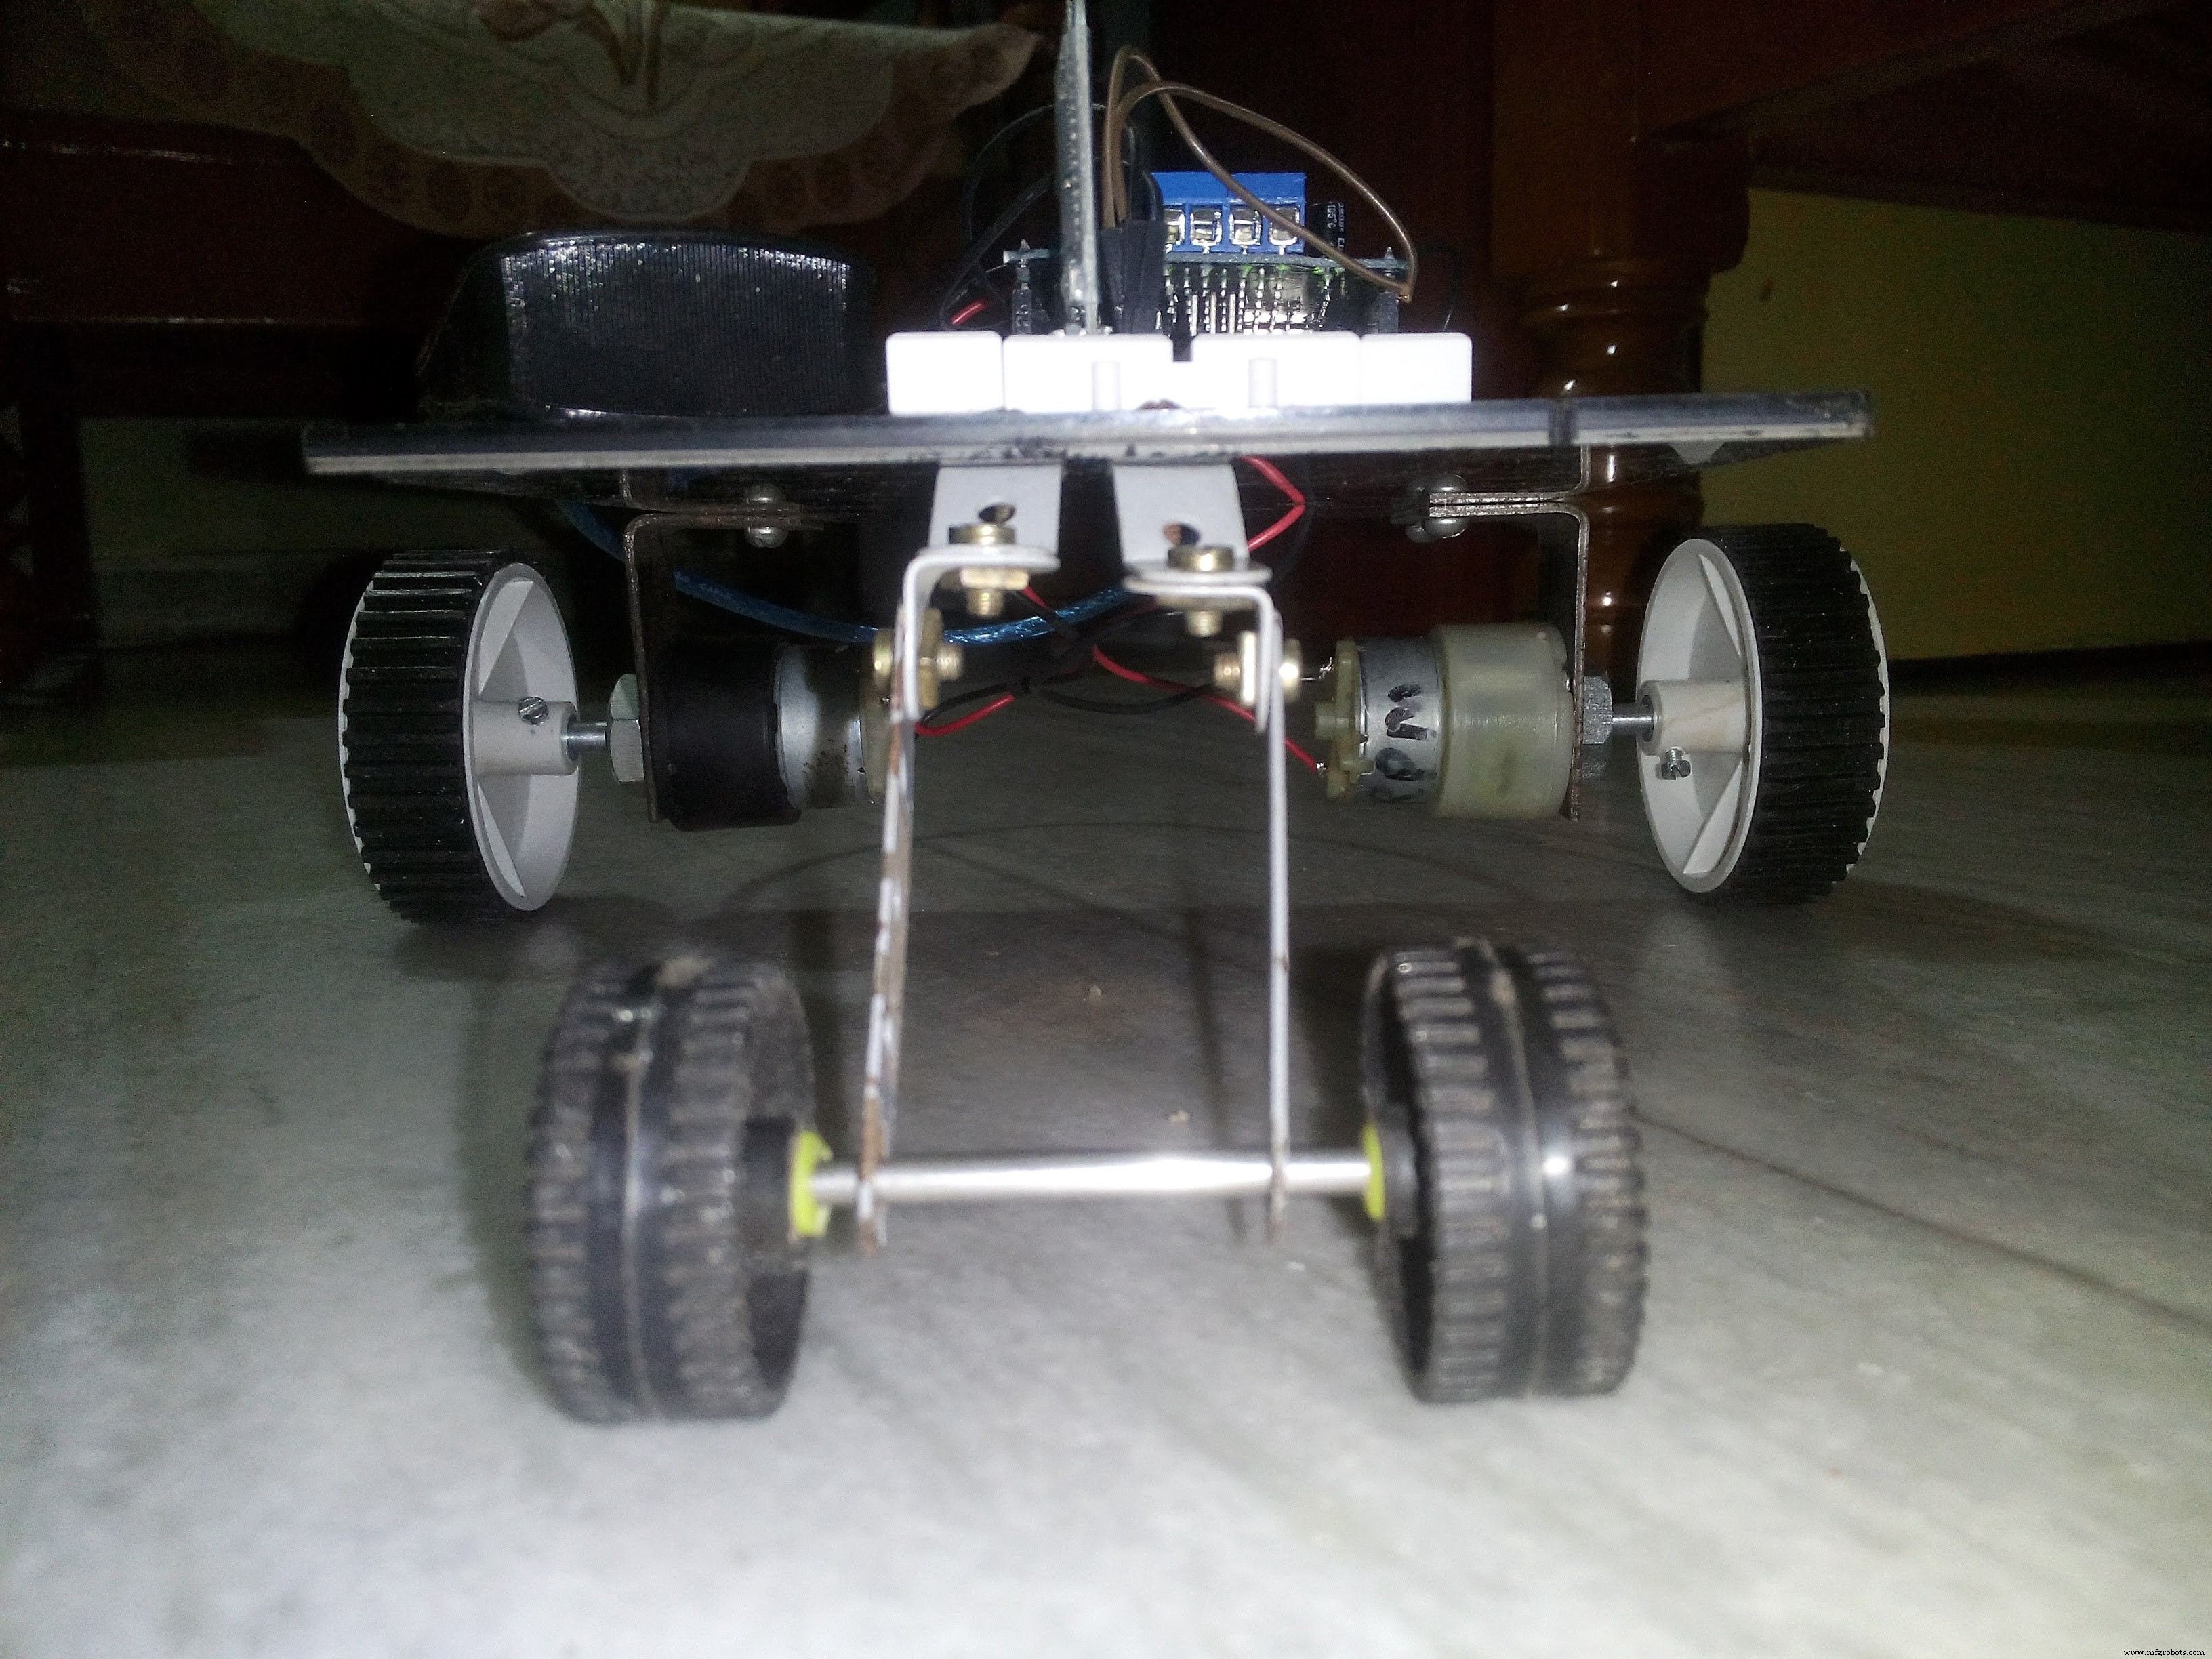
- -> 车身。
我们为这个项目建造的汽车将是一辆双电机车。我使用了两个 12 v 200 rpm 直流电机。您可以使用现成的机箱。我用PVC片作为底盘。
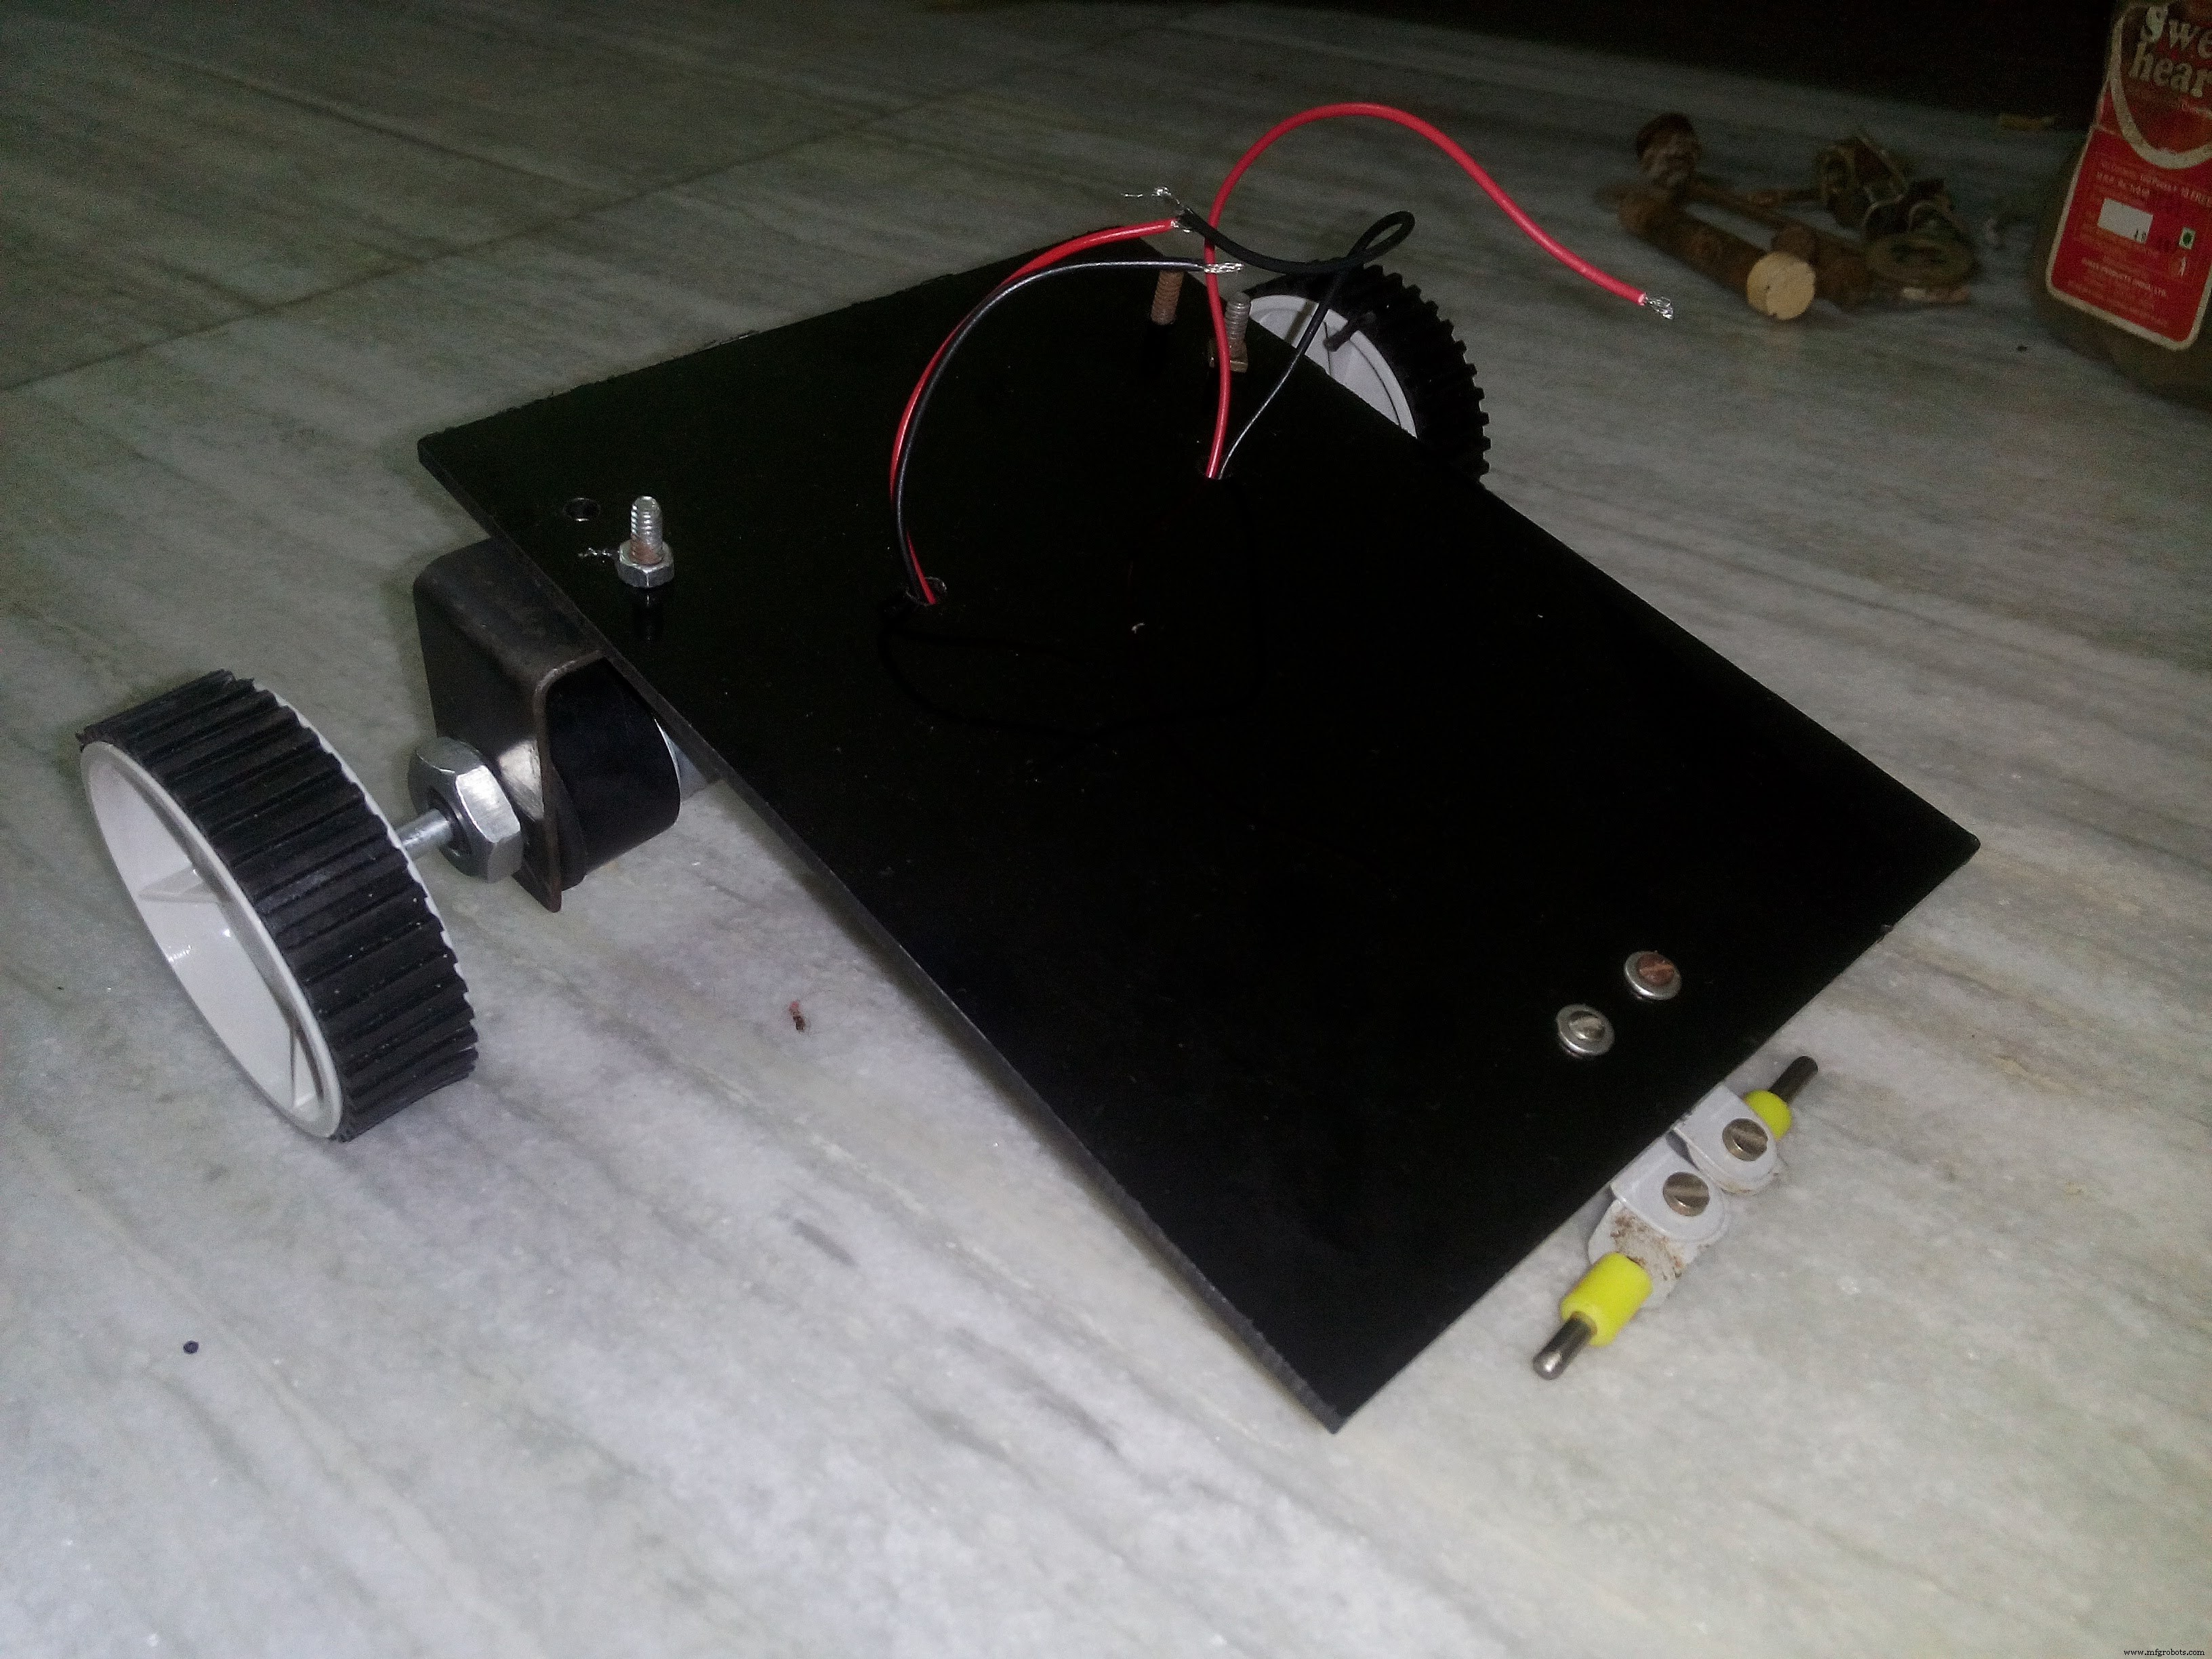
这样我们的汽车的基本结构就准备好了。您可以使用此设计,也可以开发您自己的设计,但请记住,由于这是一个双电机设计,请尽量减轻重量。
--> 电路
现在让我们建立电路
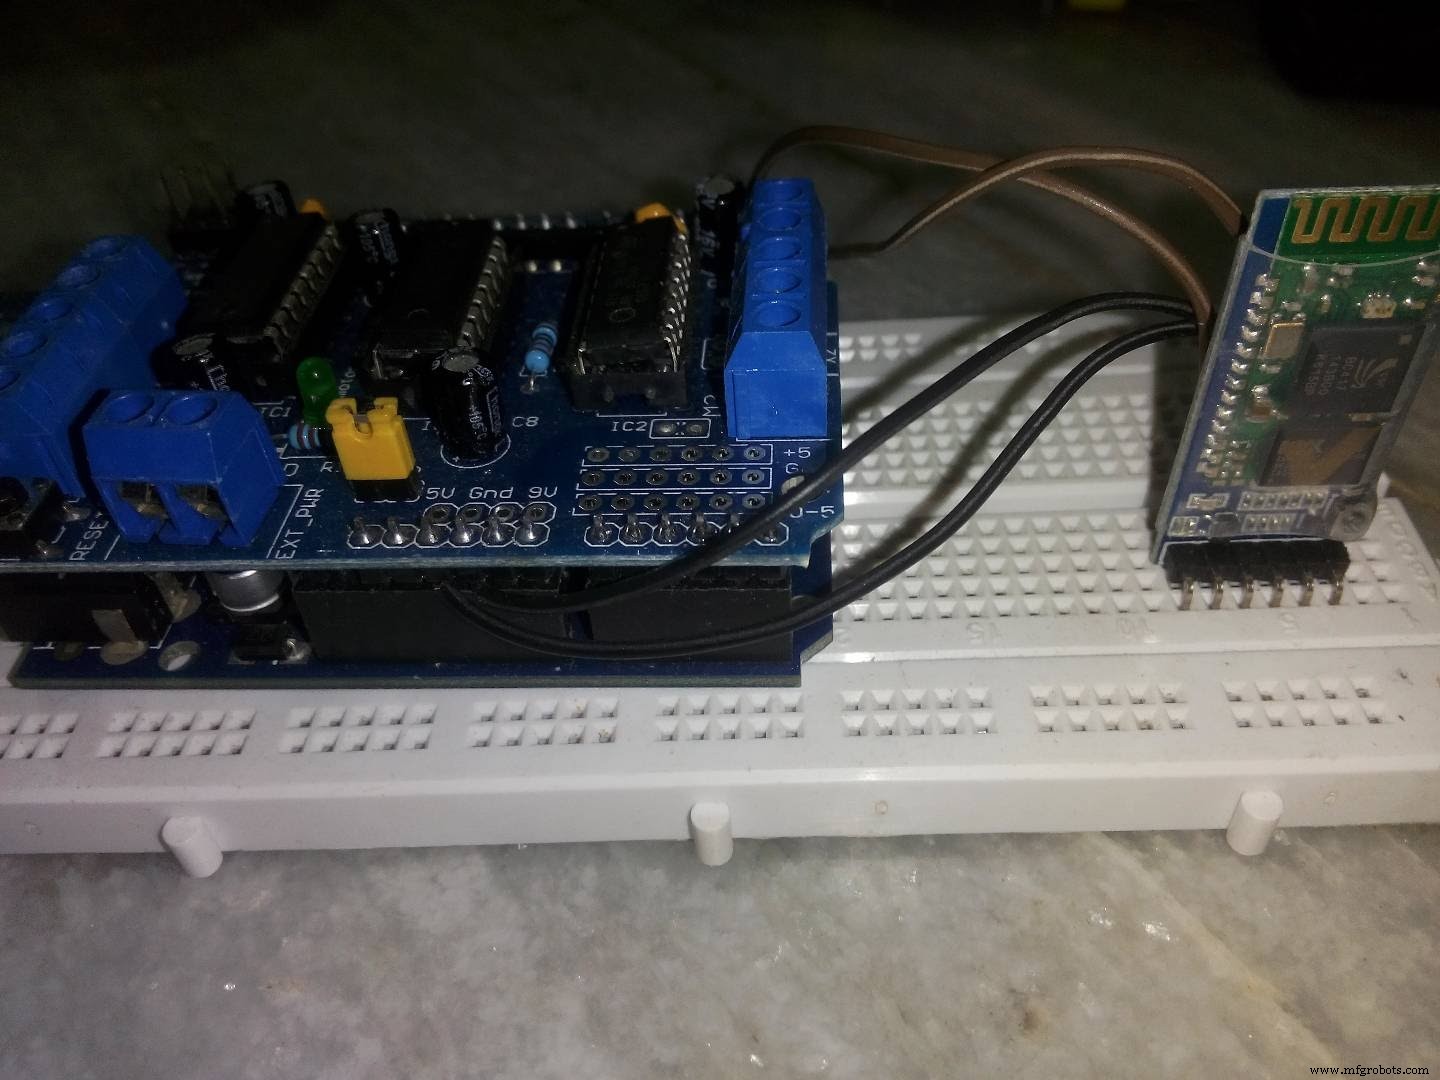

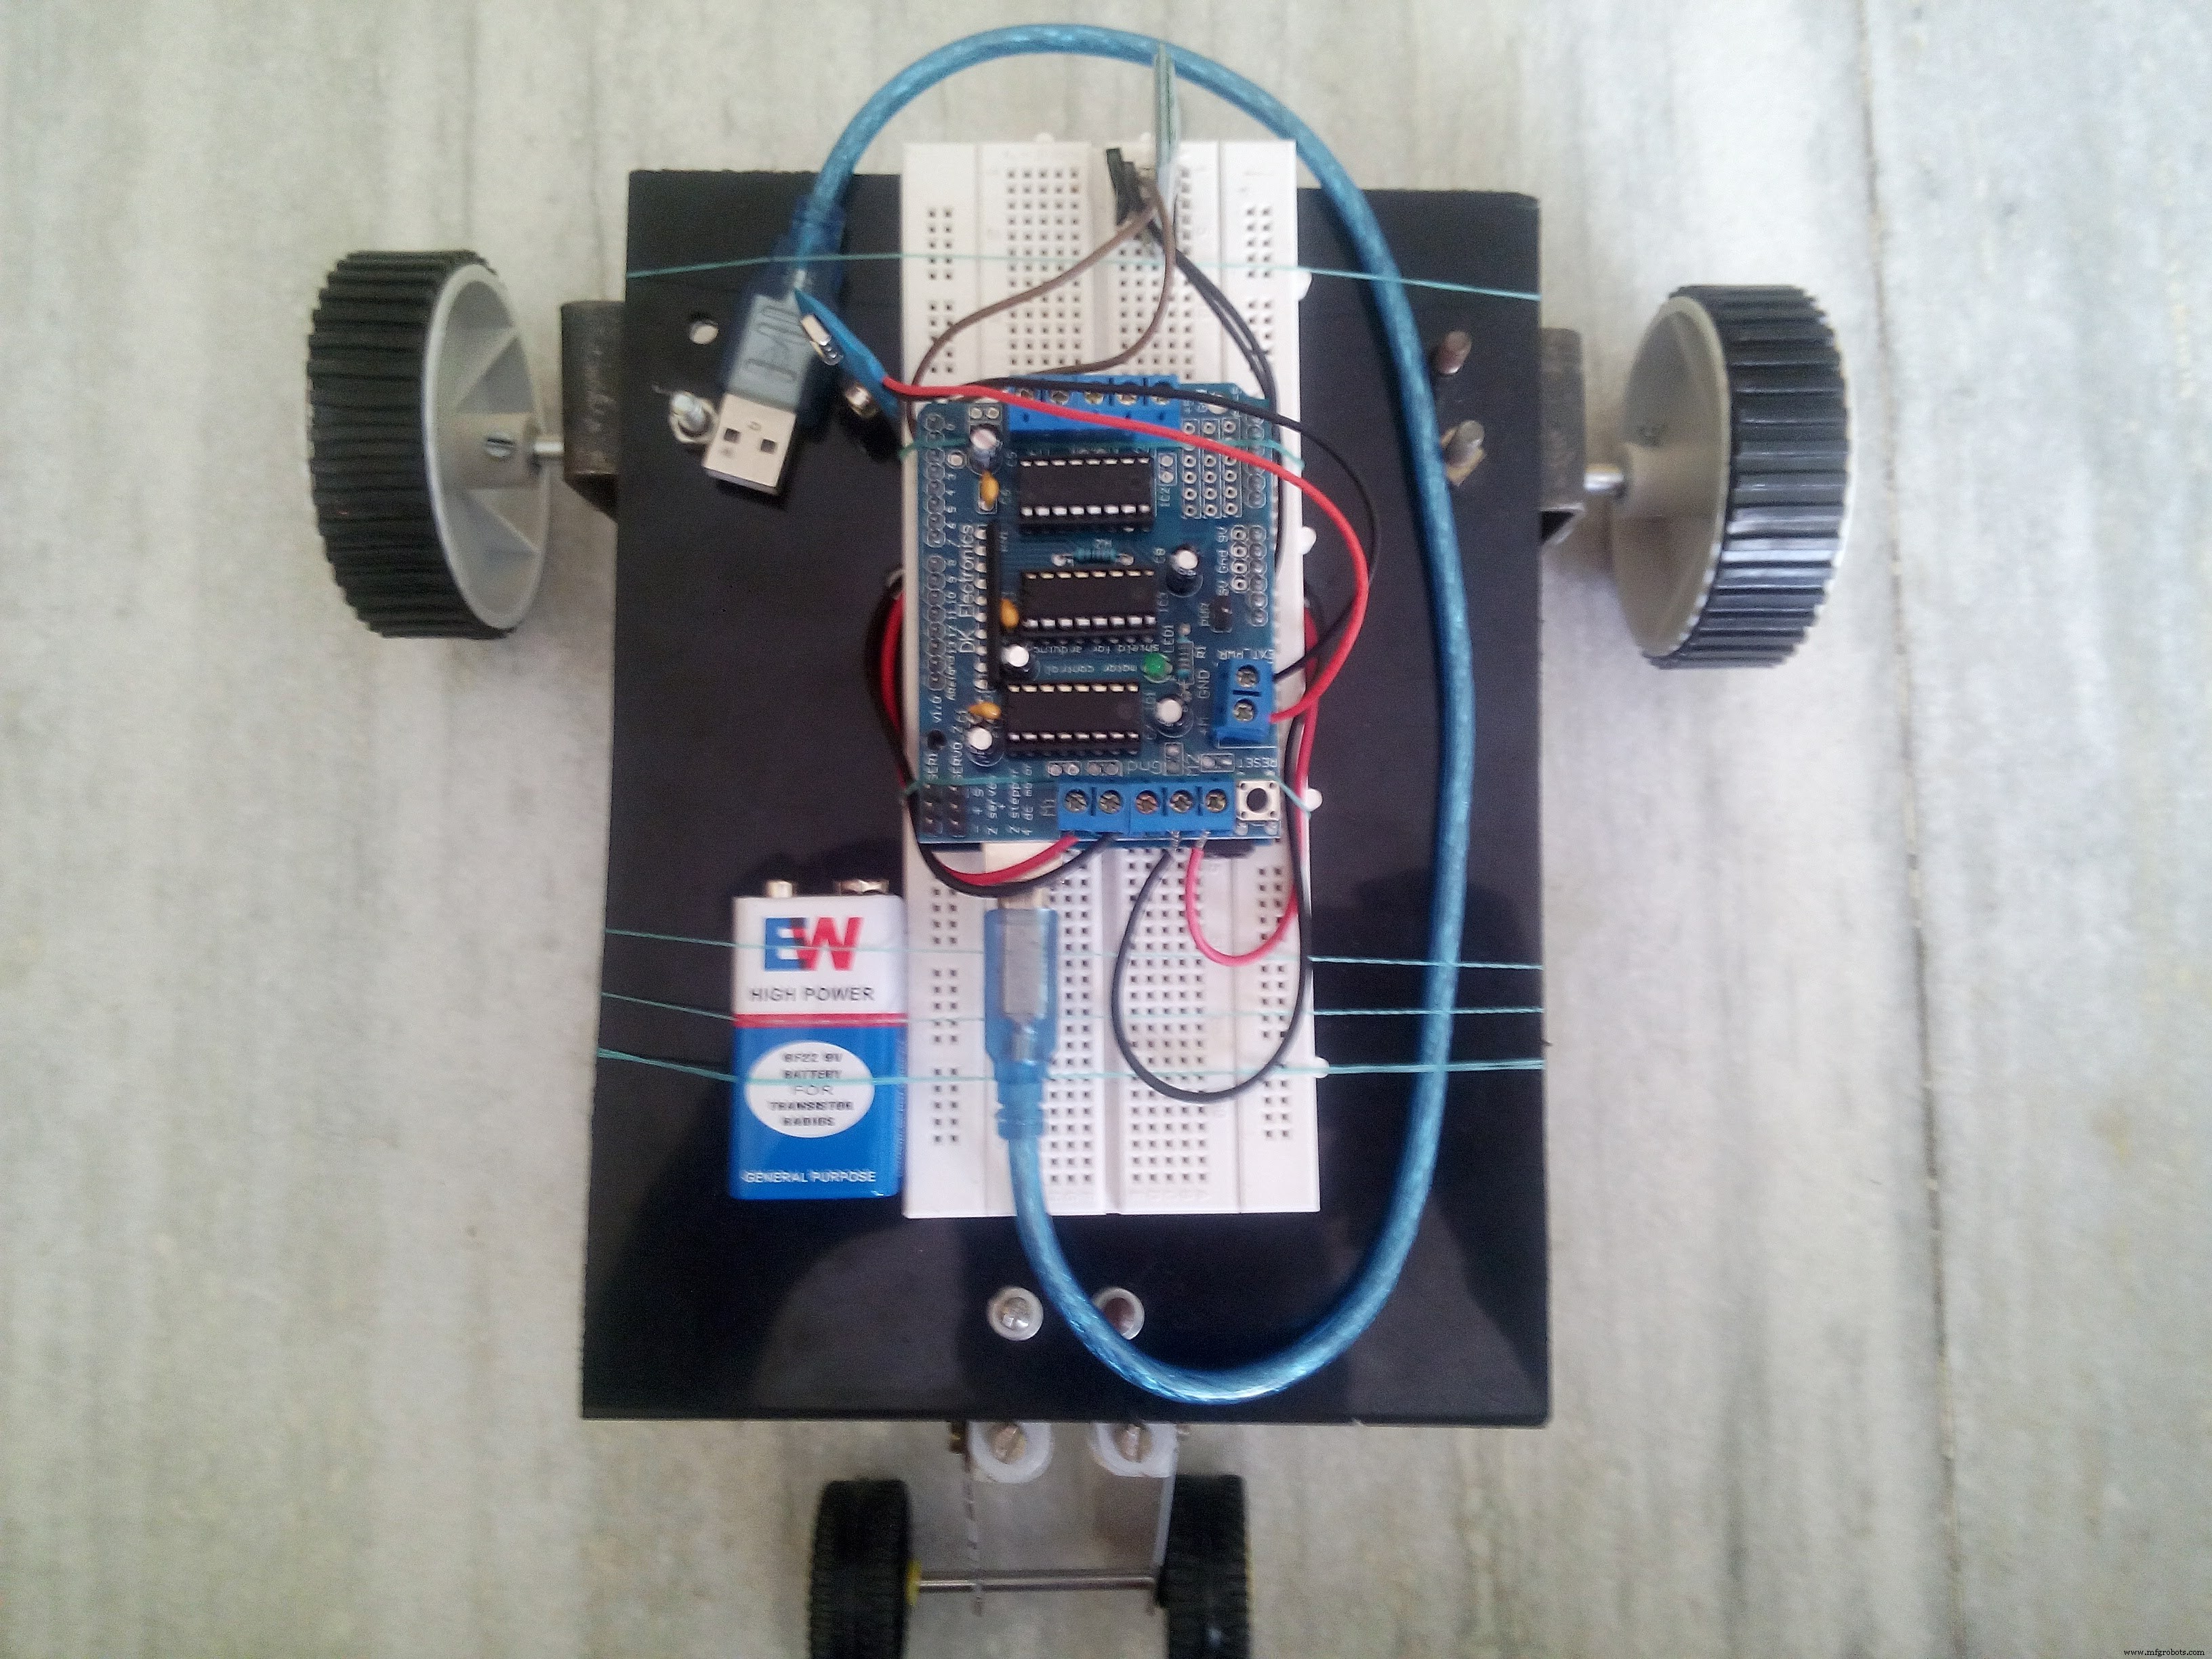
按照原理图进行连接。这是完成所有连接后的样子。
--> 电源
现在这有点关键。
为 Arduino Uno 供电,使用具有 5v 输出电压的移动电源。这不足以驱动那些 12v 直流电机。所以我们需要一个额外的电源。
我串联了两节 9v 电池以获得 18v 电源。这里的主要问题是这里还需要大量电流。
我的电池无法提供足够的电流,所以这辆车的性能不是 100% 令人满意。它正在工作,但电机运行速度非常低。
所以我建议使用 12v 电池,否则你将不得不在速度上妥协。
-->代码
这里我们将利用电机的旋转方向来控制小车的方向。
Forward - 两个电机都向前移动
Backward - 两个电机都向后移动
左 - 左电机向后移动,右电机向前移动
右 - 左电机向前移动,右电机向后移动
停止 - 两个电机都停止
void forward(){ motor1.run(FORWARD); motor2.run(FORWARD);}void reverse(){ motor1.run(BACKWARD); motor2.run(BACKWARD);}void left(){ motor1.run(BACKWARD); motor2.run(FORWARD);}void right(){ motor1.run(FORWARD); motor2.run(BACKWARD);}void Stop(){ motor1.run(RELEASE); motor2.run(RELEASE);}
----------------------------------------------- ---------------------------------------
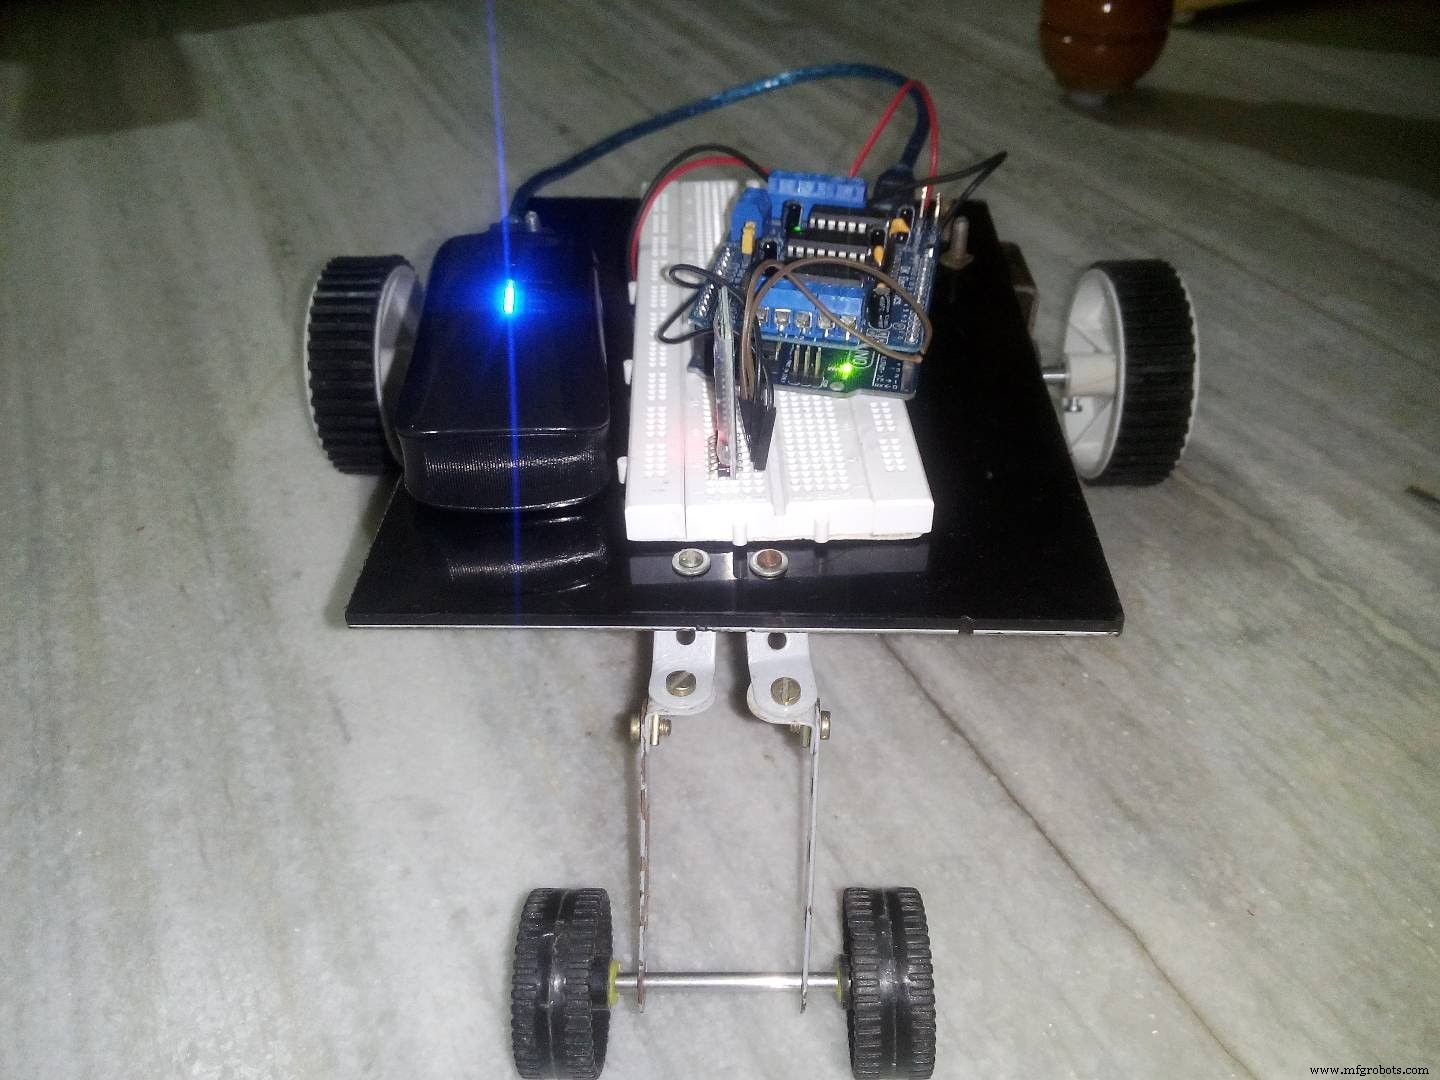
原来如此!
1. 只需将代码上传到 Arduino。
2. 建立联系。
3. 启动应用程序。
4. 将手机连接到汽车。
这是我们完成的美丽!

我希望本教程足以让您继续前进。如果您对本项目的一些更改或进一步添加有任何建议,请在评论部分告诉我。
代码
- 代码
代码C/C++
此代码必须上传到 Arduino Uno#includeAF_DCMotor motor1(1); //motor1是左边的motorAF_DCMotor motor2(2); //motor2 是正确的 motorint val;void setup(){ Serial.begin(9600); motor1.setSpeed(255); //设置电机速度 motor2.setSpeed(255); Stop();}void loop() { bt=Serial.read();if(val=='1') //当蓝牙模块接收到1时,汽车向前移动{ forward(); }if(val=='2') //当蓝牙模块收到2时小车向后移动{backward(); }if(val=='3') //当蓝牙模块收到3时,小车向左移动{ left(); }if(val=='4') //当蓝牙模块收到4时,汽车向右移动{ right(); }if(val=='5') //当蓝牙模块收到5时,汽车停下{ Stop(); }}void forward(){ motor1.run(FORWARD); motor2.run(FORWARD);}void reverse(){ motor1.run(BACKWARD); motor2.run(BACKWARD);}void left(){ motor1.run(BACKWARD); motor2.run(FORWARD);}void right(){ motor1.run(FORWARD); motor2.run(BACKWARD);}void Stop(){ motor1.run(RELEASE); motor2.run(RELEASE);}
示意图
这些是连接。将 12v 电源连接到电机驱动器屏蔽。请注意,原理图不包括外部电源。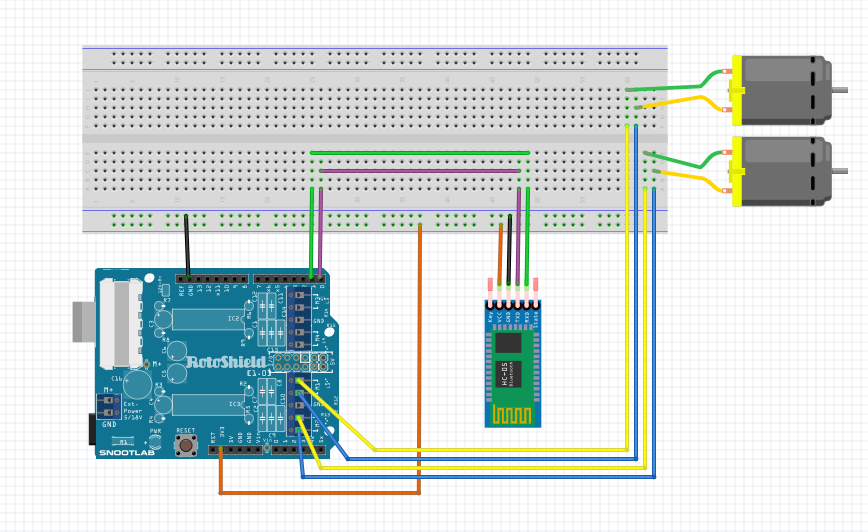
制造工艺