

智能会说话的人形机器人,仅使用 Arduino!
组件和用品
 |
| × | 1 | |||
 |
| × | 3 | |||
| × | 1 | ||||
| × | 3 | ||||
| × | 1 | ||||
 |
| × | 1 |
应用和在线服务
 |
|
关于这个项目
这个机器人 - Mofiza-(奇怪的名字)可以看到、说话和对周围的环境做出反应。在我继续观看视频之前:
自从我看到制作会说话的机器人后,我看到人们实际上使用其他开发板而不是 Arduino 来制作会说话的机器人。但是完全有可能用 Arduino 制作一个人形机器人,它可以说话并添加很多伺服系统来让它移动。那么让我们开始吧:
更新(我是如何做到的)-
第 1 步:您需要的部件

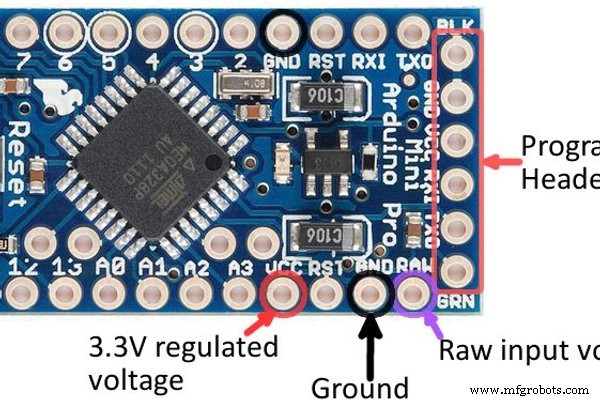
- Arduino Pro mini (5v 16 Mhz) [任何板都很好,但我用它来缩小尺寸)
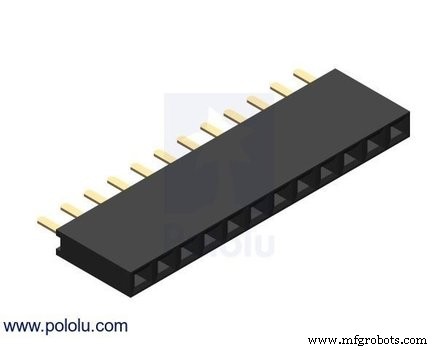
- 用于连接 pcb 的母排针
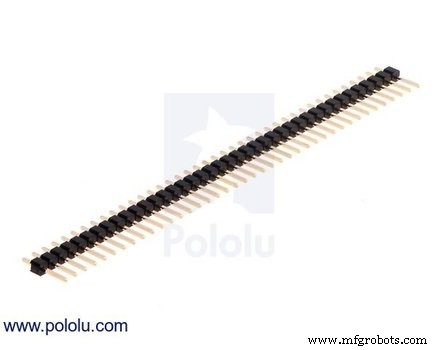
- 公头针
- Vero Board 制作电路
- SD 卡 TF 模块(让它说话)
- micro sd 卡(不超过 2GB)
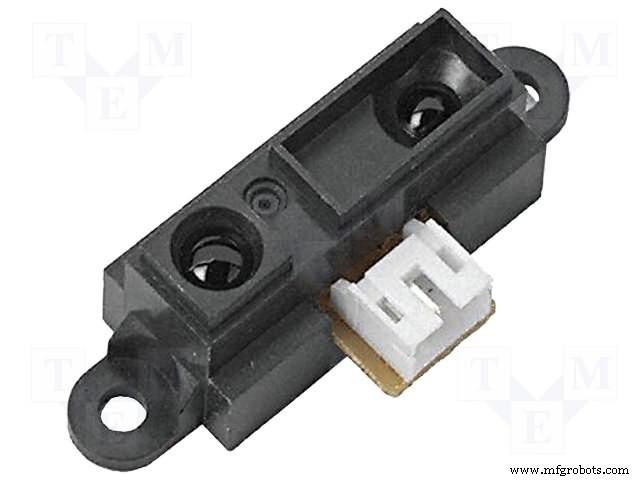
- 3 个红外接近传感器
- 3x 伺服电机(我使用过微型伺服 sg90)
- 制作身体的纸板
第 2 步:连接红外传感器和机身

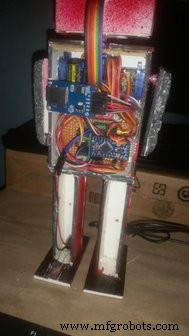
用你想要的任何东西做一个身体,我用纸板做的。很简单。
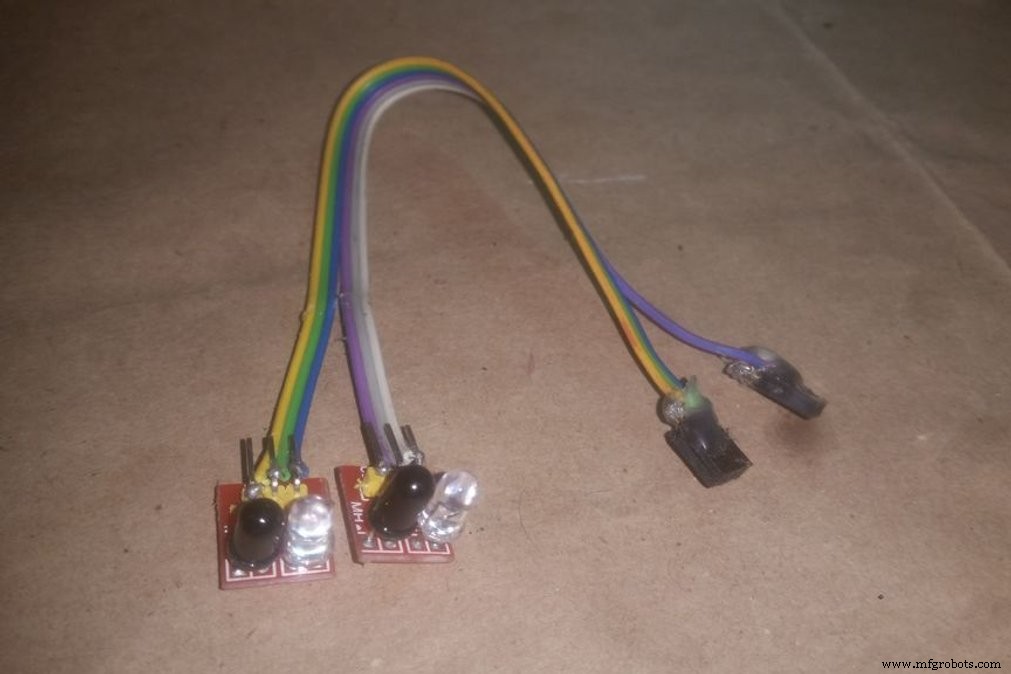
我用带状电缆焊接了红外传感器,就像这样,一端有一个母头,两只眼睛加了两个,胸部加了一个。
如果机器人在胸部传感器中检测到任何东西,它会说欢迎信息,如果任何眼睛传感器高,它会说“aaaah.. don't touch my eye”。并且里面的舵机会向上移动。
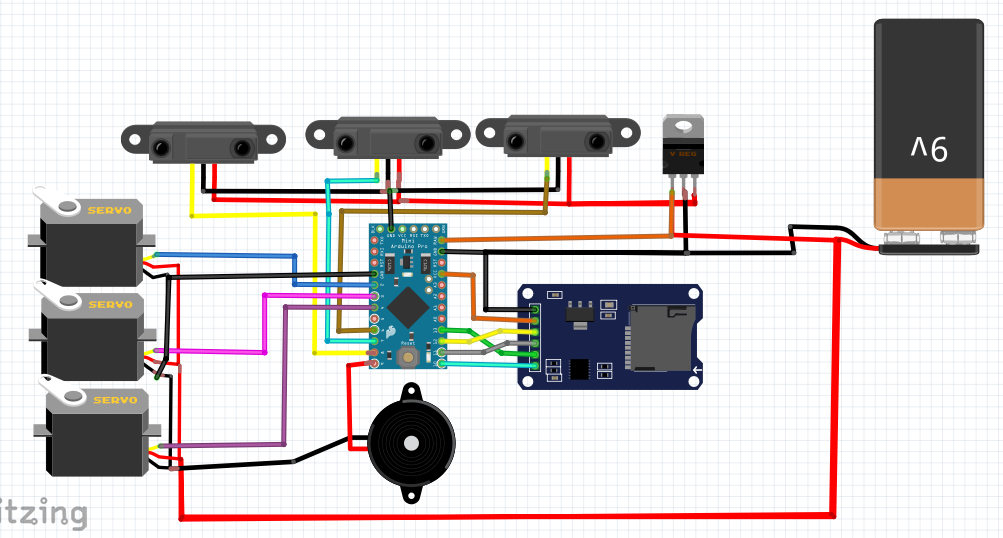
第 3 步:电路
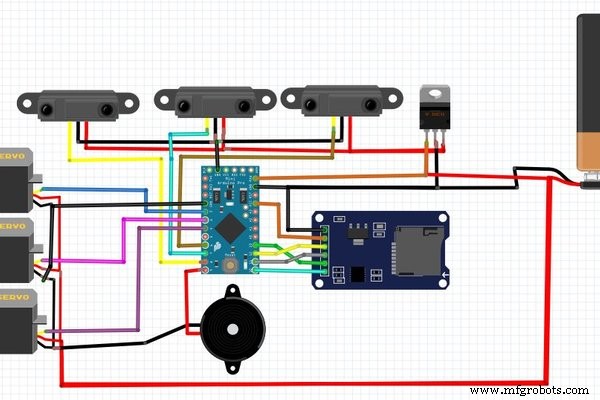
电路看起来有点复杂,但并不容易,你可以用一节电池给它供电。将电路和所有其他组件焊接在 vero 板上,并在头和手上添加其他伺服器。
第 4 步:代码
代码前:
我不得不为这个机器人使用两个库。
TMRpcm.h - 从 SD 卡播放音频 - 谈话 https://github.com/TMRh20/TMRpcm
ServoTimer2.h - 避免与 TMRpcm 冲突并使用 timer2 运行伺服电机,因为 TMRpcm 在 arduino 上使用 Timer1。 https://create.arduino.cc/projecthub/ashraf_minhaj/how-to-use-servotimer2-library-simple-explain-servo-sweep-512fd9?ref=user&ref_id=507819&offset=1
这是说欢迎的代码。您可以制作自己的环境和代码。在开始编写代码之前,您必须添加 ServoTimer2 库。机器人也不会跑。
然后上代码:
#include "ServoTimer2.h"#include#define SD_ChipSelectPin 10#include"TMRpcm.h"#includeTMRpcm tmrpcm;ServoTimer2 matha;ServoTimer2 lhand;ServoTimer2 rhand;int in1=6;int in2=7;int in3=8;void setup() {matha.attach(2); lhand.attach(3); rhand.attach(4); tmrpcm.speakerPin=9; Serial.begin(9600); if(!SD.begin(SD_ChipSelectPin)) { Serial.println("SD FAIL");返回; }}void loop() { if(!(digitalRead(in3))) { tmrpcm.play("welcome.wav"); lhand.write(2500);延迟(2000); lhand.write(1200); //握手位置延迟(9000); } else { lhand.write(300); rhand.write(1700); math.write(1500); }}
第五步:完成
现在只需启动它,你就完成了。一个智能机器人制作完成。 [我会尽快上传其他图片和详细信息]
如果我能得到更多的别针,我会让机器人走路。但我只剩下 3 个针脚(数字)。它比我需要的要少。
订阅我的 YouTube 频道来支持我。
代码
- mofiza.welcome.code
mofiza.welcome.codeC/C++
#include "ServoTimer2.h"#include#define SD_ChipSelectPin 10#include"TMRpcm.h"#includeTMRpcm tmrpcm;ServoTimer2 matha; //matha 表示 HEADServoTimer2 lhand;ServoTimer2 rhand;int in1=6;int in2=7;int in3=8;void setup() { matha.attach(2); lhand.attach(3); rhand.attach(4); tmrpcm.speakerPin=9; Serial.begin(9600); if(!SD.begin(SD_ChipSelectPin)) { Serial.println("SD FAIL");返回; }}void loop() { if(!(digitalRead(in3))) { tmrpcm.play("welcome.wav"); lhand.write(2500);延迟(2000); lhand.write(1200); //握手位置延迟(9000); } else { lhand.write(300); rhand.write(1700); math.write(1500); }} mofiza.fullCode.v1.1
https://github.com/ashraf-minhaj/Mofiza--Humanoid-social-robot示意图
制造工艺